How to invite an assistant to your systeme.io account
In this article, you’ll learn how to grant others access to your systeme.io workspace as an assistant. This feature is ideal for collaborating with colleagues or team members without sharing your login credentials.
What you will need:
- A systeme.io account
- The email address of the person you want to invite
Steps to follow to invite an assistant
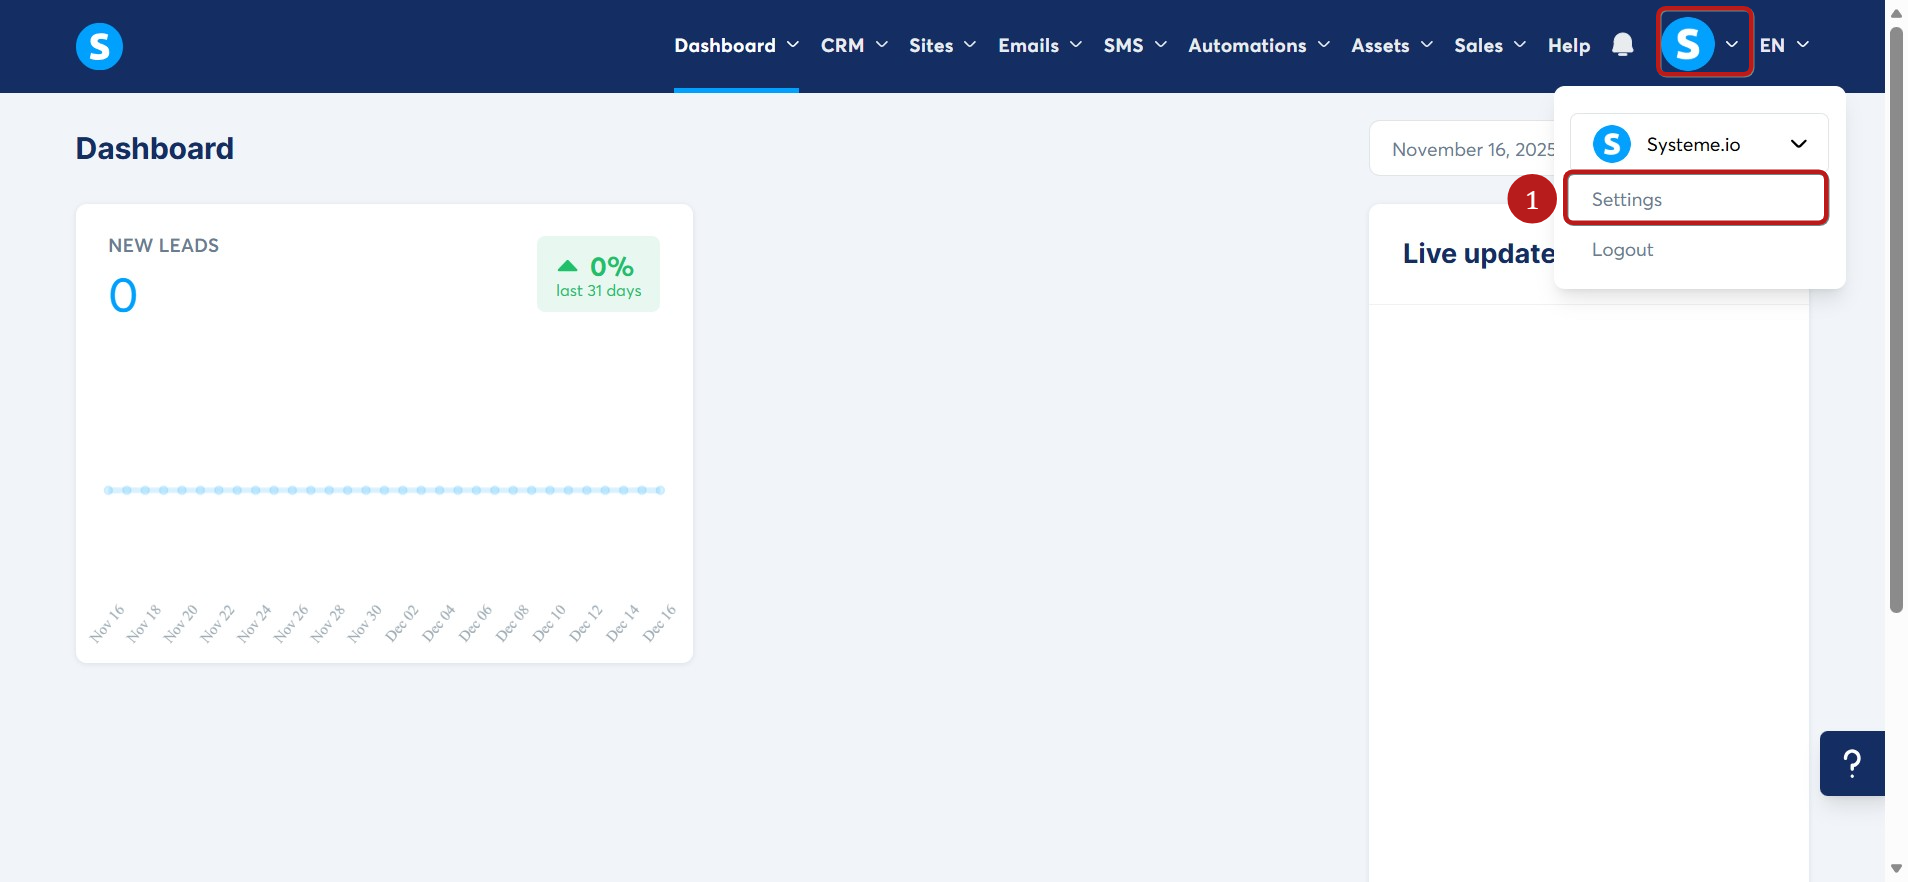
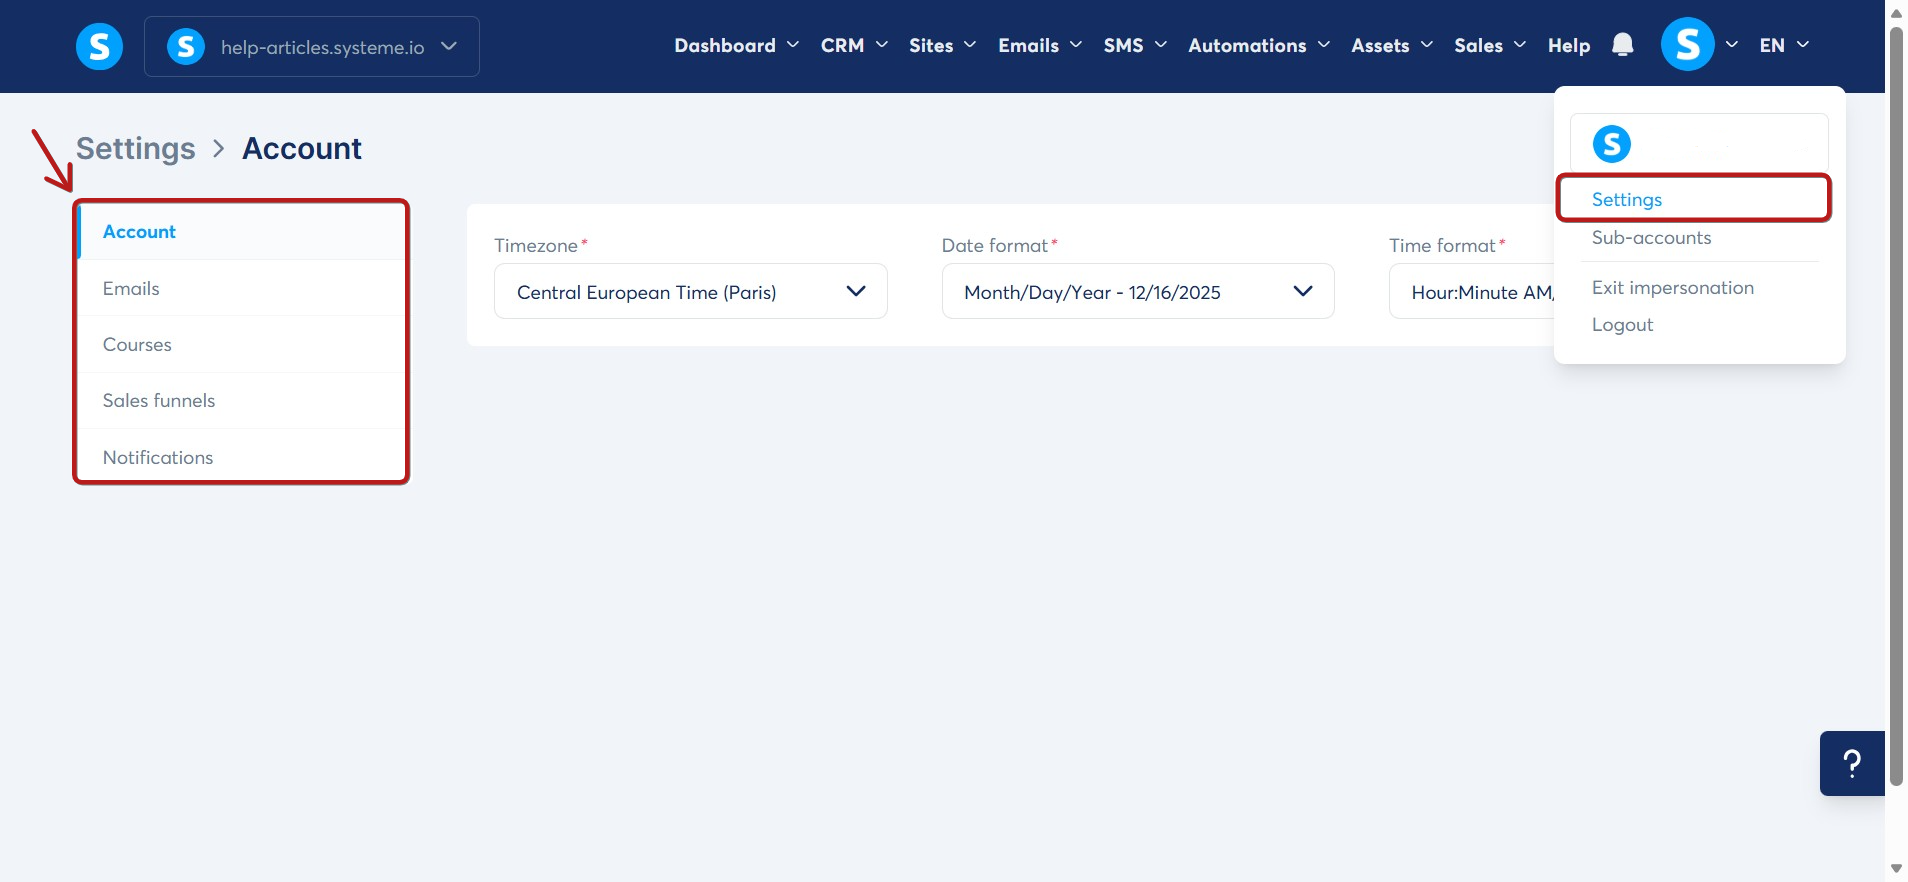
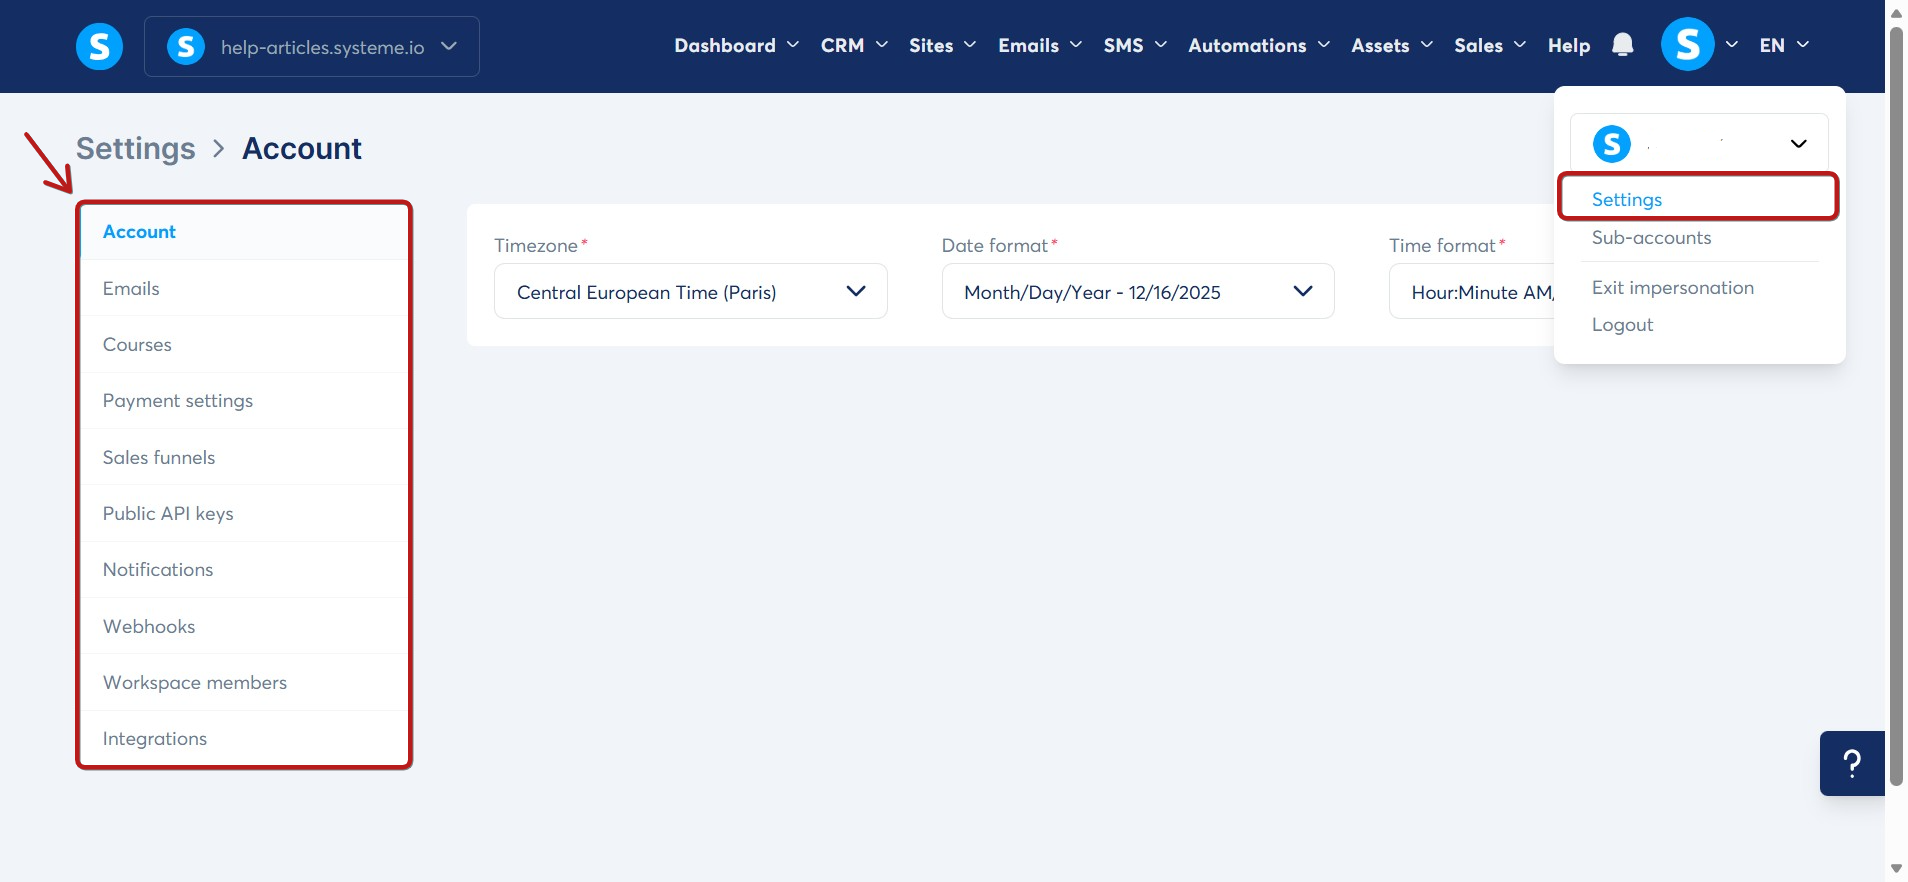
Click on your profile picture, then go to Settings (1).
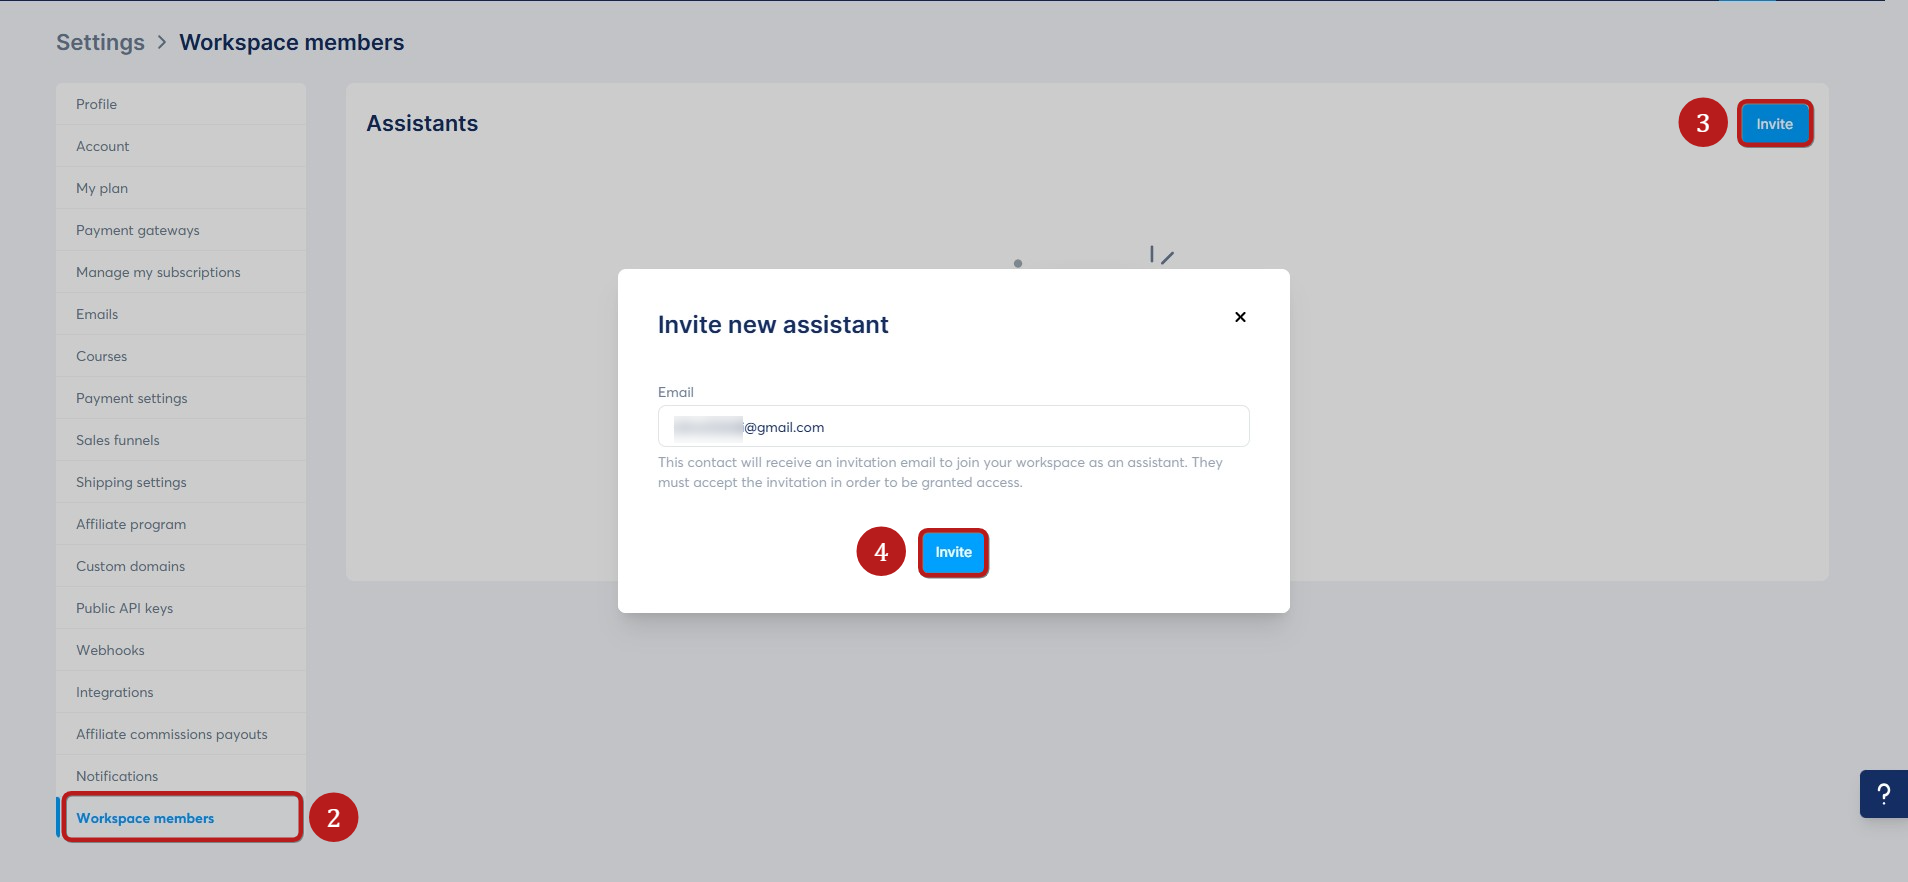
In the settings menu, click on Workspace members (2). Click on Invite (3).
In the Invite new assistant popup, enter the email address of the person you want to invite, then click Invite (4).
The assistant will receive an email titled Invitation to join a systeme.io workspace. They simply need to click the confirmation link in the email to access your workspace.

Notes:
- If the assistant already has a systeme.io account, they will be redirected to the login page.
- If they don’t have an account, they’ll be prompted to create one by setting a password.
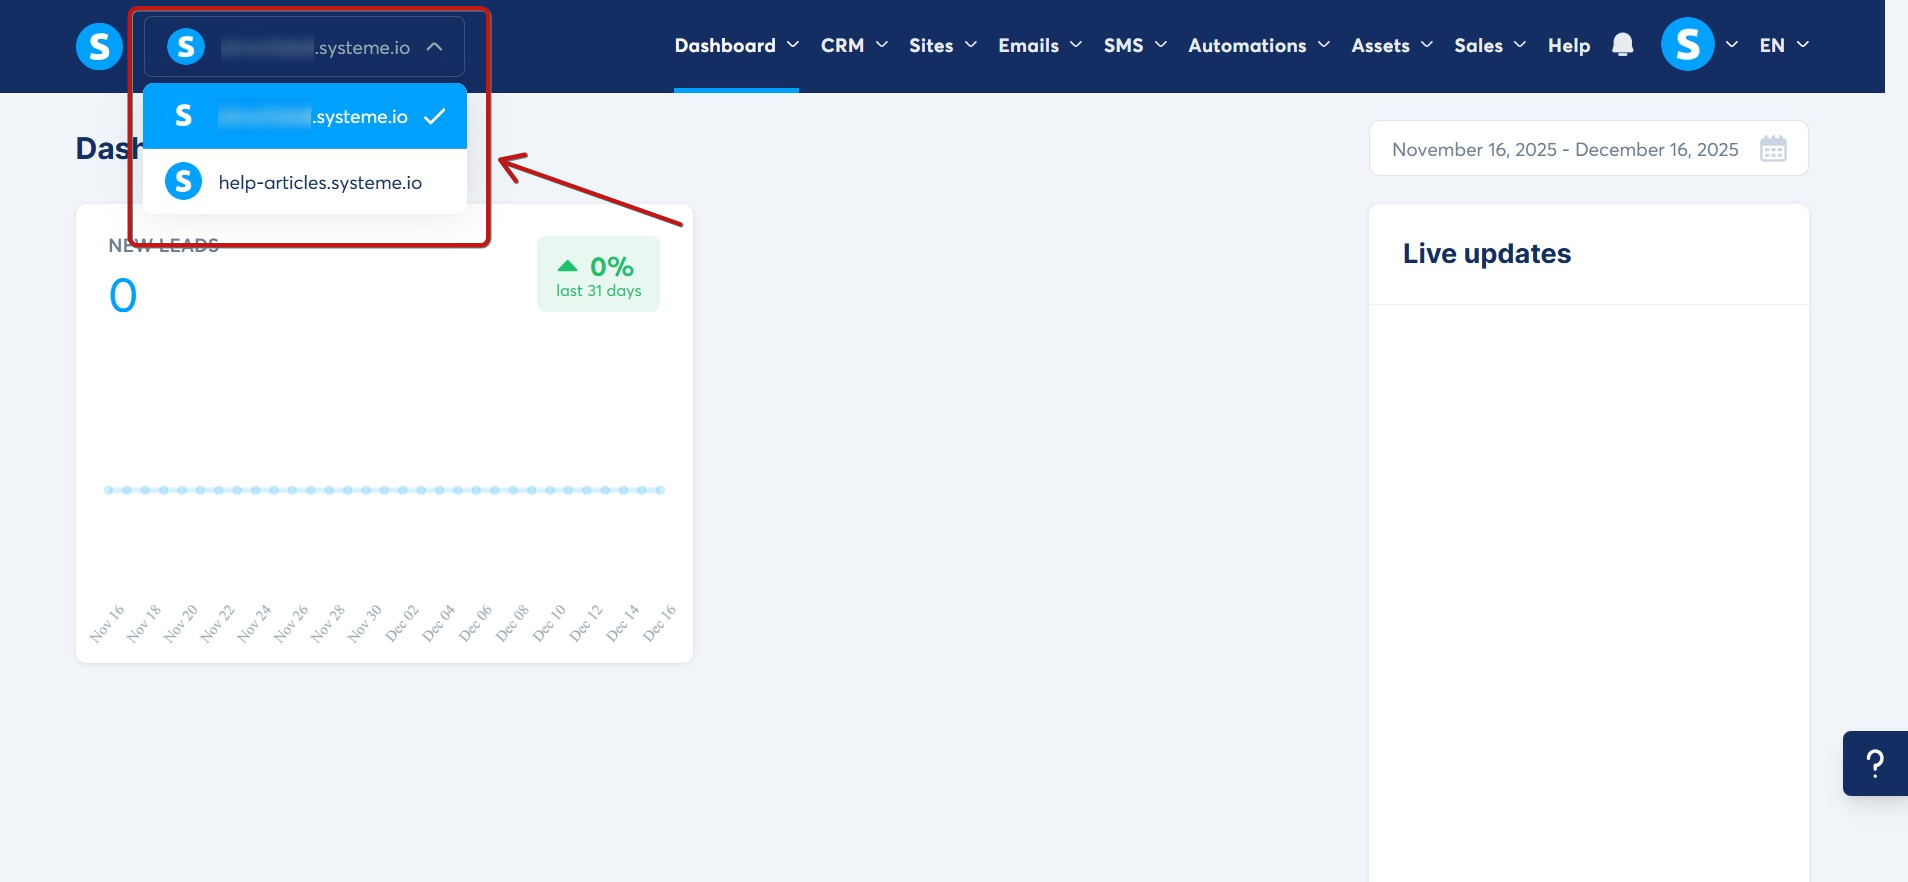
Once logged in, assistants can switch between workspaces from the top-left menu in their dashboard.
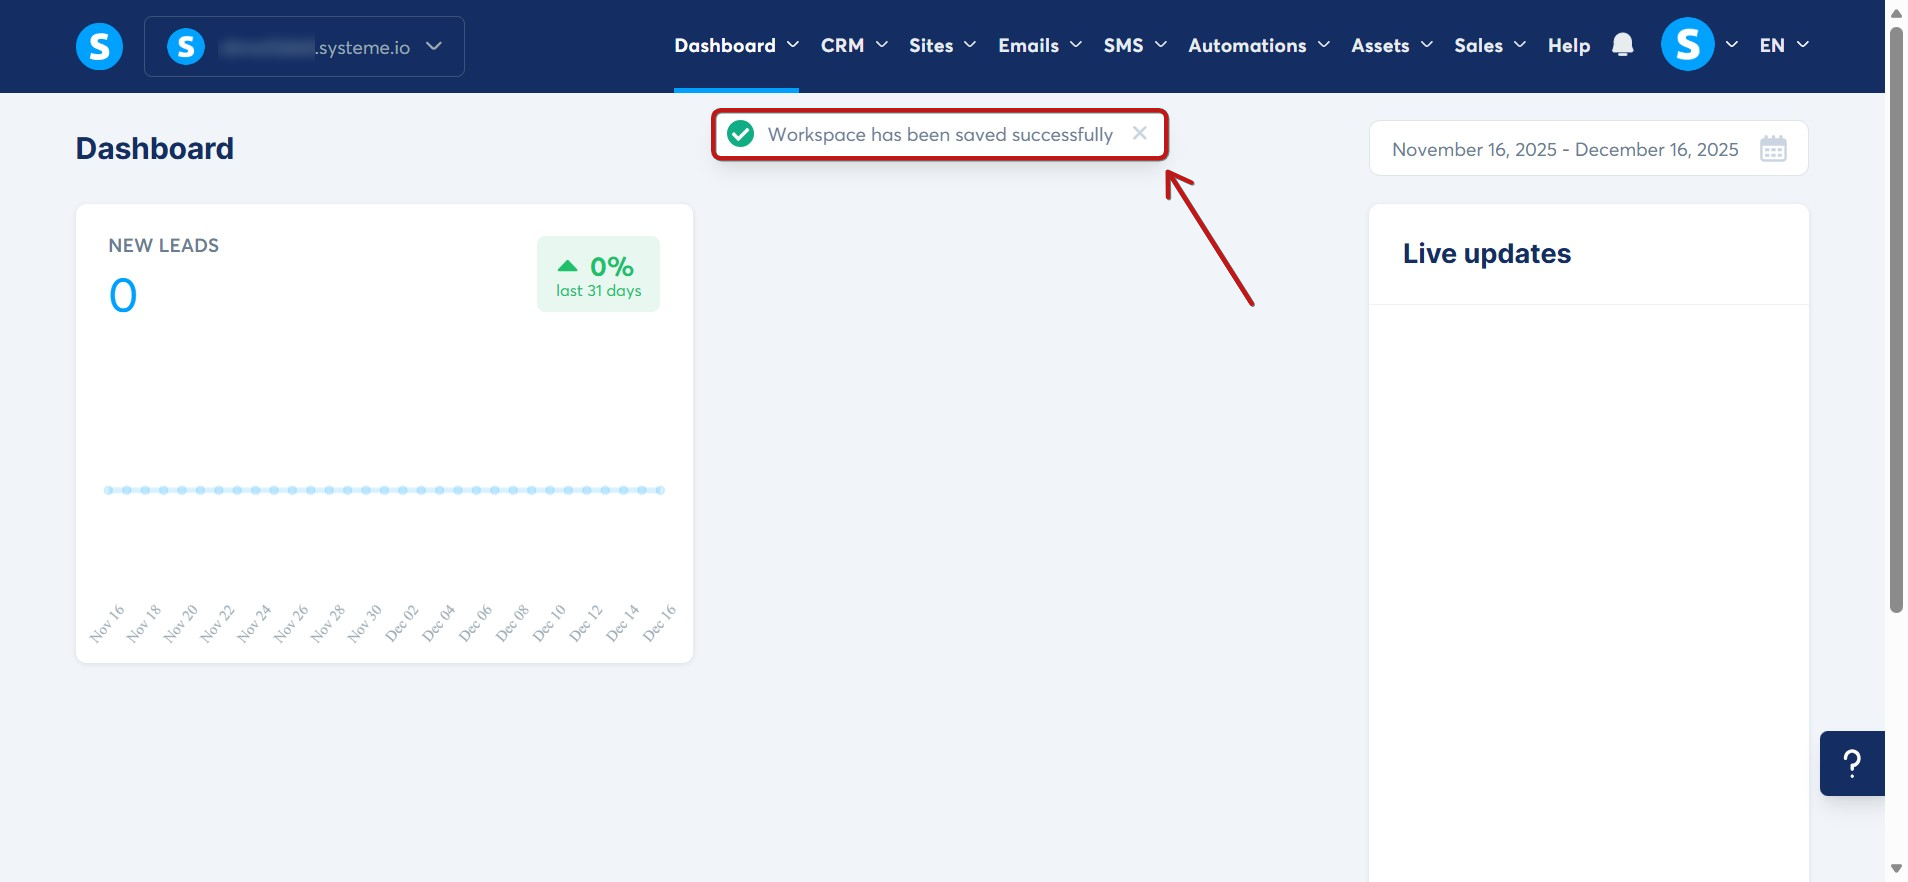
A message will appear when switching workspaces.
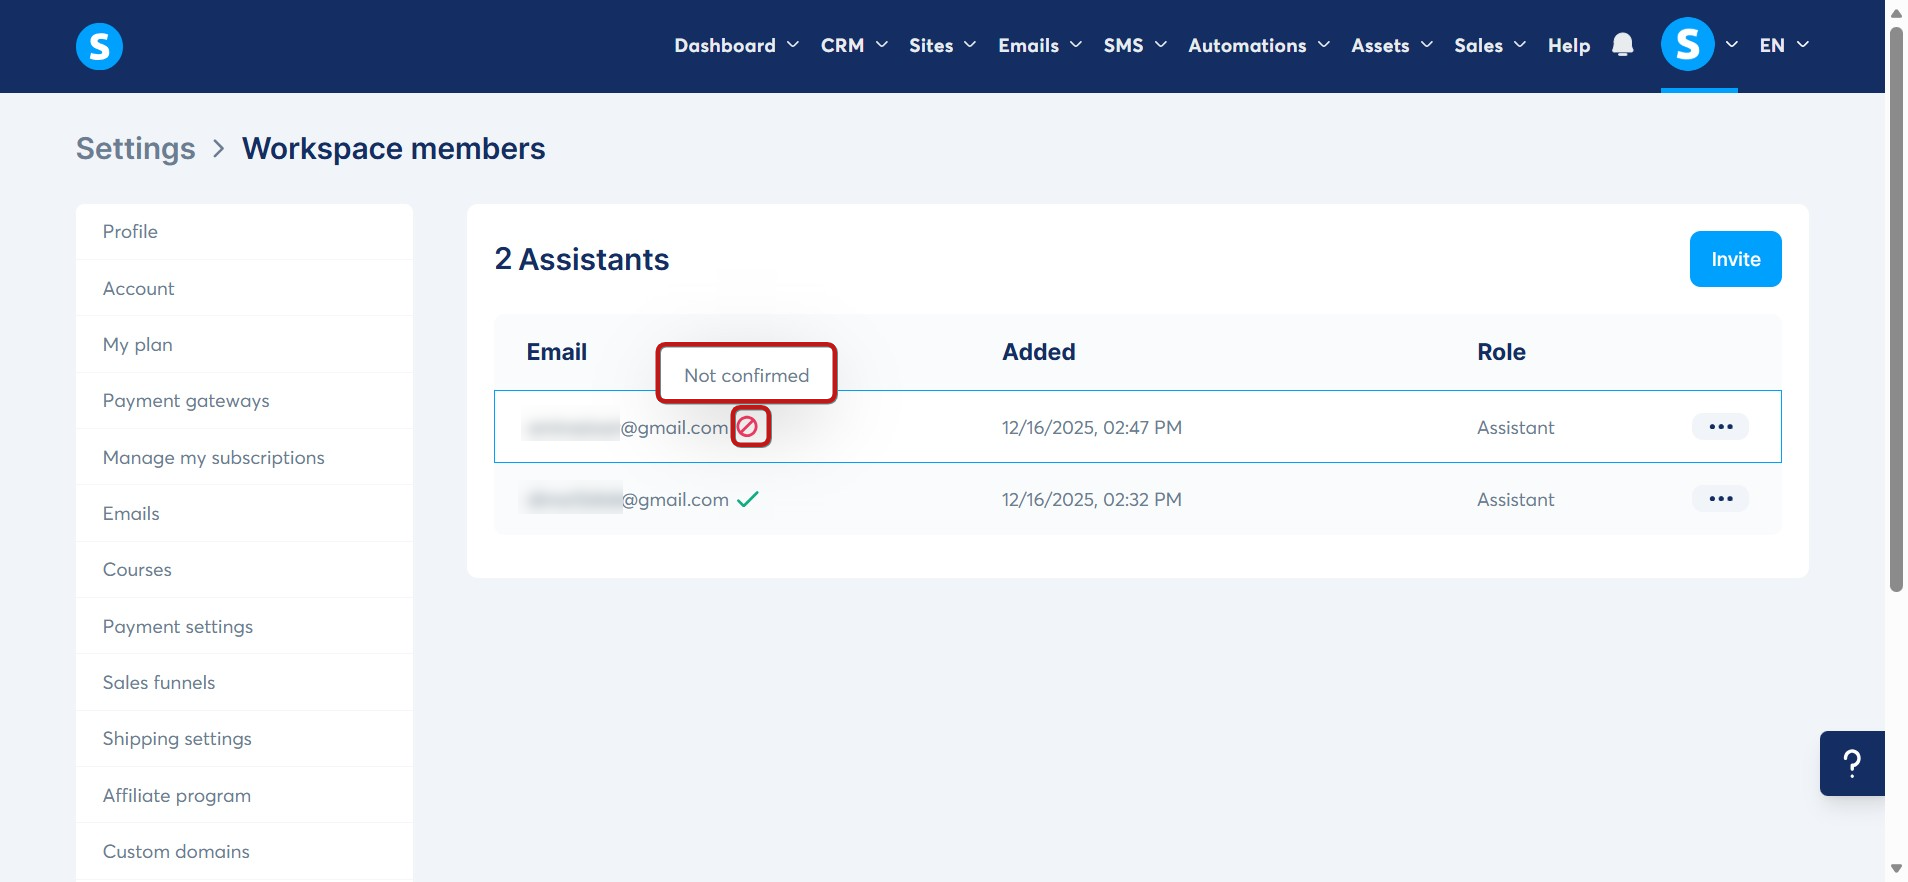
Confirmation status:
- Assistants who have accepted the invitation will appear as Confirmed with a green checkmark.
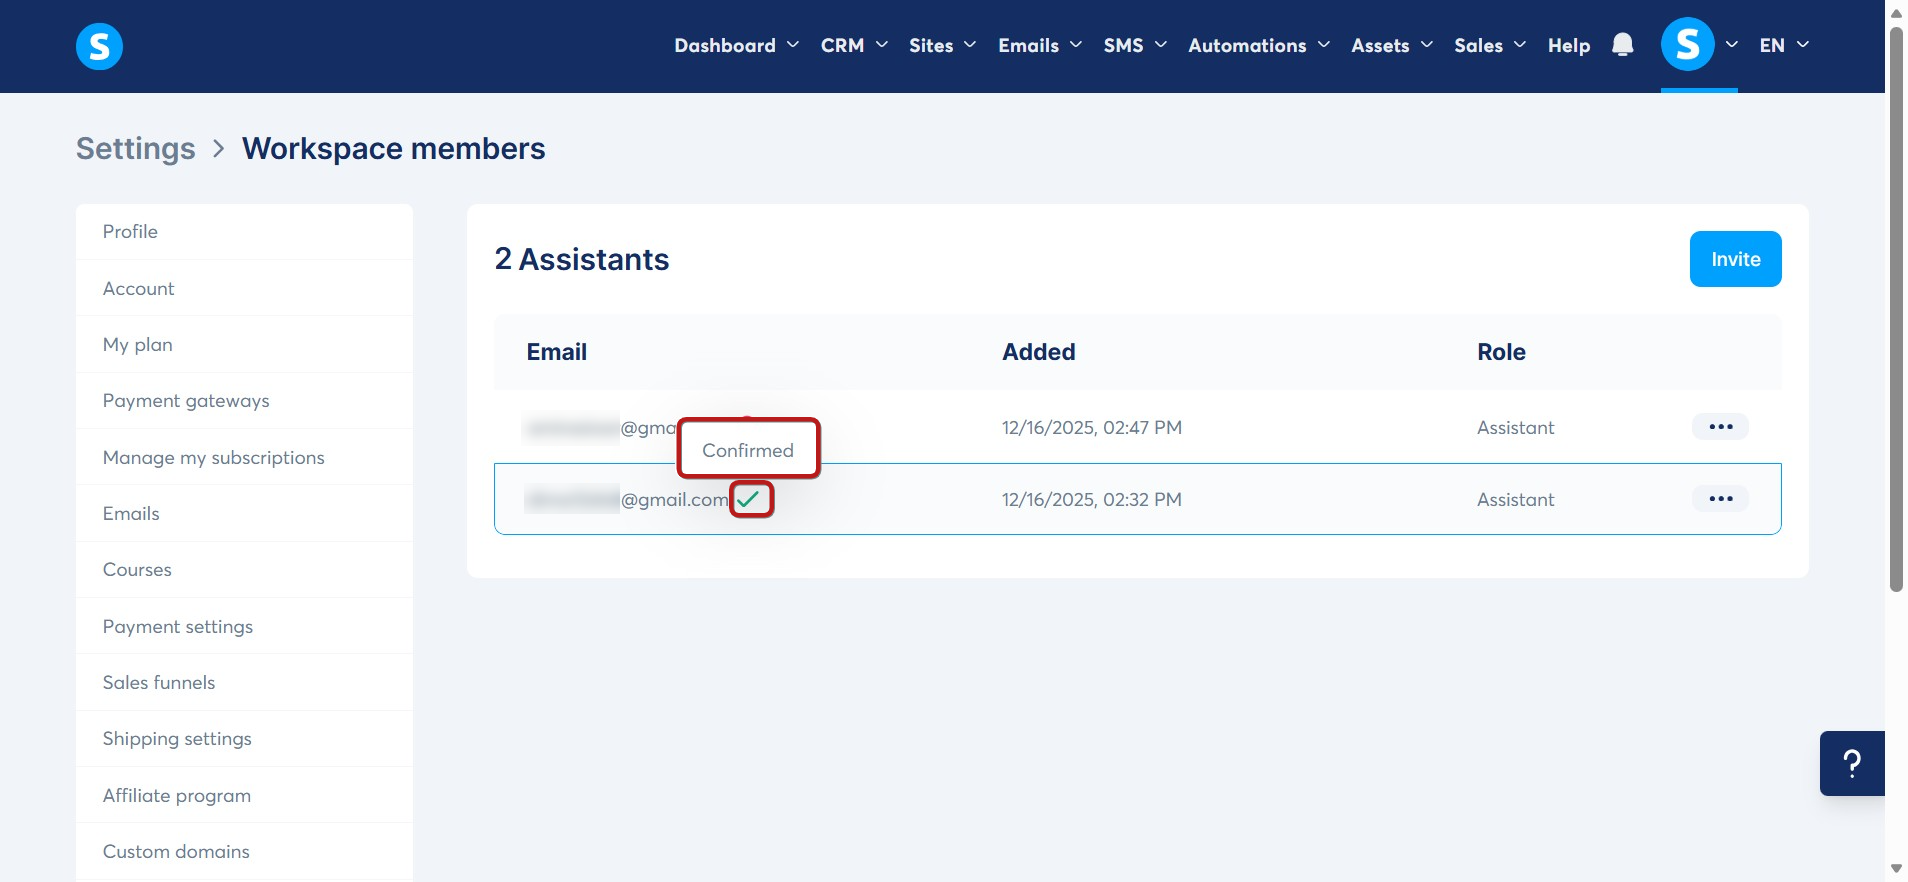
- Others will appear as Not confirmed.
Assistant access:
Assistants can access and manage the workspace owner's data (create, read, update, and delete).
Here’s what they can access:
- Contacts (limited to searching by email; full list is not visible)
- Tags
- Pipelines
- Calendar
- Blogs
- Sales funnels
- Creator store
- Newsletters
- Campaigns
- Email statistics
- Automation rules
- Workflows
- Physical products
- Coupons
- Courses
- Communities
- Files
- Orders
- Transactions (the full list of transactions isn't accessible; you can only search by email)
- Subscriptions (the full list of subscriptions isn't accessible; you can only search by email)
- Courses bundle
- Access to the settings below:
- Account
- Emails
- Courses
- Sales funnels
- Notifications
Give administrator access to an assistant:
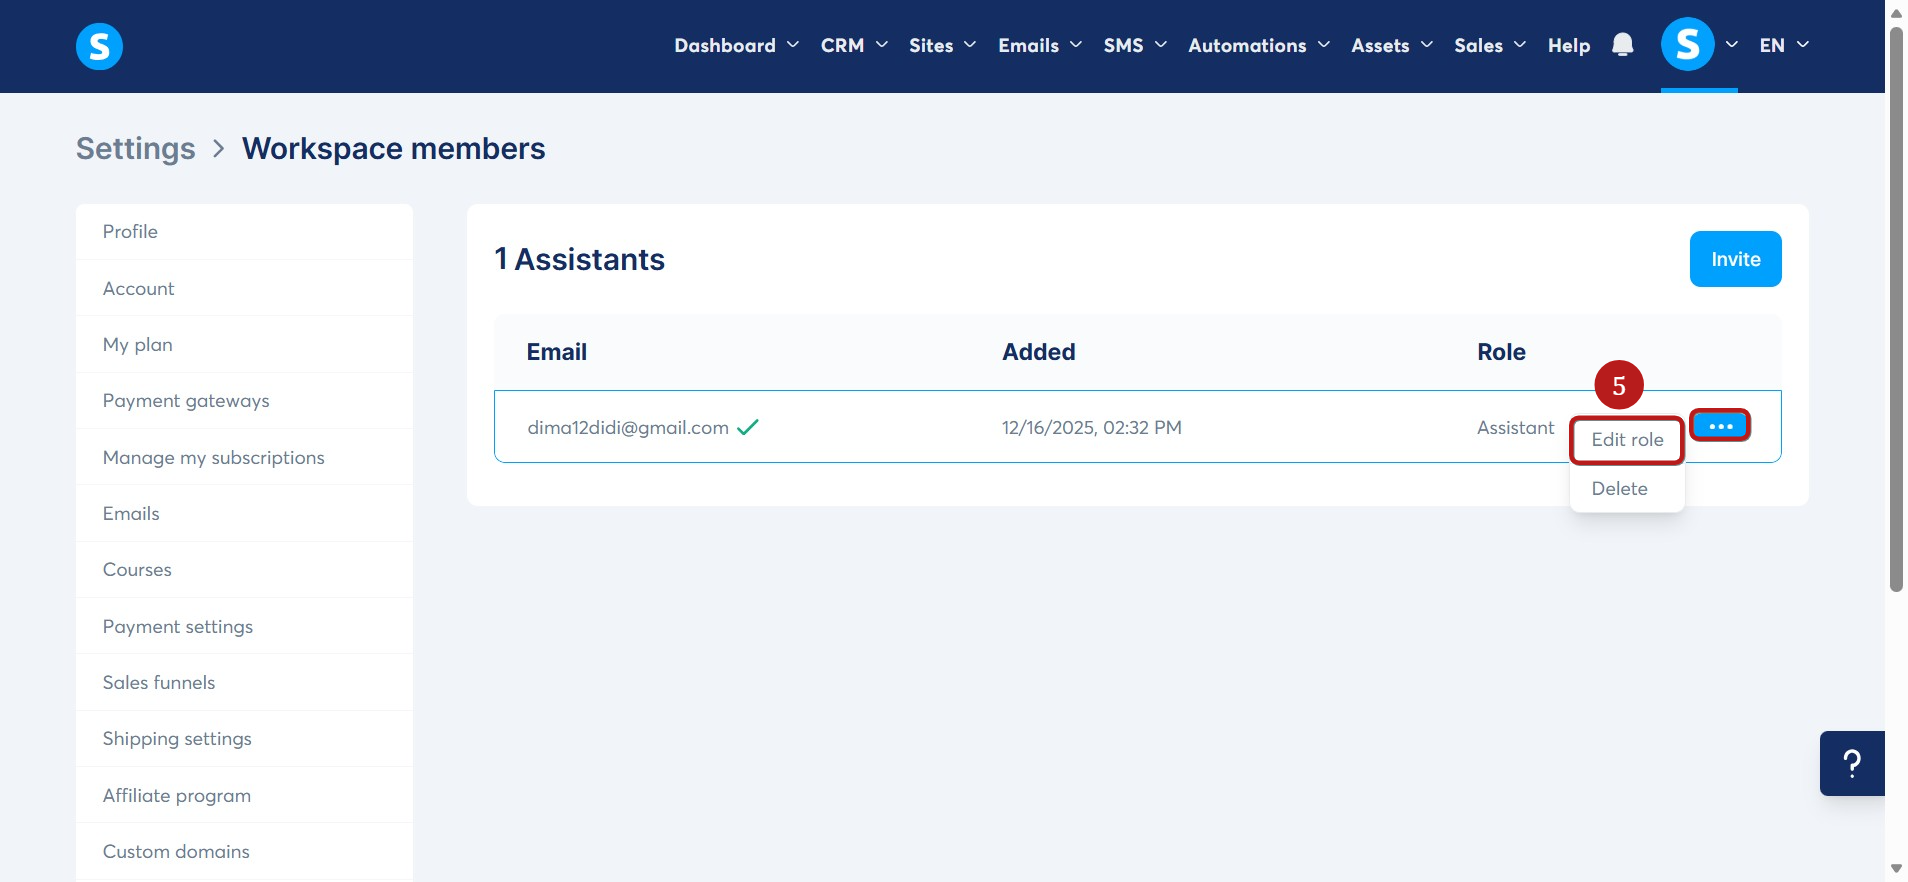
To grant administrator access to an assistant:
- Click on the three dots next to the assistant’s name. Click Edit Role (5).
- Choose the Admin role (6). Click Save (7).

- Once granted, an admin icon will appear next to their email address, and a notification will confirm the change.

What extra access does an administrator have?
Admins have the same permissions as assistants, plus:
1. Access to sensitive data
Admins can view:
- Revenue
- Full contact list
- Transaction history
- Students
- Affiliate invoices
Note: Admins can view but cannot export the contact list; only the account owner can do that.
2. Access to advanced settings
Admins can manage:
- Payments: tax and pricing settings, invoice footers.
- Public API Keys: Create and manage API keys.
- Webhooks: Create and manage webhooks to automate data exchanges with other services.
- Workspace Members: Invite new assistants and manage their access.
- Notifications.
- Integrations: Manage integrations with external tools like Zoom, Google Meet, Google Sheets, and Google Calendar.
And other settings, shown in the screenshot below.
Sections not accessible to assistants and administrators:
Some sections are strictly reserved for the account owner, even for administrators. These include:
- Profile: Personal information of the account owner.
- My plan: Manage your systeme.io subscription plan.
- Payment gateway: Add and manage payment gateways (Stripe, PayPal, etc.).
- Manage my subscriptions: View and cancel subscriptions, whether with systeme.io or other vendors.
- Shipping settings: Configure shipping options for physical products.
- Affiliate program: Manage the owner’s affiliate program.
- Custom domains: Add, configure, or remove custom domains linked to the account.
- Affiliate commissions payouts: Choose the payment method to receive affiliate commissions.
How to revoke an assistant’s access to your workspace?
To revoke an assistant's access to your workspace, click the three dots, then select Delete (8) next to the assistant you wish to remove.
