How to configure the Facebook Conversions API on systeme.io
In this article, you will learn how to set up the Facebook Conversions API on Systeme.io.
The Facebook conversions API allows you to track conversions through your website's server, rather than through your customer's browser (managed via the Meta Pixel; learn how to set it up here).
Instead of tracking browser pixel events, the Facebook conversions API tracks “server events”.
Before you begin:
- Make sure you have admin access to the Meta Business Manager where the Pixel is created or will be created
- Make sure you have access to your business’s server
- Create a Meta Pixel (if you haven't done so already, click here).
- Read Facebook's best practices for the Conversions API
The setup has 2 steps:
- Create personalized setup instructions
- Implement the Conversions API
Step 1: Create personalized instructions for your website
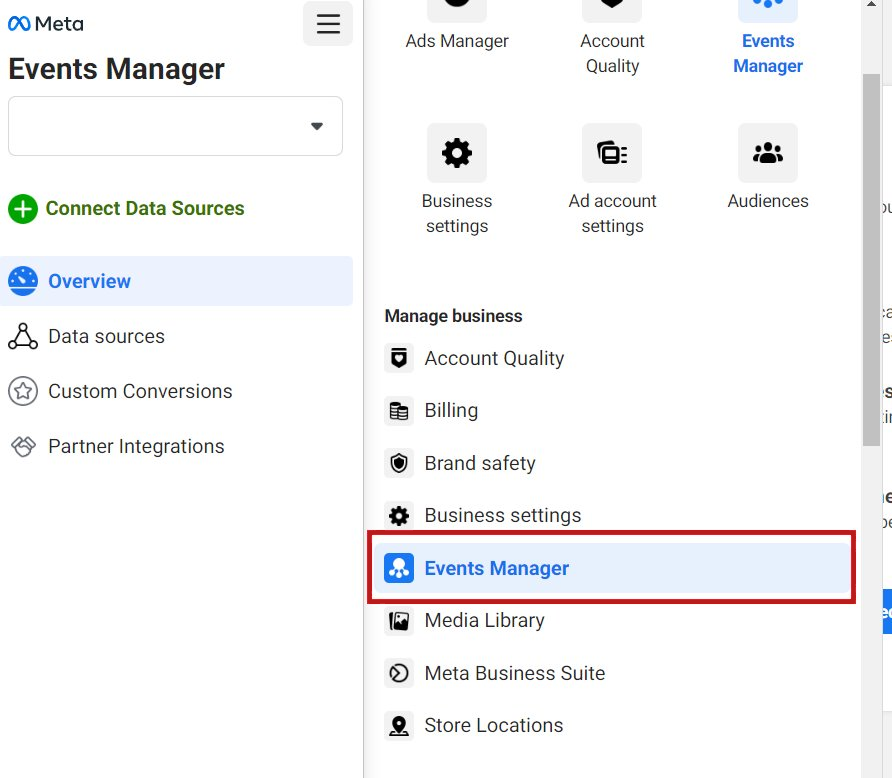
- In your Meta Business Manager profile, go to Events Manager
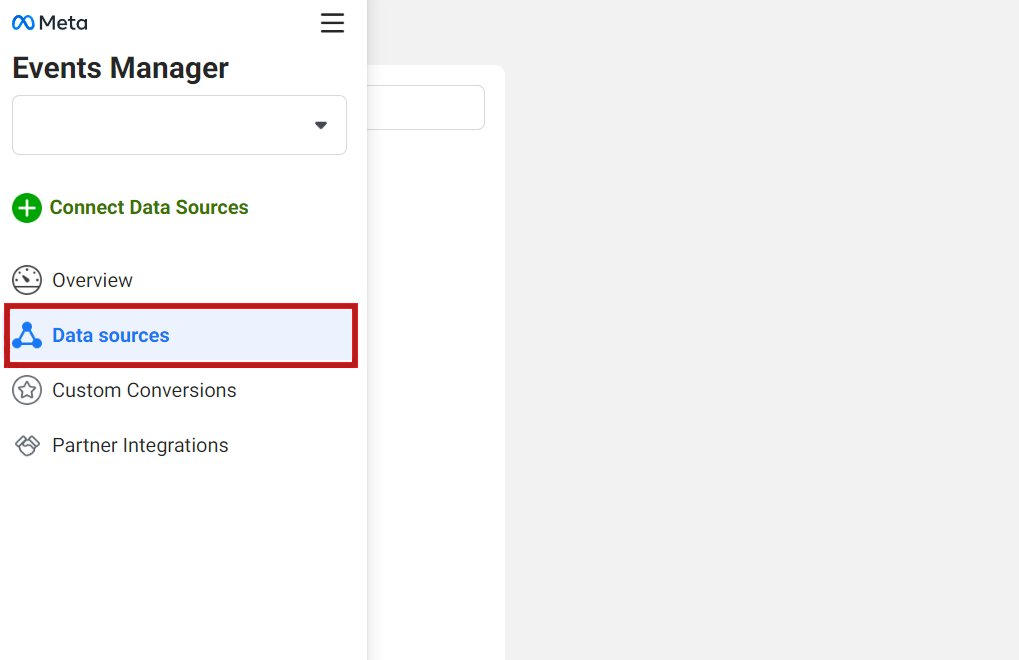
- Click the Data sources icon on the left side of the page
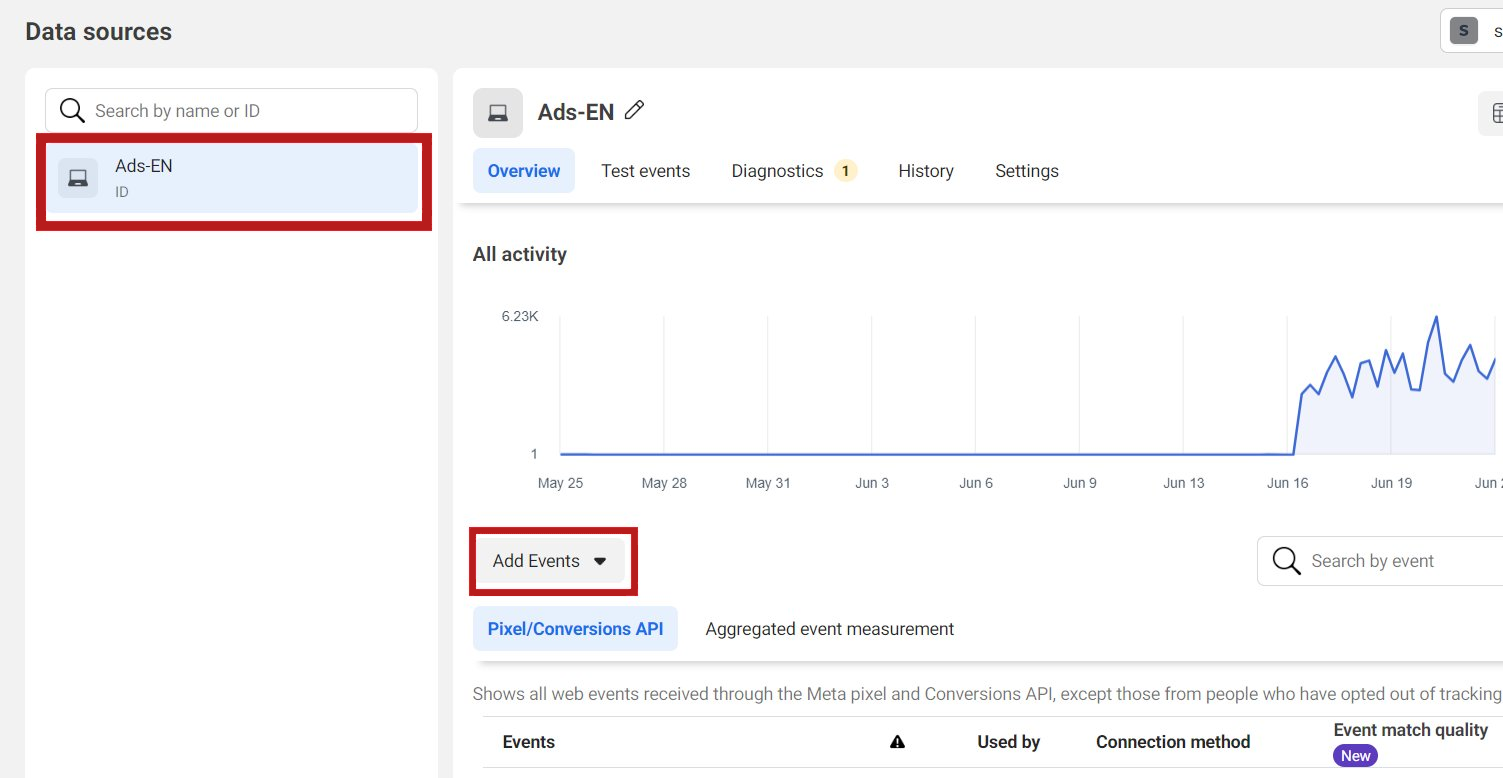
- Select the Data Source (Pixel) you want to connect to the Conversions API (in this example, we will choose "Ads-EN") and click Add Events below the activity graph.
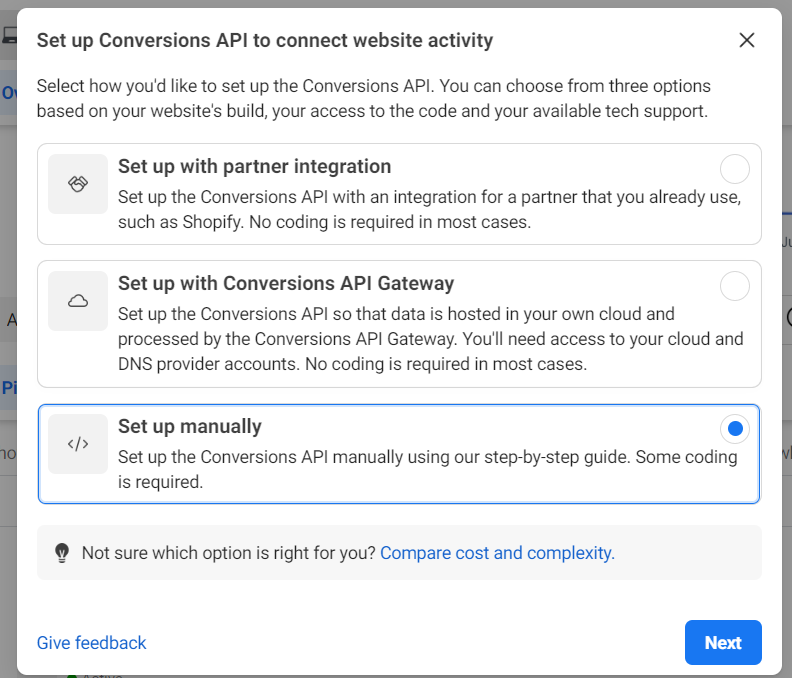
- Select Using the Conversions API, and then click. Set up manually
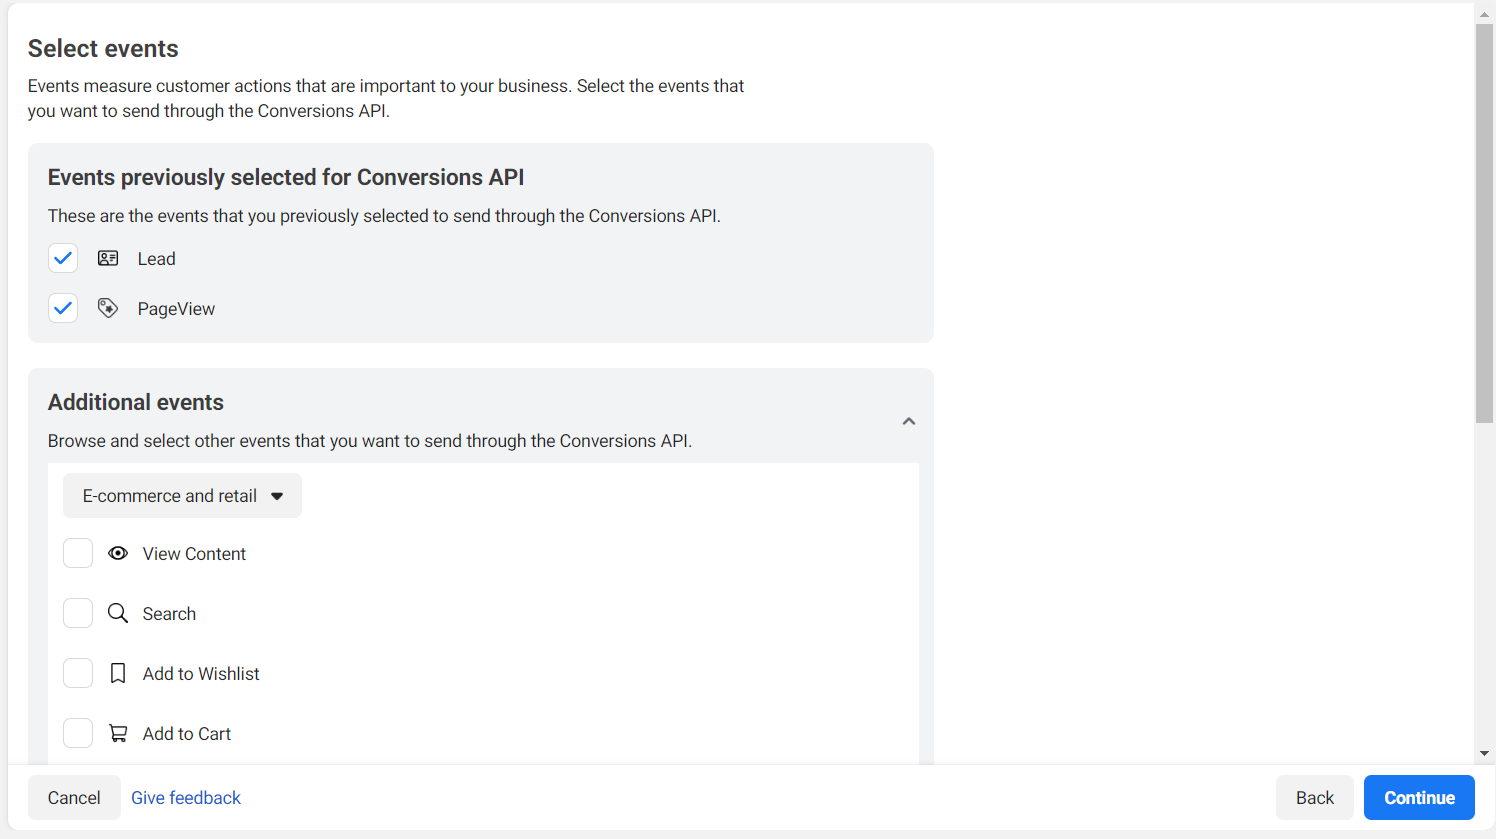
- Select the events you want to send through the Conversions API. Use the dropdown menu for event recommendations based on the type of business you have, then click Continue once you're done. (For this example, we've chosen "Lead" and "Pageview").
- Select the parameters you want to send for each of the events you selected ( you need to select at least one customer information parameter; learn more here) and click Continue once you're done with your selection.
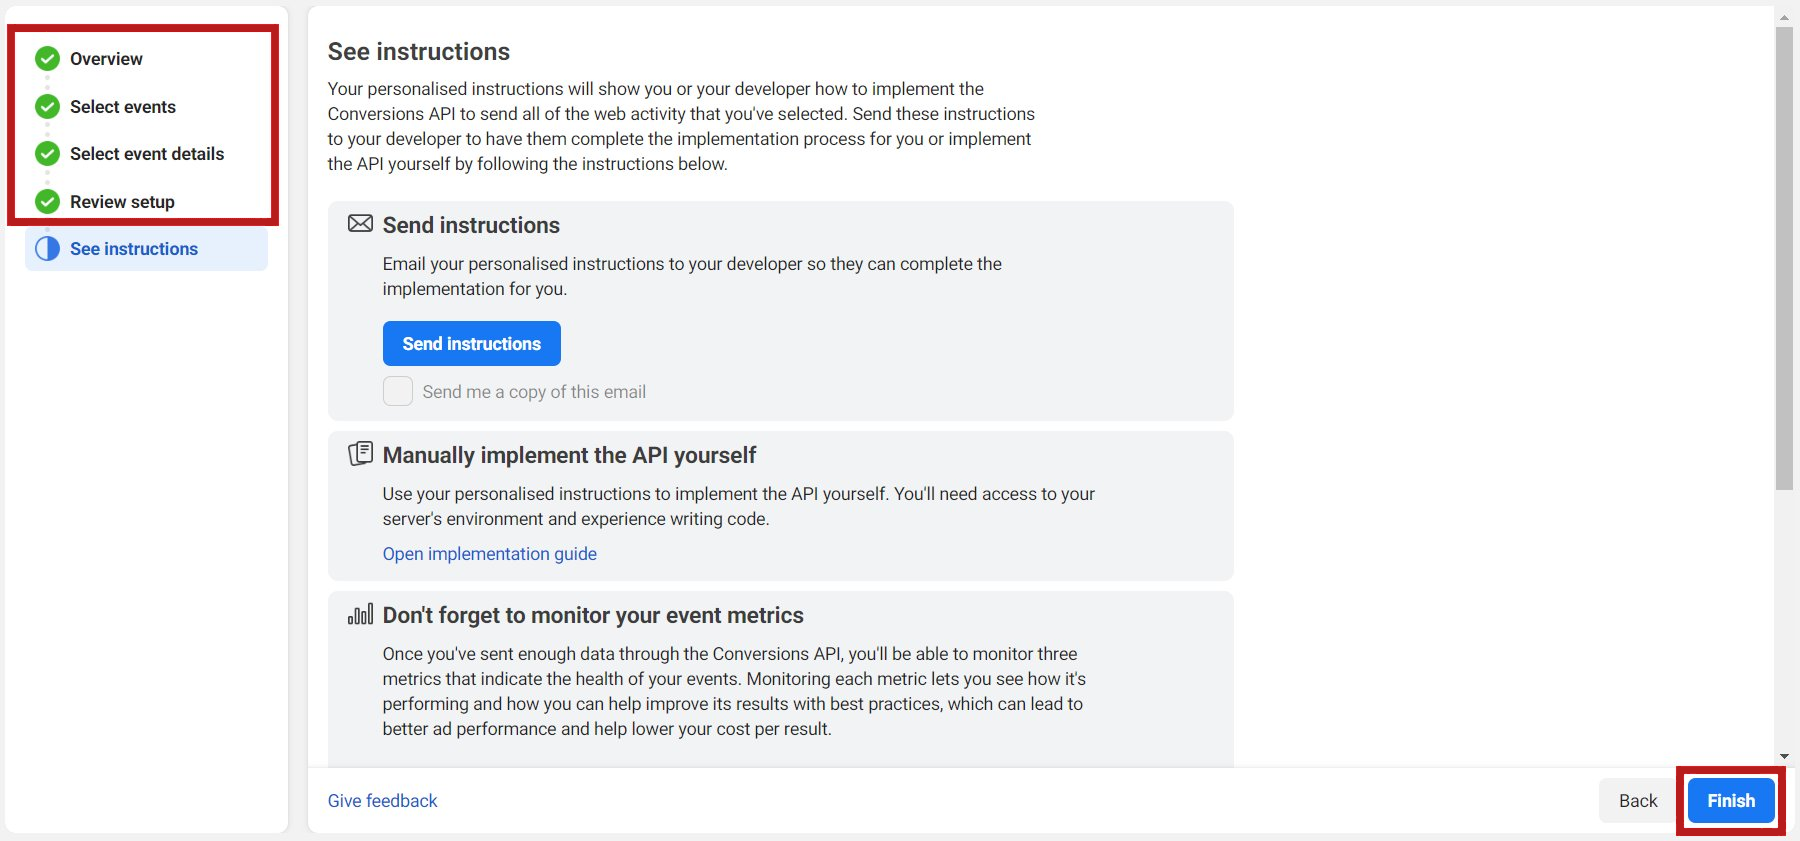
- Review your events and parameters, and then click Finish (Ensure there are green checkmarks next to every step).
Step 2: Implement the Conversions API
- Go to Events Manager.
- Click the Data sources icon on the left side of the page.
- Select the Pixel ID that you chose to connect with the Conversions API.
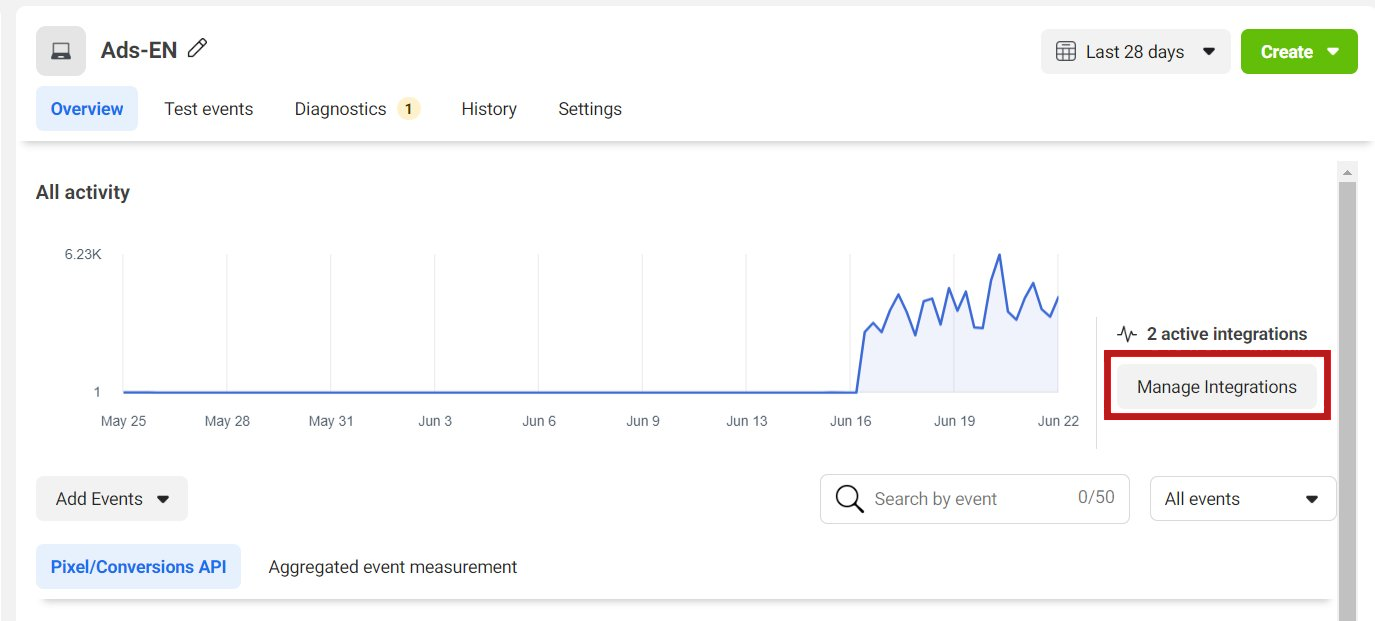
- Click Manage Integrations
- Click on Manage next to your Conversions API and then on Start sending events from server.
- Click on Get started and then click Generate Access Token. Copy your access token and keep it somewhere safe for later use.
You are now ready to implement your Facebook Conversions API in Systeme.io
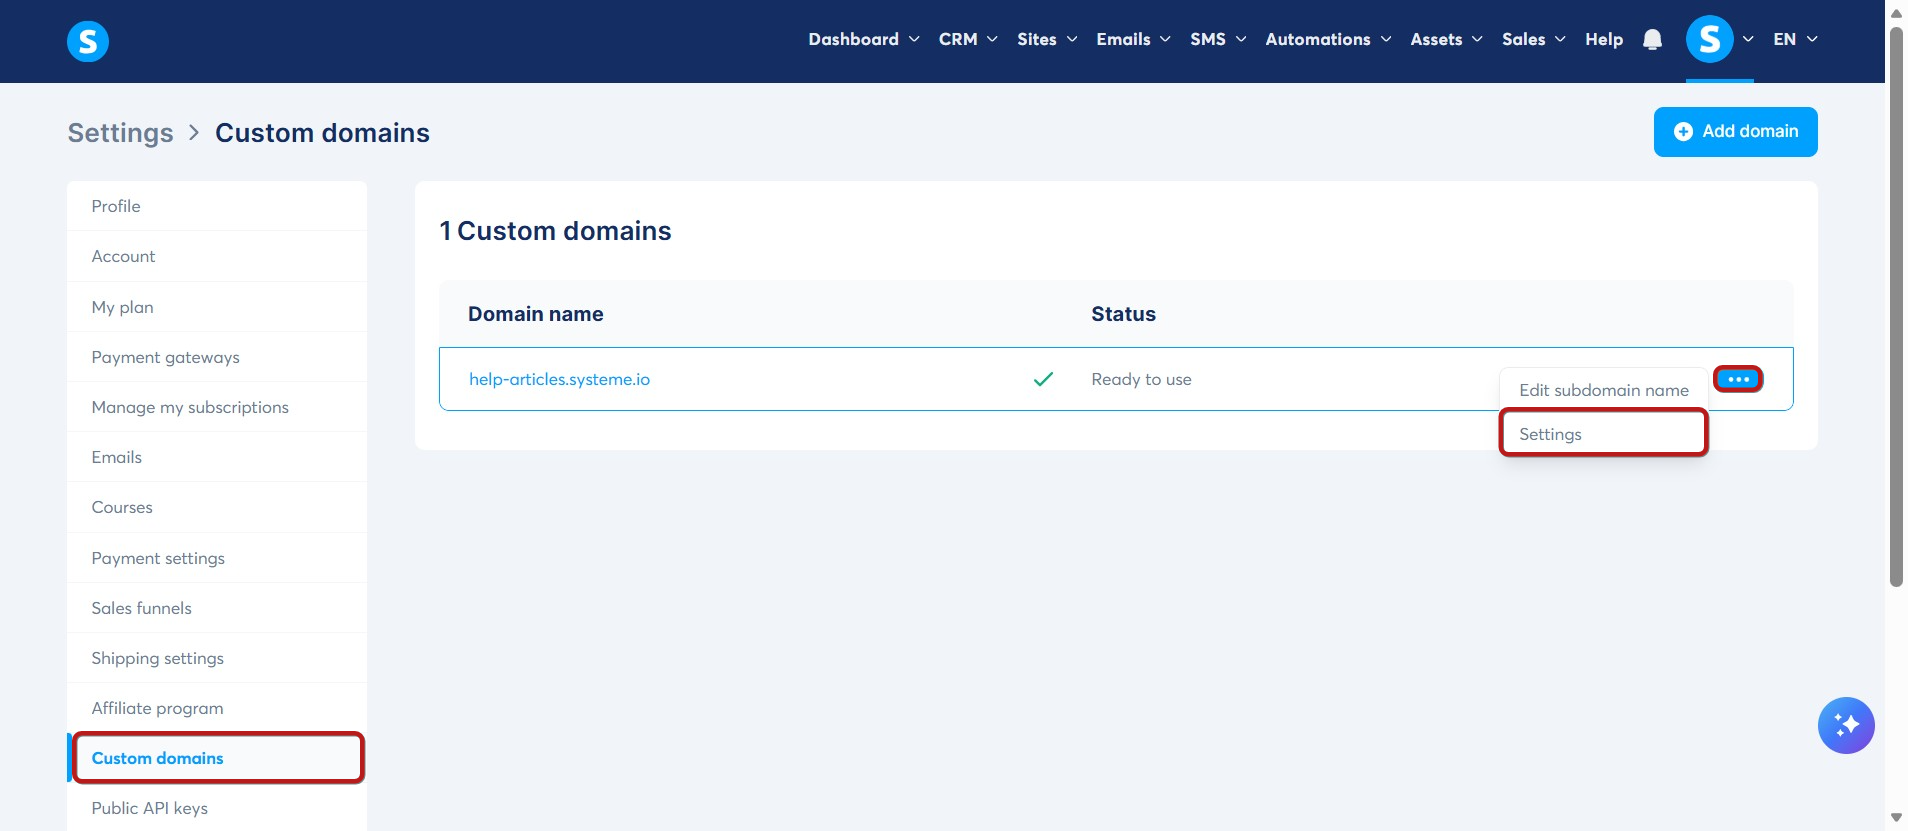
- In your Systeme.io account, click your profile picture in the top right corner and go to Settings > Custom Domains. Click the three dots next to your domain and select Settings.
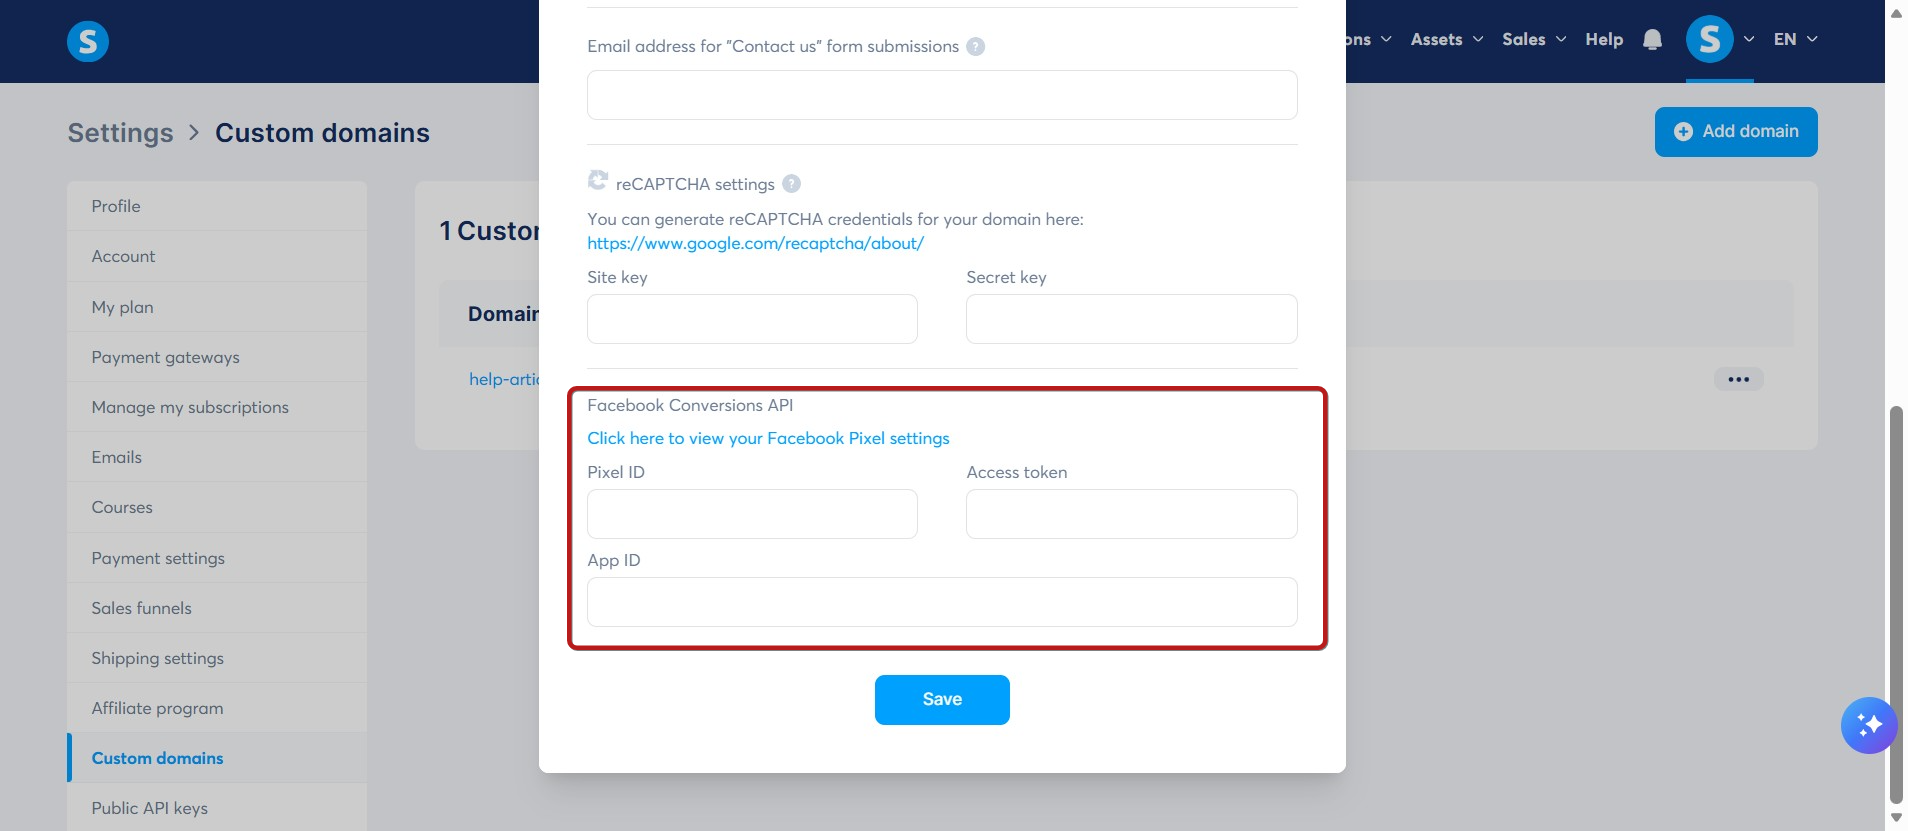
8. Add your pixel ID (found in Facebook Events Manager, under "Data Sources") and paste the access token you saved earlier. Click Save.
- To test whether the Facebook Conversions API is working on your site, in Facebook Business Manager, go to: Events Manager > Data Sources > Your Pixel > Test Events. Follow the prompts given by Facebook and complete all the events that you are tracking on your website.
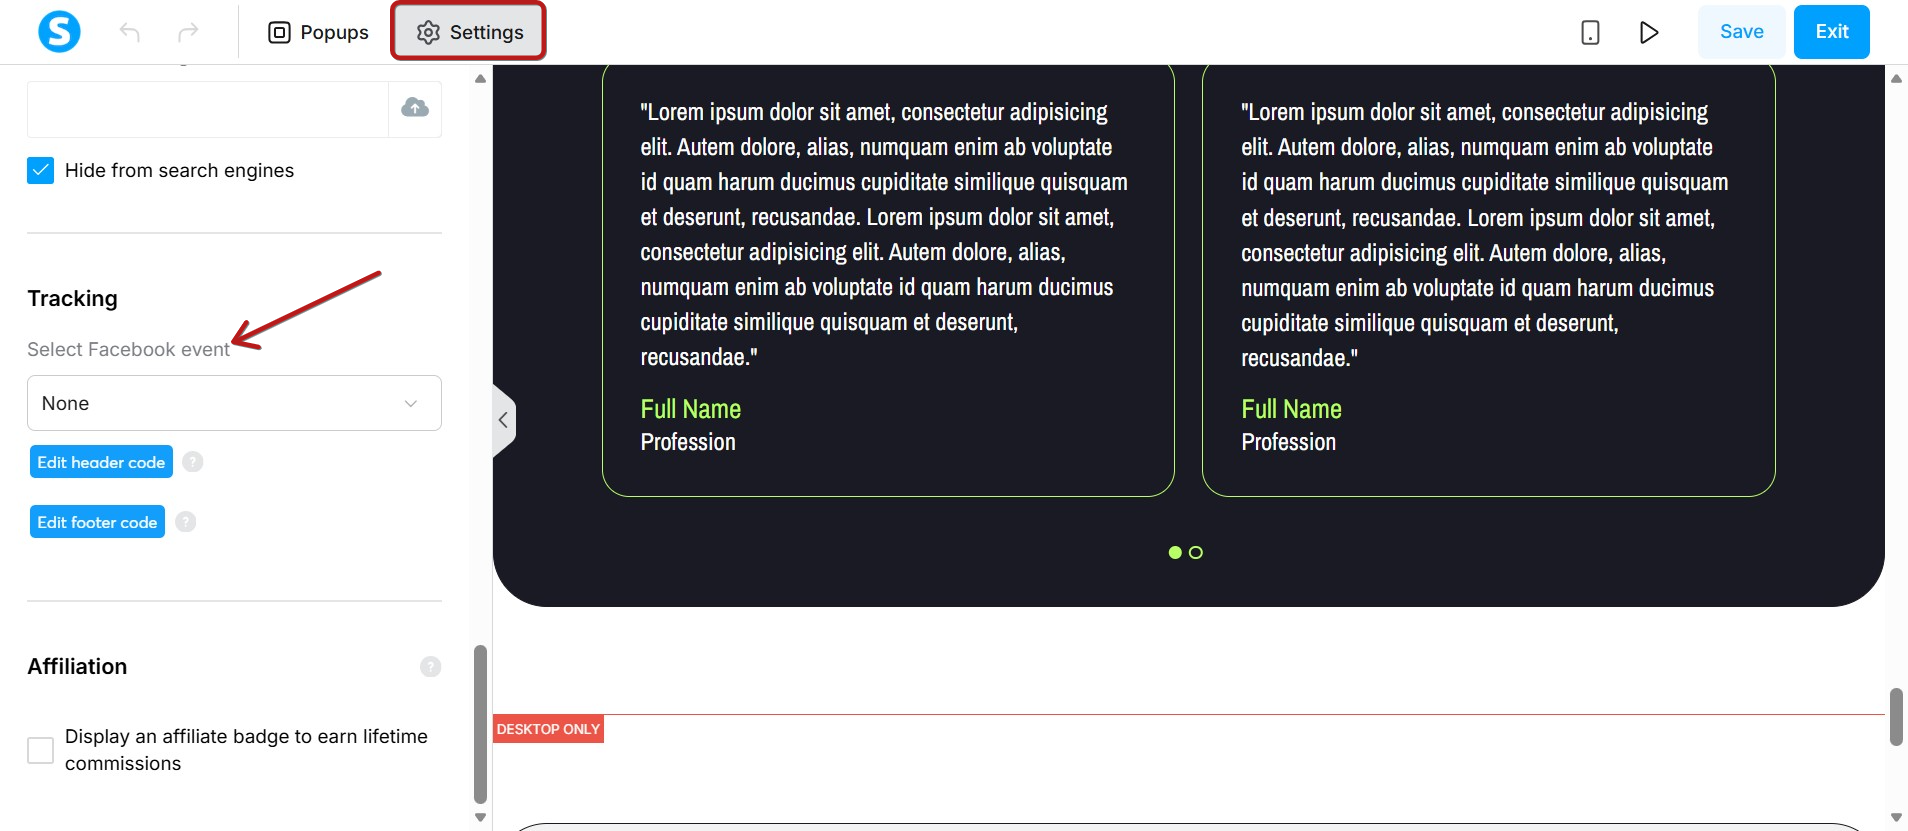
- Finally, add the corresponding event to every page you would like to track using the Conversions API (this setting is found under Settings when editing the page).