How to set up a public course store and promote courses to existing students
This guide shows you how to showcase your courses to the public (via a school page) and to existing students (via the student dashboard).
We will cover:
- Creating a public course store
- Promoting courses on the student dashboard
- A systeme.io account
- Courses created in your account
- A student who has access to at least one of your courses
- A sales funnel with a sales page
Part 1: How to create your public course store
To display a catalog of your courses to the public, you can use your school page.
How the school page works:
This page acts as a central library located at yourdomain.com/school. It is accessible to everyone, even visitors without an account.
1. Access course settings
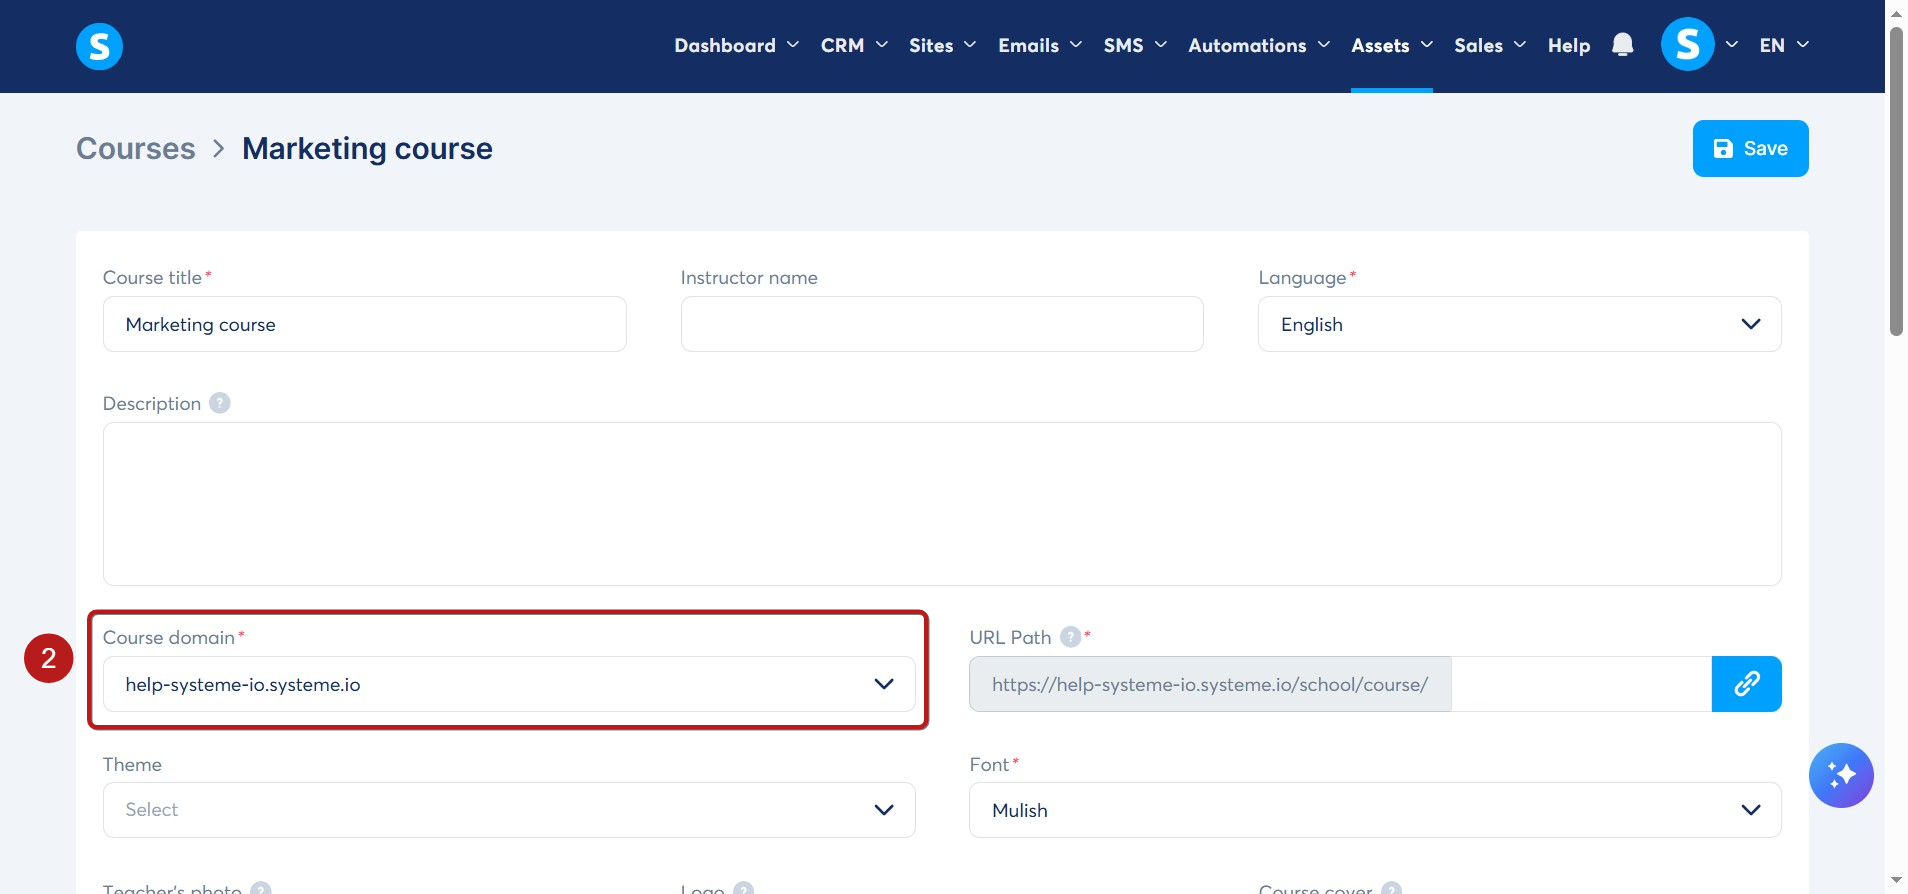
Go to the courses tab. Select the course you want to feature and click Settings (1).

Select the domain you want to use for this course (2).
- Connect a sales page
To list the course, the system needs to know where to send potential buyers.
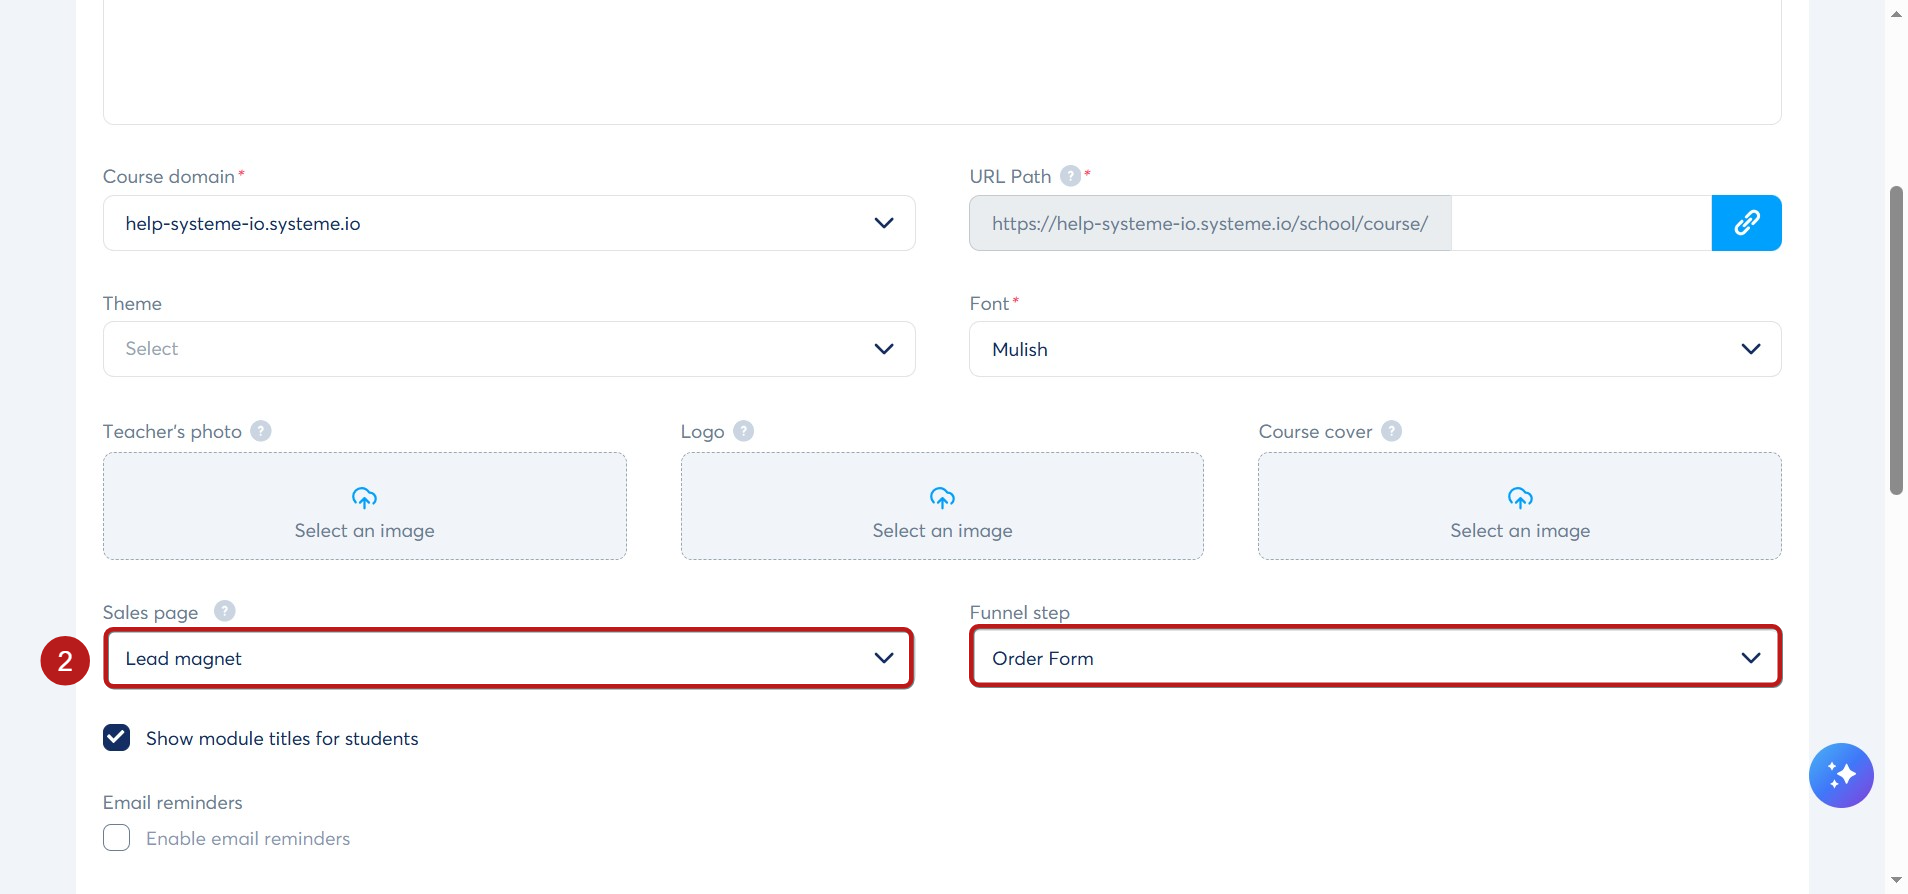
- Scroll down to the Sales page section (3).
- Select the Funnel and the specific Funnel step for your sales page.
- Click Save at the top of the page.

Once saved, your course will appear on your public school page at:
https://yourdomain.com/school
Notes:
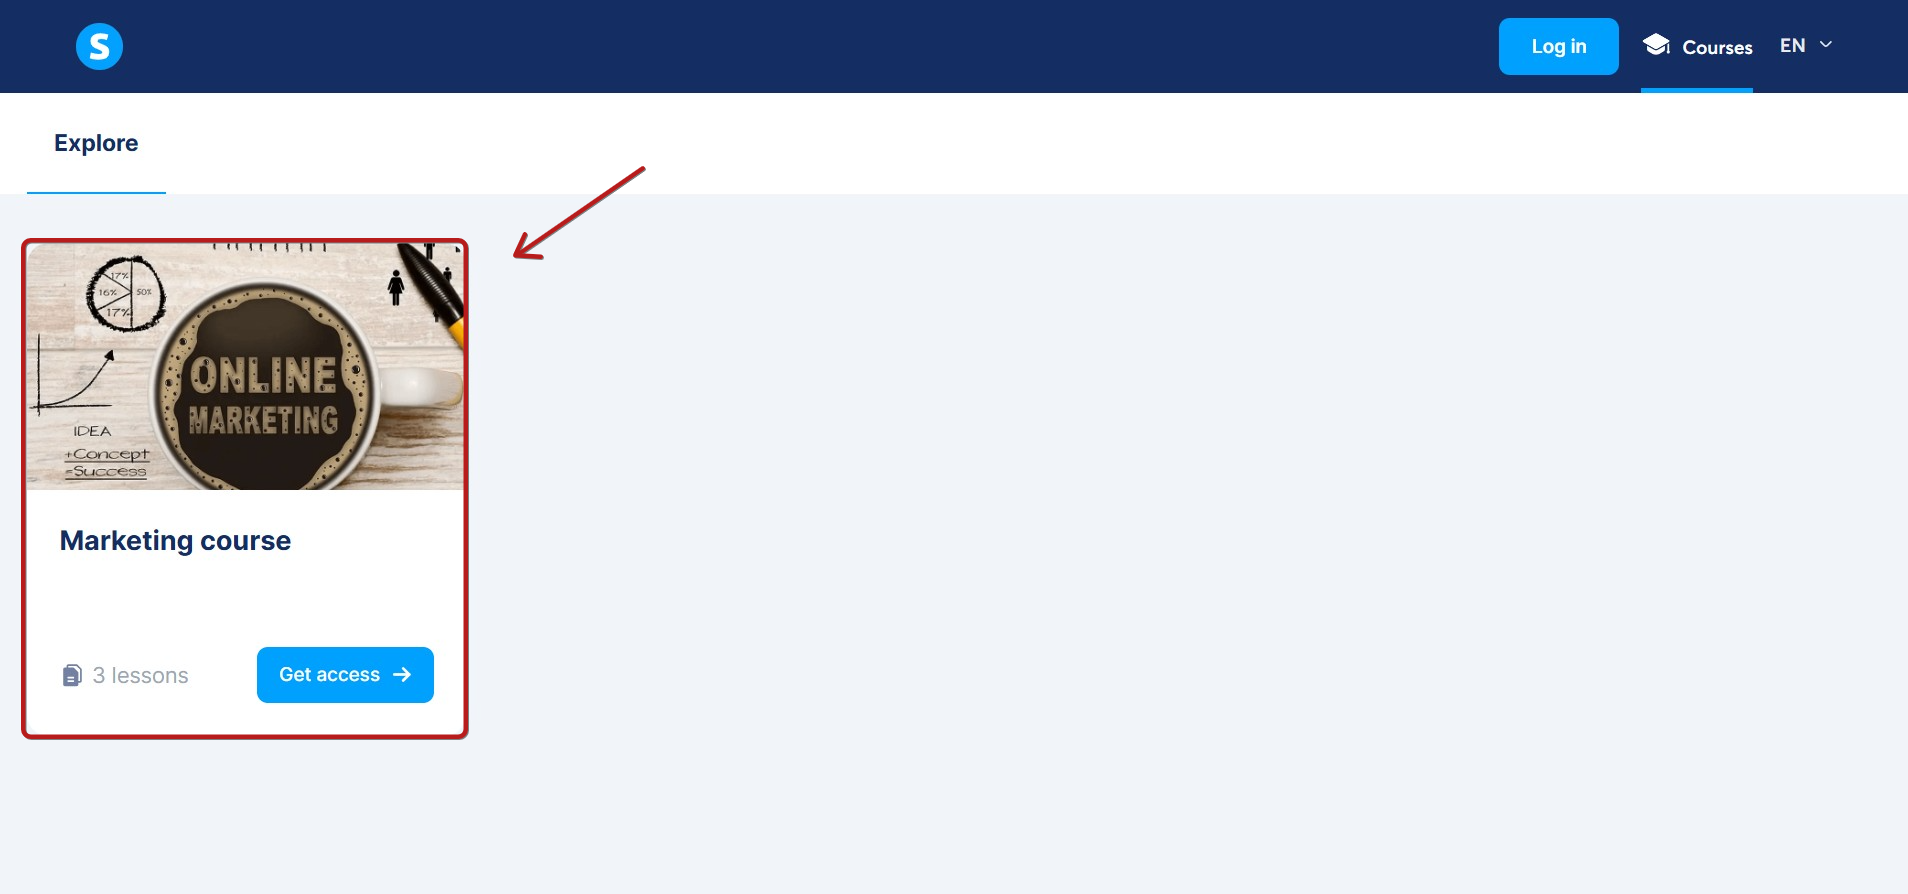
- Public access: Visitors can browse and discover courses at https://www.yourdomain.com/school, even without a systeme.io account.
- Redirects: When a visitor clicks Get access, they will be redirected to the sales page you configured.
- Important: You must link a sales page in the course settings. If you don't, the course will be hidden from the public school page.
Part 2: How to promote your courses on the student dashboard
Displaying other courses on the student dashboard is a great way to drive sales to students who are already enrolled in one of your programs.
- Access course settings
Go to the courses tab and click Settings for the course you want to promote (1).
2. Link a sales page
Just like in part 1, you must link a sales funnel for the course to appear on the dashboard.
- Scroll down to the Sales page section (2).
- Select the Funnel and Step for your sales page.
- Click Save.
The student experience:
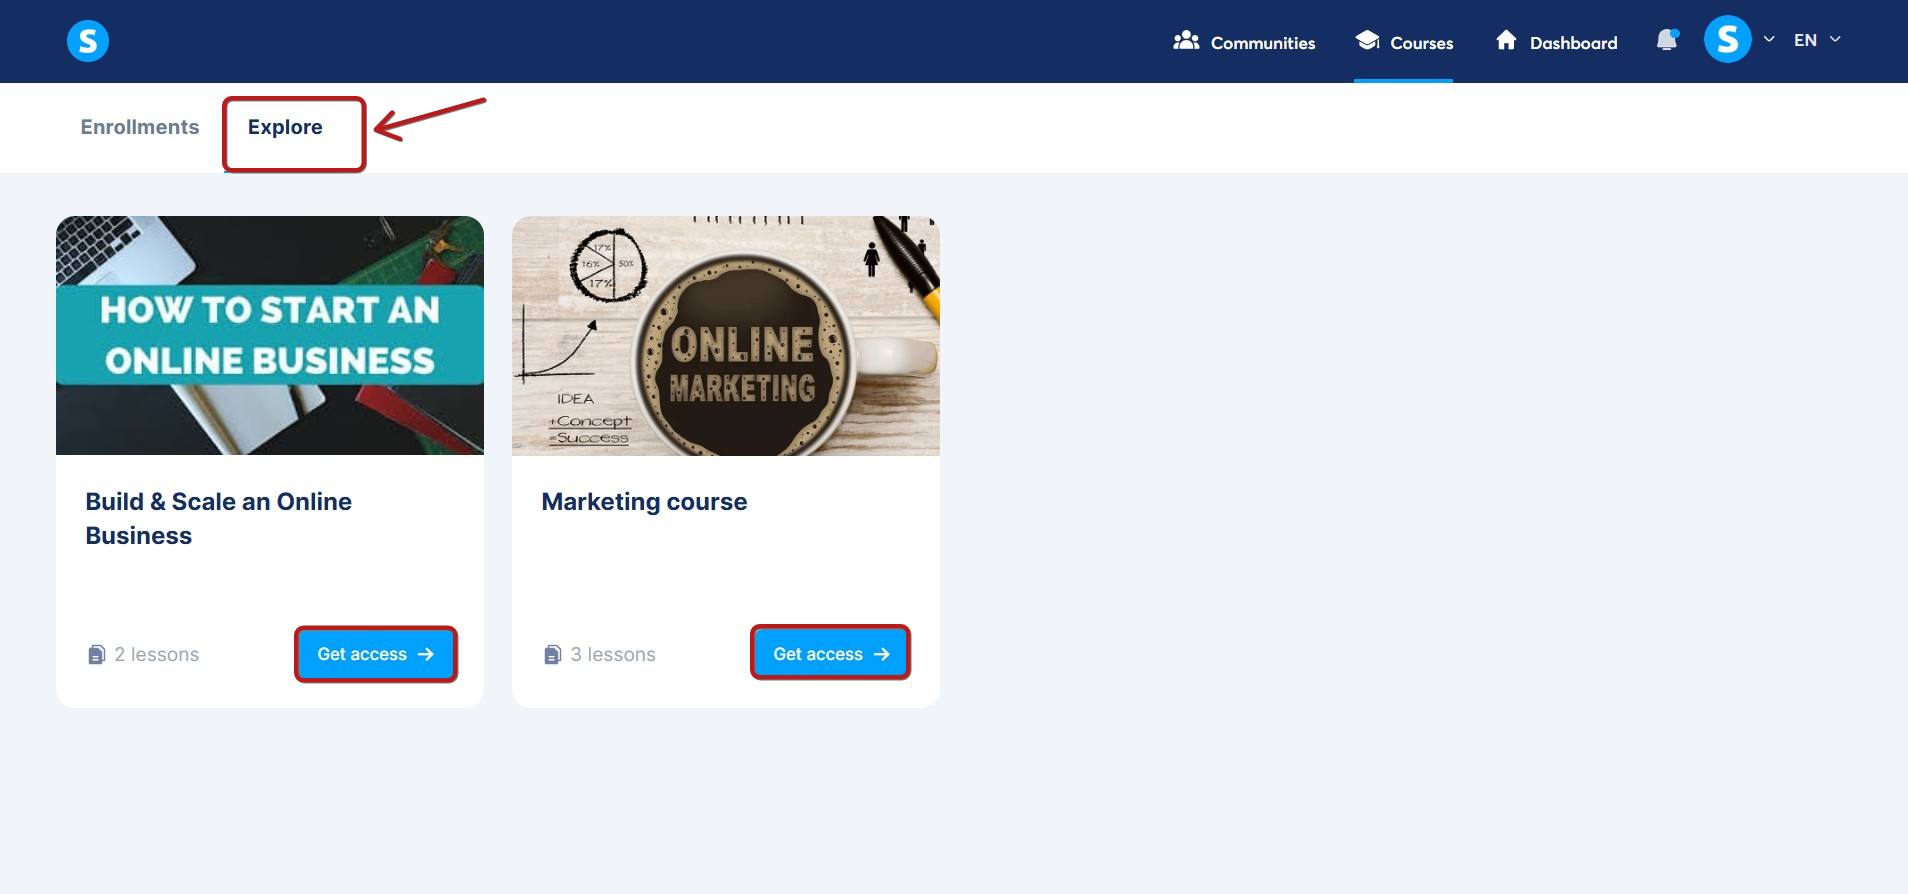
Once configured, your course will appear under the Explore tab in the student dashboard.
- If they own the course: They will see an Open button to resume learning.
- If they don't own the course: They will see a Get access button, which redirects them to your sales page.
Notes:
- Visibility: The course will not appear on the dashboard or public page unless a sales page is linked in the settings.
- Prerequisite: Students only see the Explore tab if they are already enrolled in at least one of your courses.
-
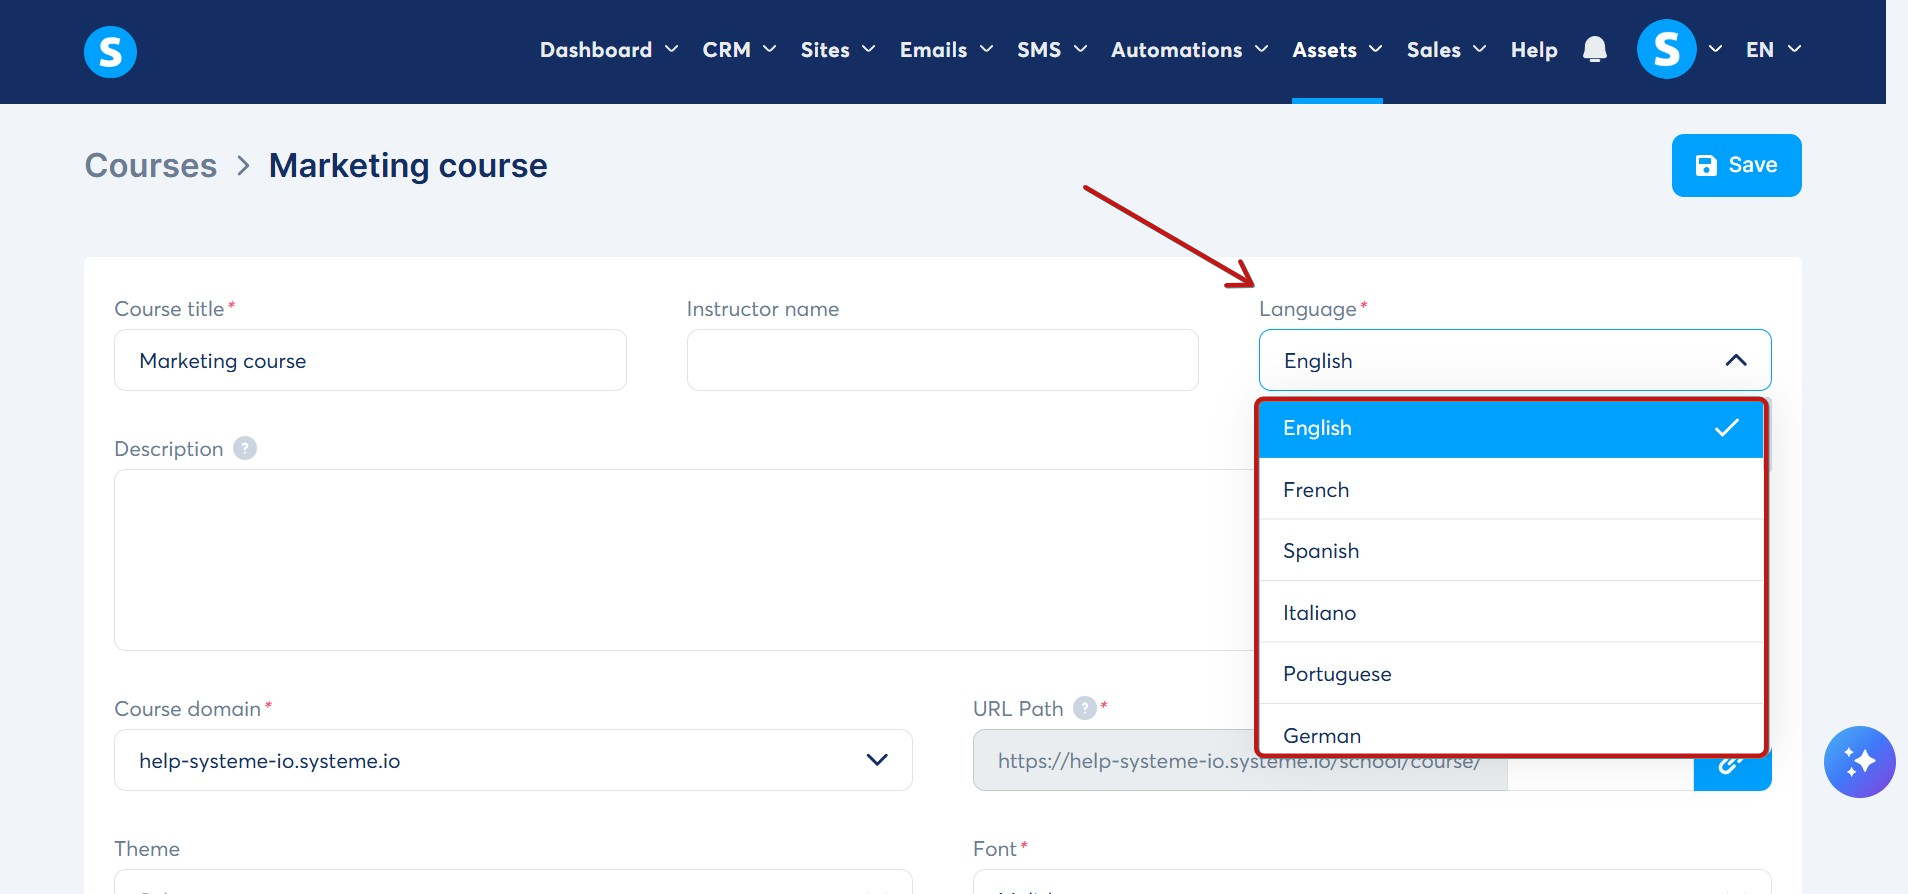
Language Matching: The Explore tab only displays courses that match the language of the student's profile.
Example: A student with their profile set to French will only see courses where the language is set to French. They will not see your English courses.
- Date and time formatting: The date and time displayed throughout your school and student dashboard automatically follow the format and timezone configured in your main account settings.
You can change a course's language in the course settings.