How to create a community
In this article, you will learn how to create a community using systeme.io.
1. Creating a community
Go to the Assets tab, then click on Communities (1).

On the Communities page, click the Create button (2).

On the popup that appears, provide the following details for your community:
- A name
- The domain name to assign to it
- The URL path to use
- Whether messages should be automatically validated or manually moderated
After adding these details, click on Save (3).

2. The community dashboard
After the community has been created, you'll be taken to its dashboard, where you'll find the following tabs:
- Home: Where you can add posts and create topics
- Search: You can search through posts, comments, and authors' names. As you type in the search bar, real-time autocomplete suggestions will appear (after typing at least 3 letters), allowing you to click a suggestion and go directly to the most relevant result.
- Members: To access the list of community members
- Settings: To manage the community's configuration
- Scheduled posts: Posts that are scheduled
- Topics: You can add different topics

a. Members
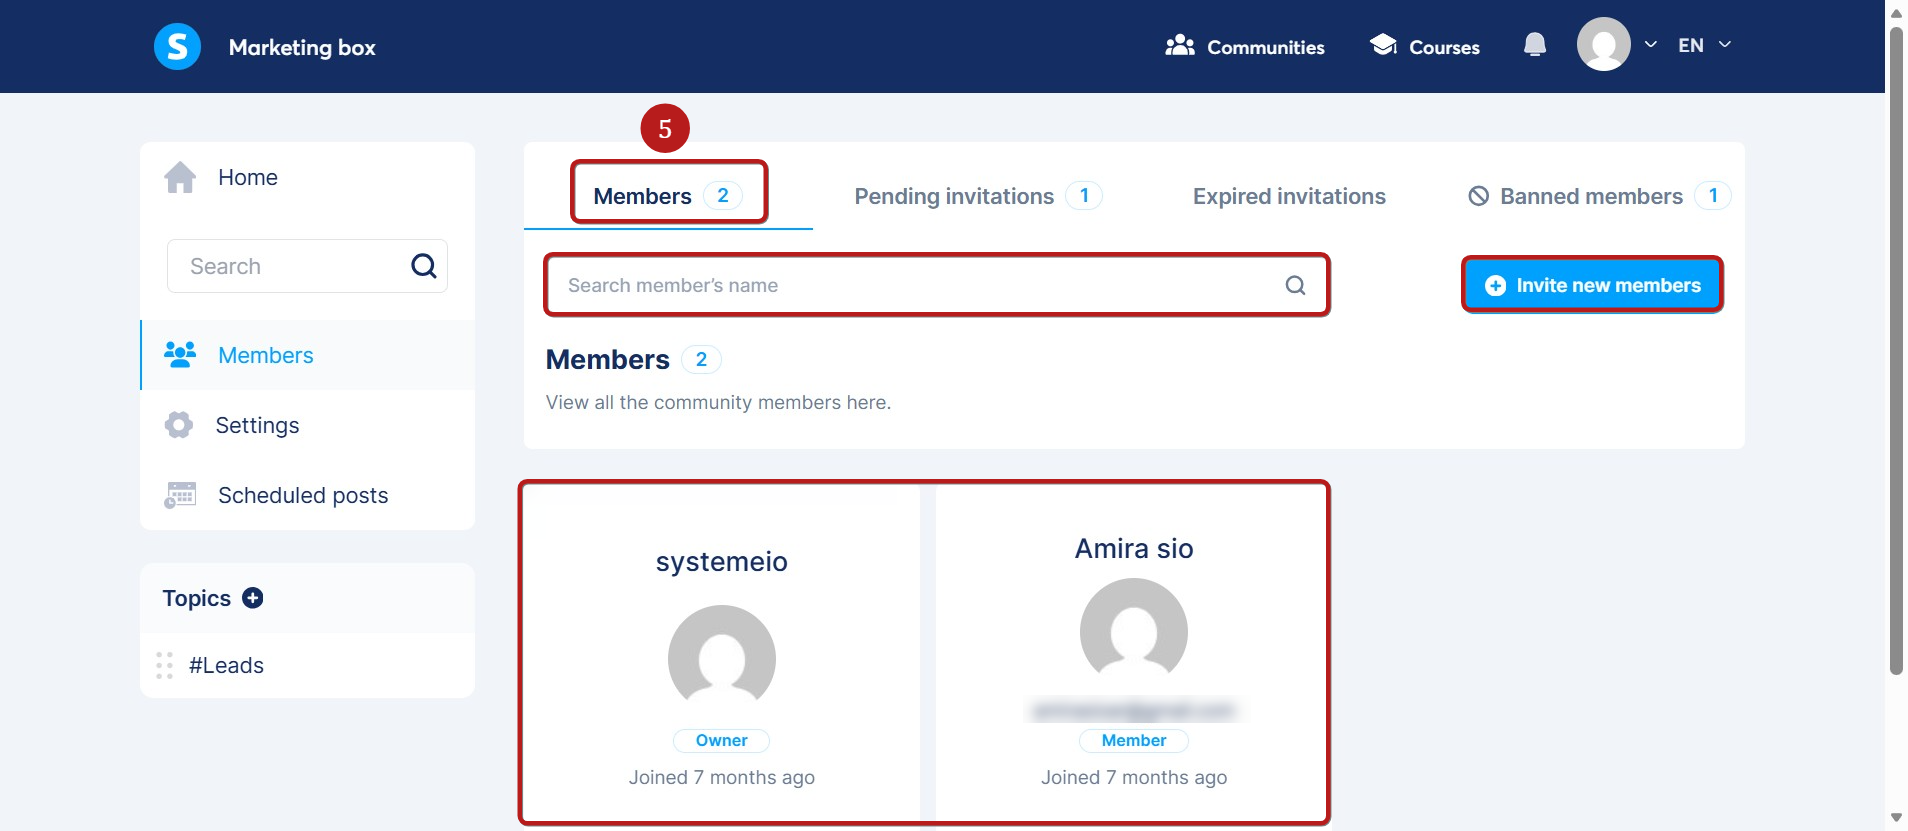
From the Members tab, you can view your community members' details, send new invitations, and track the status of those invitations.
When you invite someone to your community, they do not become an active member immediately. They must first accept the invitation and complete the onboarding process. To help you manage this, the dashboard is divided into four tabs:
- Members (5): Displays all active users who have successfully joined the community, along with their exact join date. (The member count displayed here only includes active members). In this tab, you can also search for existing members or invite new ones (these options are available on all 4 tabs).
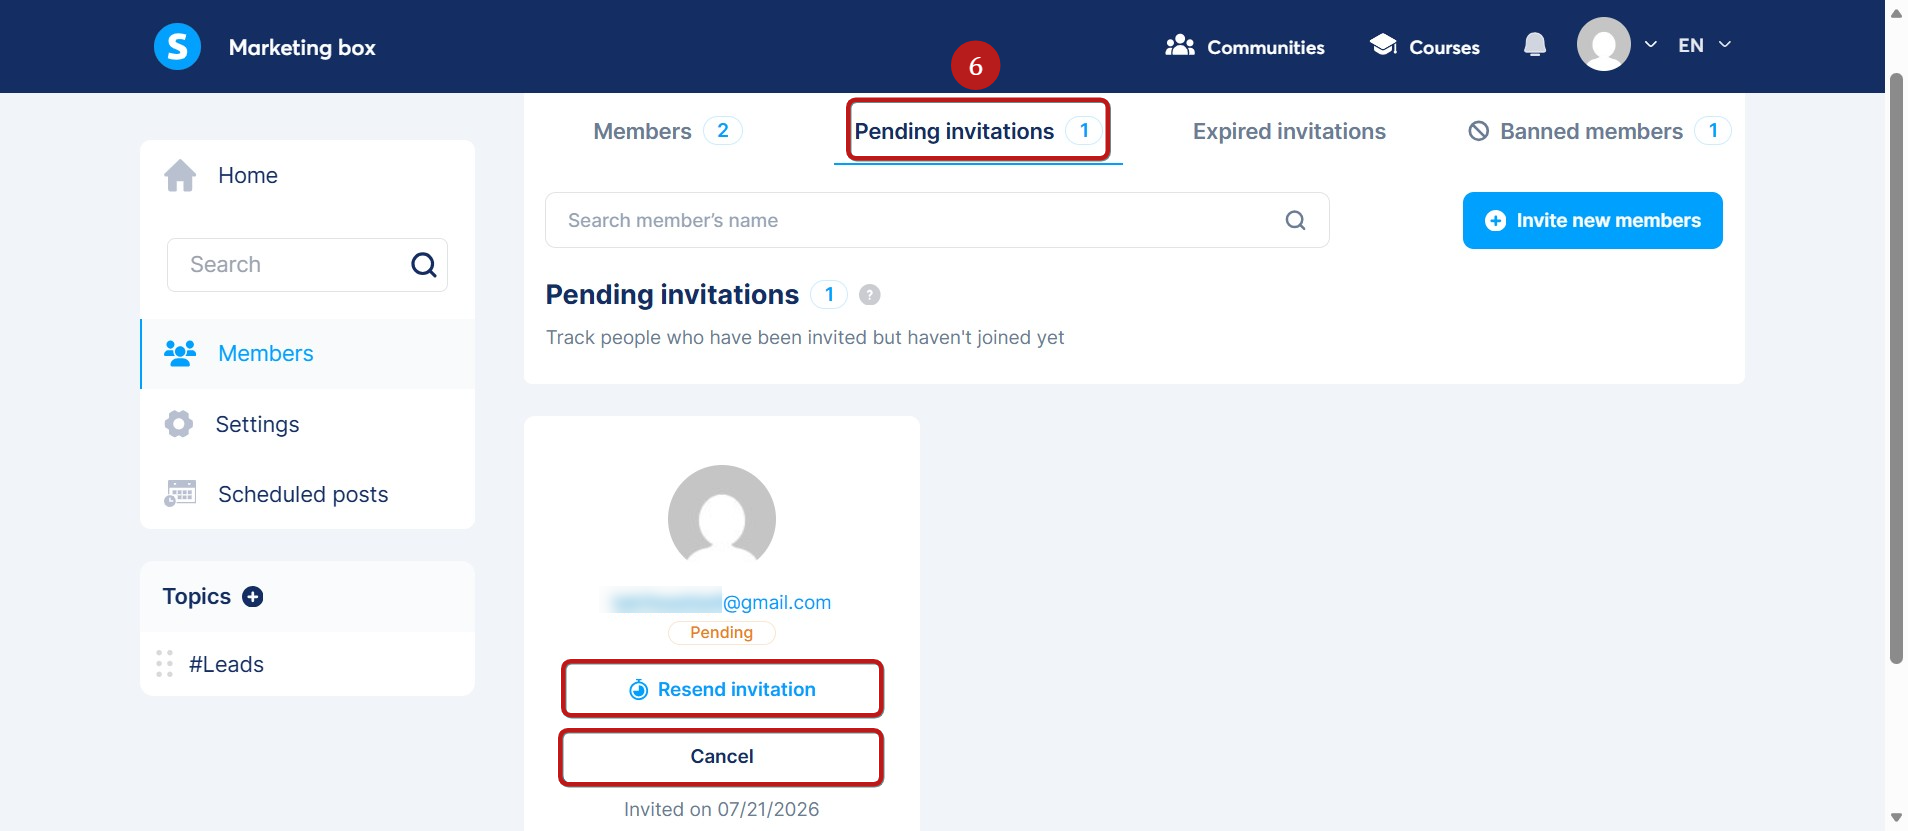
- Pending invitations (6): Tracks users who have been sent an invitation link but haven't joined yet. From this tab, you can choose to Resend or Cancel their invitation.
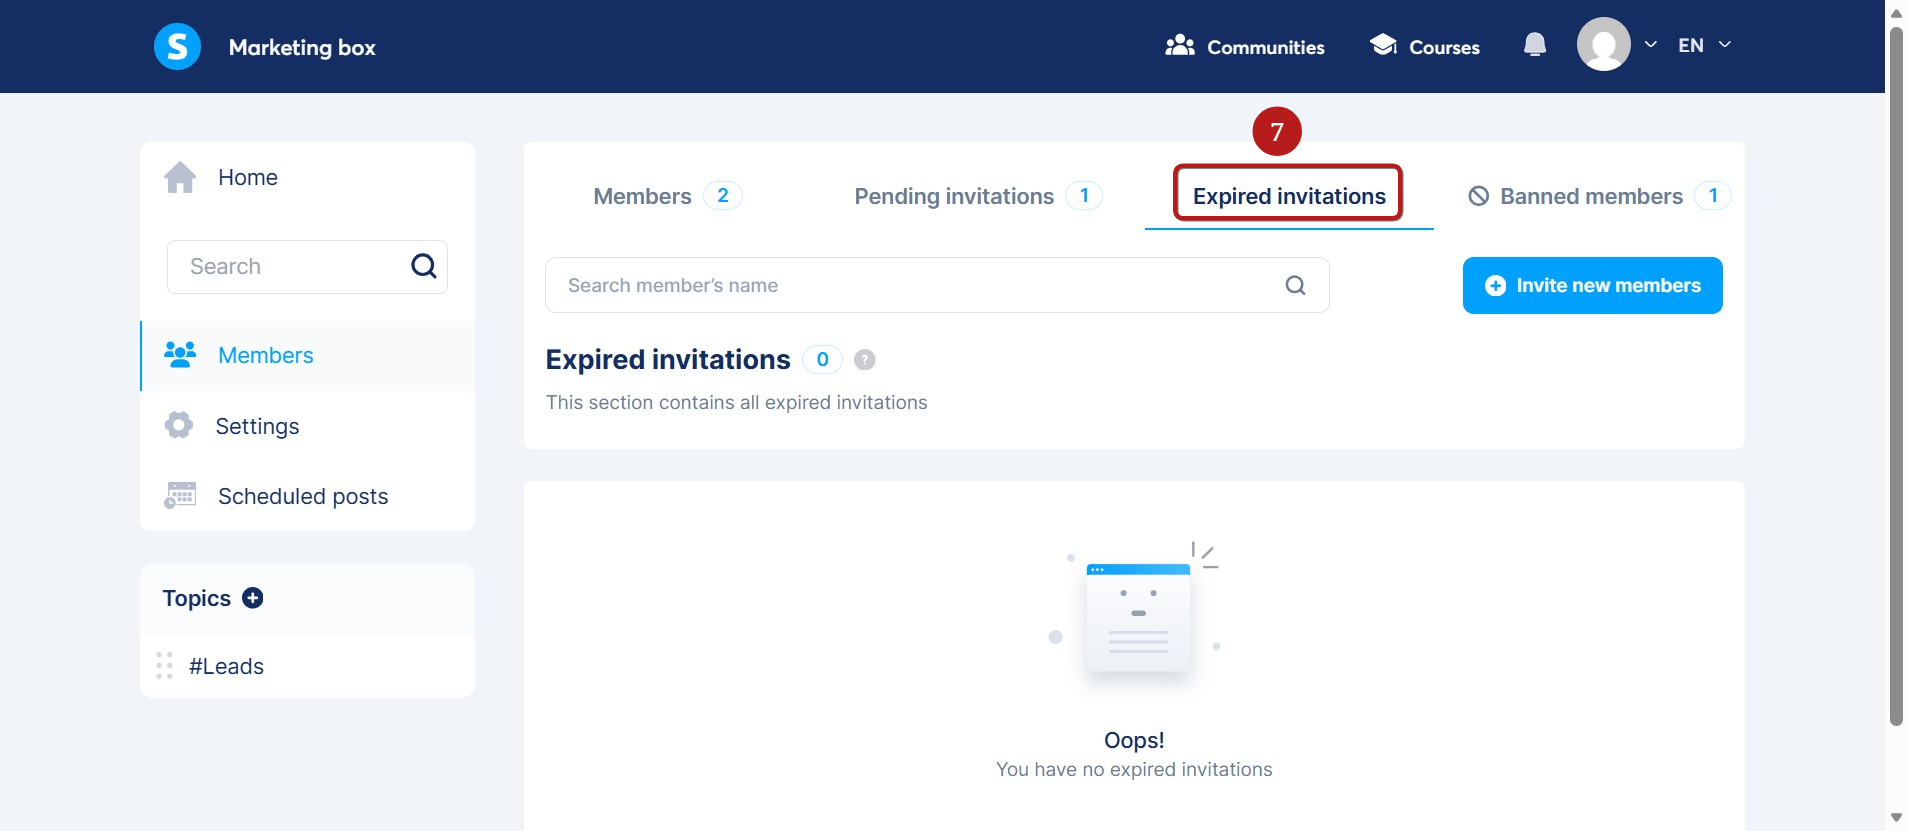
- Expired invitations: Invitations automatically expire after 7 days. Once an invitation expires, it is moved to this tab, where you can easily Re-invite the user.
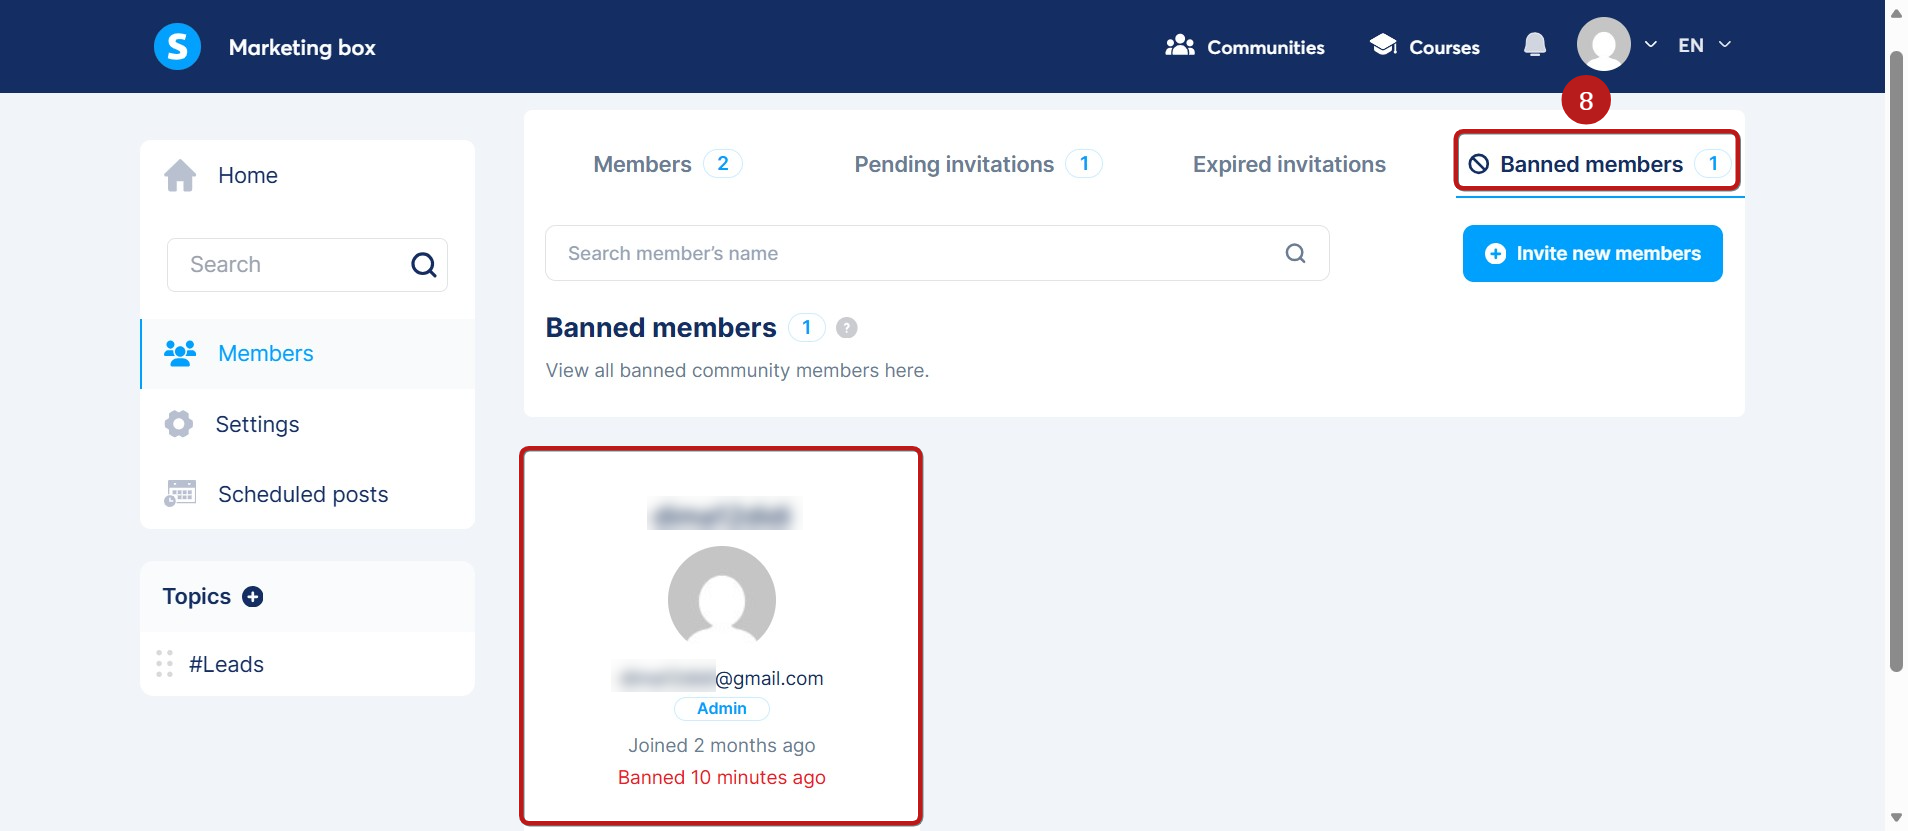
- Banned members: Displays all members who have been banned from the community.
Notes:
- To save time, you can add members to your community in bulk by copying and pasting a list of email addresses, rather than typing them manually.
- When sending invitations in bulk, any user who is already an active member of the community will be automatically skipped.
b. Settings
From the Settings tab, you can modify the community's name, URL path, and add a cover image for your community.
Note: The community cover image that you select will be displayed on the communities list page, as well as the community's "Join" page.

You can also choose between two different types of communities in the community settings:
- Private community: Only members you invite can access this type of community.
- Public community: Anyone can join your community after signing up.
You can also choose to modify the settings for automatic validation of posts:

c. Topics
You can add topics by adding a name and a path and clicking on Add topic.

3. Posting in a community
To post on a community, click on the Write something section.

A popup will appear where you can enter a Title and Path for your post, select a Topic, and write your content.

You can also add Emojis, upload one or multiple files at once from your device (bulk upload for images and videos), add a direct link (it supports links from YouTube, Facebook, Twitch, Vimeo, Wistia, and Loom), and add a voice memo (it needs to be pre-recorded and saved to your device).

After creating your post, you can choose to post it directly by clicking on Add post or to schedule it by turning on the Schedule this post switch.

After the post is published, you can click on the three dots menu, then on Remove post to delete the post or on Edit to apply changes to the post.

Community owners and moderators can pin posts by clicking on the Pin icon (10), and choosing whether to pin it to the home page or to the topic the post is part of.

Once the pinning action is confirmed, a notification message appears to confirm success. The post is then featured at the top of the feed with a small blue banner to distinguish it from non-pinned posts and includes an Unpin option.

Notes:
- As of now, pinning a post on one page does not make it pinned across all other pages.
- The most recently pinned post appears at the top.
You can choose to sort comments by Oldest, Newest, or Most popular.

You can choose to pin a comment by clicking on the three dots menu, then on Pin comment.
Pinned comments appear at the top with the word Pinned next to them.

4. Automating community access
You can automate how members are added to or removed from your community using systeme.io's automation tools. Access can be managed in two ways:
a. Automation Rules: Trigger an action when a specific event occurs, such as a tag being added or a form being filled (same method to revoke community access).

b. Workflows: For more complex sequences, you can use the actions directly inside a workflow. This allows you to combine community access with delays, decisions, and other automated steps (same method to revoke community access).

Note: If you set up automation rules or workflows based on community enrollment, these actions will only trigger once the user officially becomes an active member (after accepting the invite and completing the onboarding process). Automations do not trigger when the initial invitation is sent.
5. Joining a community
Community owners can also invite you by sharing a community link.
When you open that link and click Join, what happens next depends on your account and access.
Note: To provide a seamless experience, when a user clicks a community invitation link, they will be taken straight to that specific community immediately after logging in or creating their account. If a user tries to log in but does not actually have access to the community, they will simply be redirected to their standard dashboard.
Scenario 1: You already have a systeme.io account
1. You’re logged in and already have access: If you’re logged in and already have access to the owner's domain (for example, early access to a course on this domain), simply click Join to enter the community.

- You’re not logged in, but you already have access: If you’re not logged in, clicking Join will ask you to log in first with your systeme.io account to join the community.

3. You don’t have access yet: If you don’t have access to the domain, clicking Join will ask for your email. Enter your email address, and you will receive an email to confirm your membership, once done, you can Join the community.

Scenario 2: You don’t have a systeme.io account
If you don’t have an account yet, the steps are similar to the previous one:
- Enter your email and click Join the community
- You’ll receive an email to confirm and create your student account
Things to keep in mind:
1) All community members can add posts and leave comments.
2) To receive notifications whenever a member reacts to his posts in the community, check the Notify me about published community posts option in the notification settings.

3) Community members (including the owner) can change the display name that will appear when adding posts or comments in a community.

4) It's important to know that the member list is only available to community members in a private community, but is available to everyone in a public community.
5) A member can leave a community by clicking on the red icon at the top of the community.

Finally, confirm by clicking the Leave button.

Note: The date and time displayed throughout your community (such as on posts, scheduled posts, and comments) automatically follow the format and timezone configured in your main account settings.