How to import or export a contact list
What you will need:
- A systeme.io account
- An email list in CSV format
Once these elements are ready, you can easily manage the import or export of your contacts from your systeme.io account.
1. Importing an email list
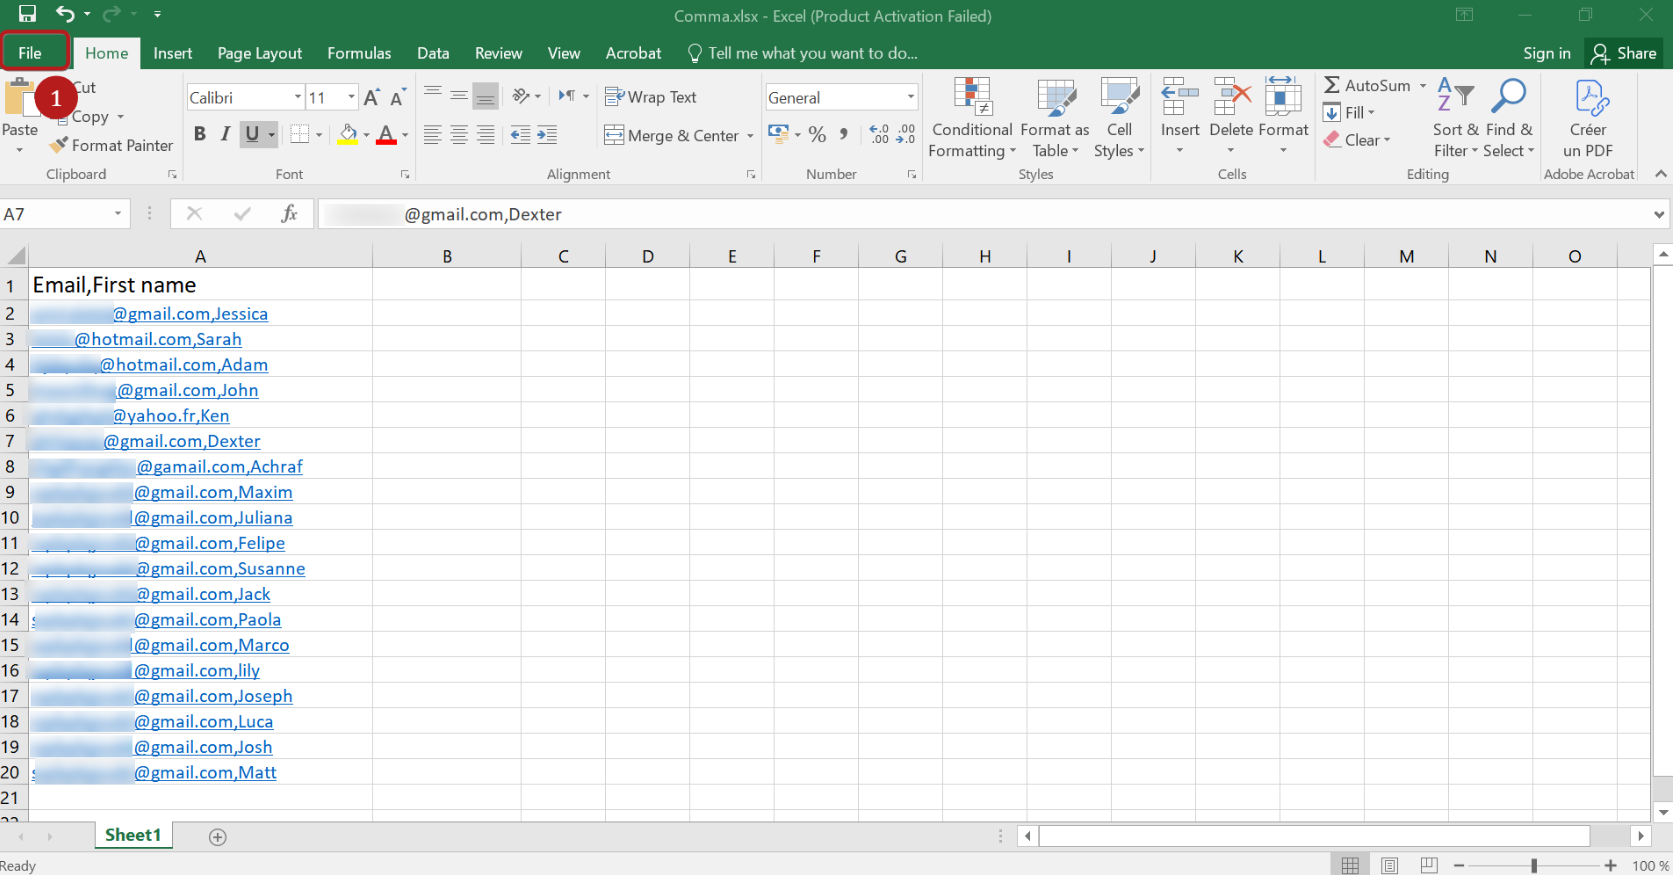
Begin by converting your Excel file into CSV format. Once finished, open your contact list file in Excel and click File (1).
Click Save as and select the desired separator (e.g., "Comma") (2).
Click Save (3) to finalize the process.

Once you have saved your file, log in to your systeme.io account to import the contacts.
Go to Contacts (4) in the CRM tab, then click Import contacts (5).

Use the Select CSV delimiter (6) to specify the delimiter used in your CSV file (comma, semicolon, or pipe), and click the box labeled Click to select the CSV file that contains your contacts (7) to upload your file.

You can select the tag you want to assign to these contacts (8), then click Next (9).

You can also subscribe your contacts to a campaign.
For more information on this subject, check out this article: How to subscribe contacts to a campaign when importing a contact list.

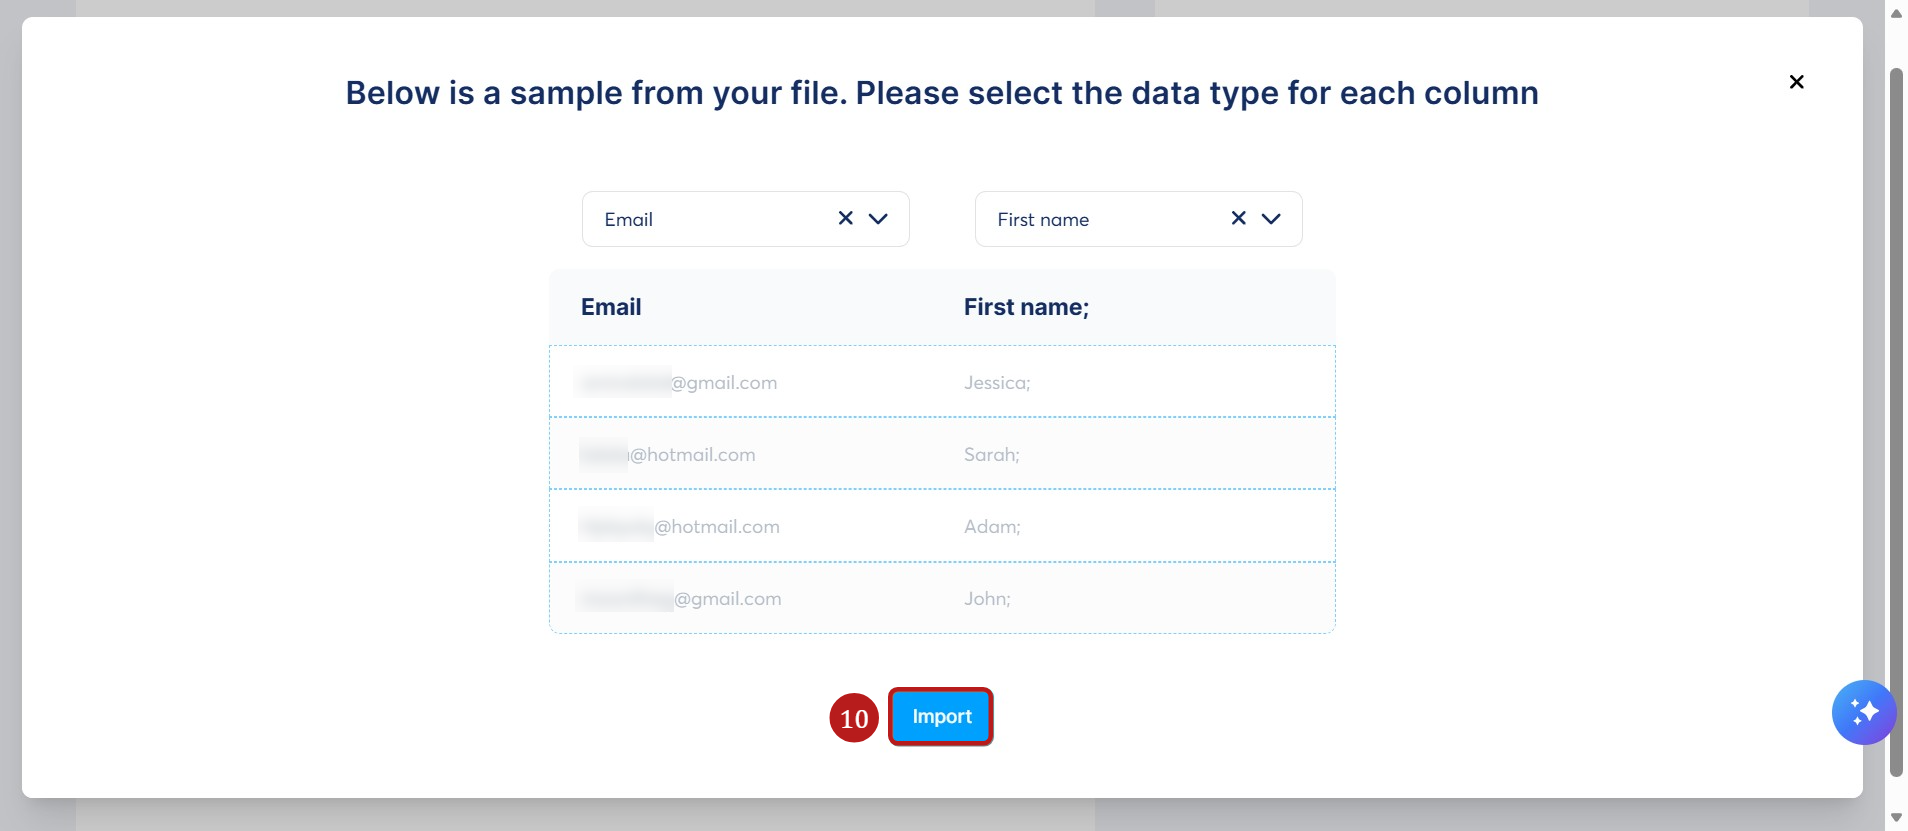
After clicking Next, a popup will appear where you can choose the data type of each column (such as email or first name) and any other relevant column from your file.
Finally, click Import (10) to begin the import process.
Important: The imported contact list must contain only the email addresses of people who have given their explicit consent to receive your communications by email.
This best practice is essential to comply with current regulations and guarantee better deliverability for your campaigns.
2. Exporting an email list
Navigate to the CRM tab, then click Contacts to display the contact list.
Select the contacts you want to export (11), then click More actions (12). From the list of actions, click Export (13).

After clicking Export, a CSV file containing your selected contacts will be generated and sent to the email address associated with your systeme.io account.
Important: For privacy and security reasons, this file is available for download for only 3 days. After this period, it will be automatically deleted and can no longer be recovered; you will need to request a new export.