How to create a blog with systeme.io
This article explains how to create a blog using systeme.io.
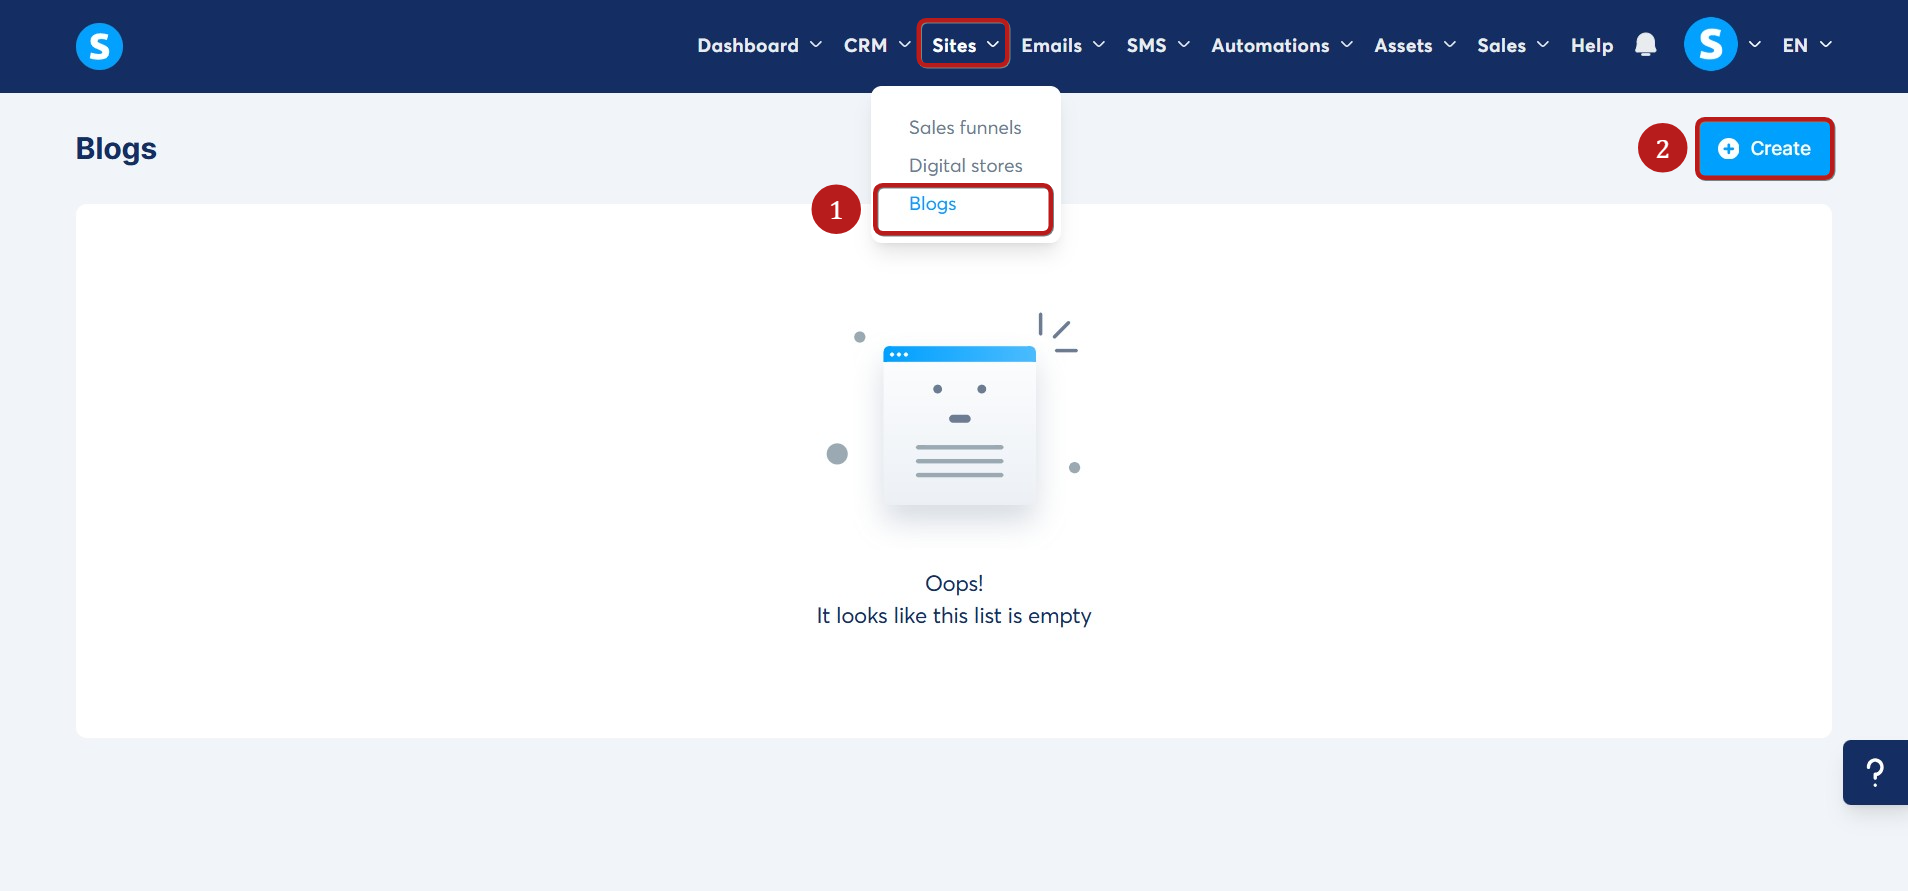
To get started, go to the Sites tab, click on Blogs (1), and then click Create (2).
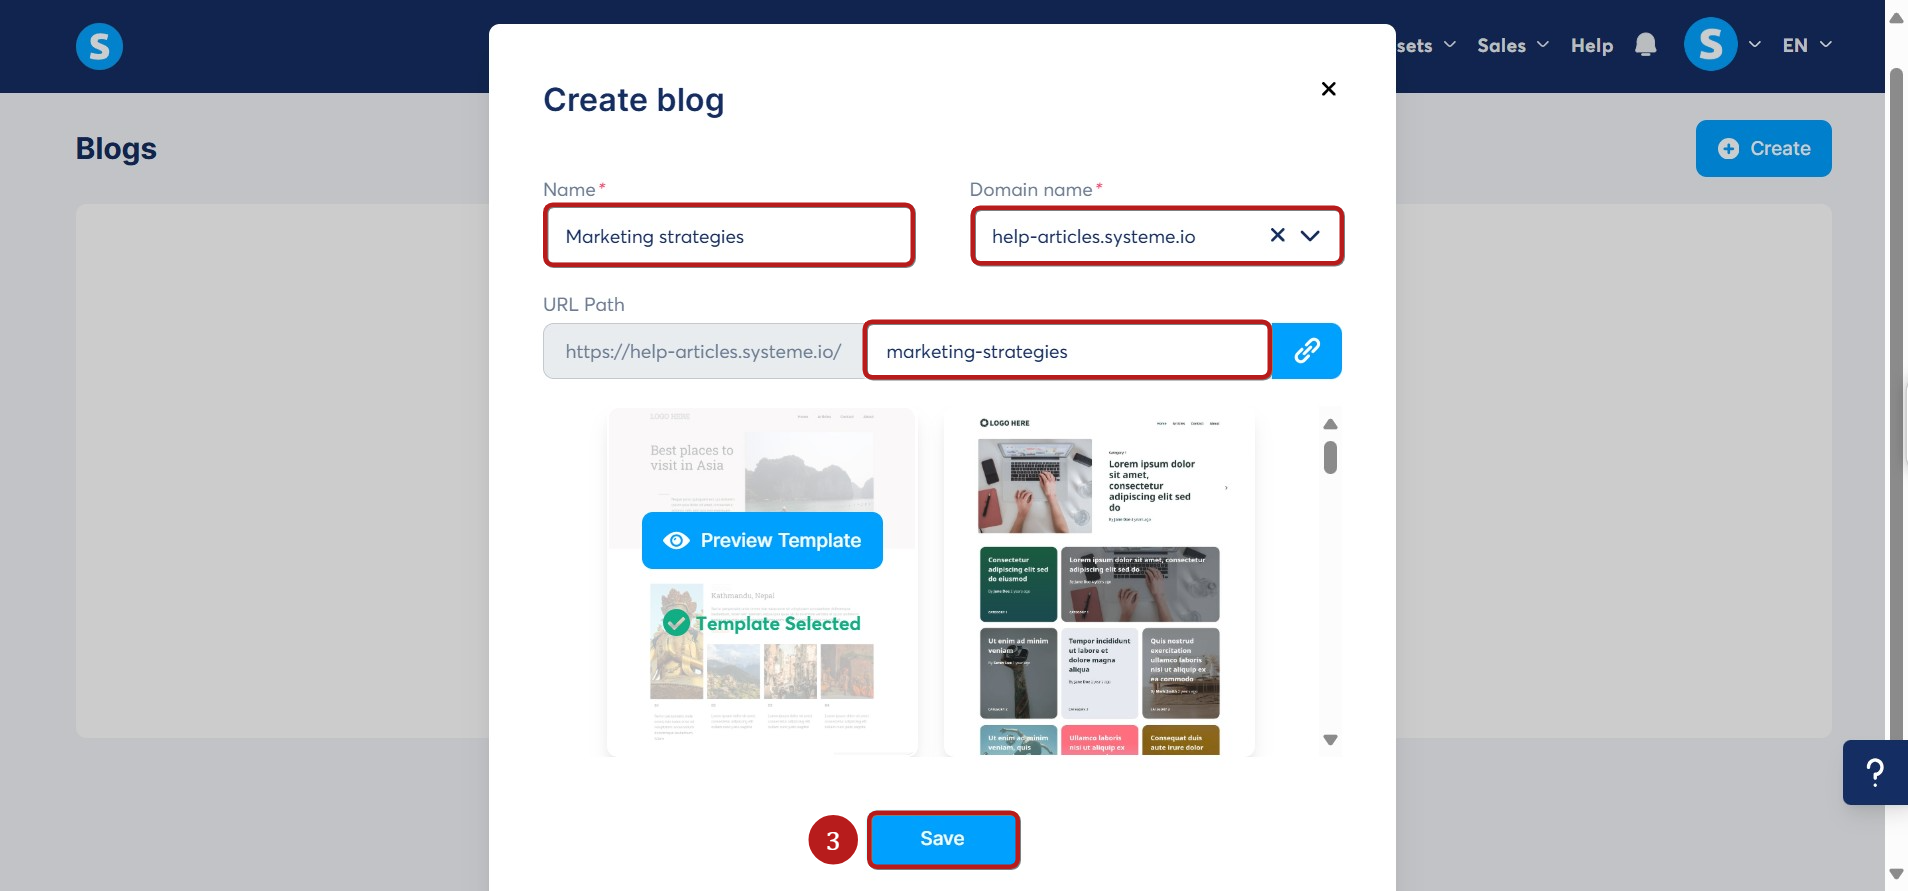
In the popup window, enter a Name for your blog, select the Blog domain, specify the URL path, and choose a template. Click Save to create the new blog (3).
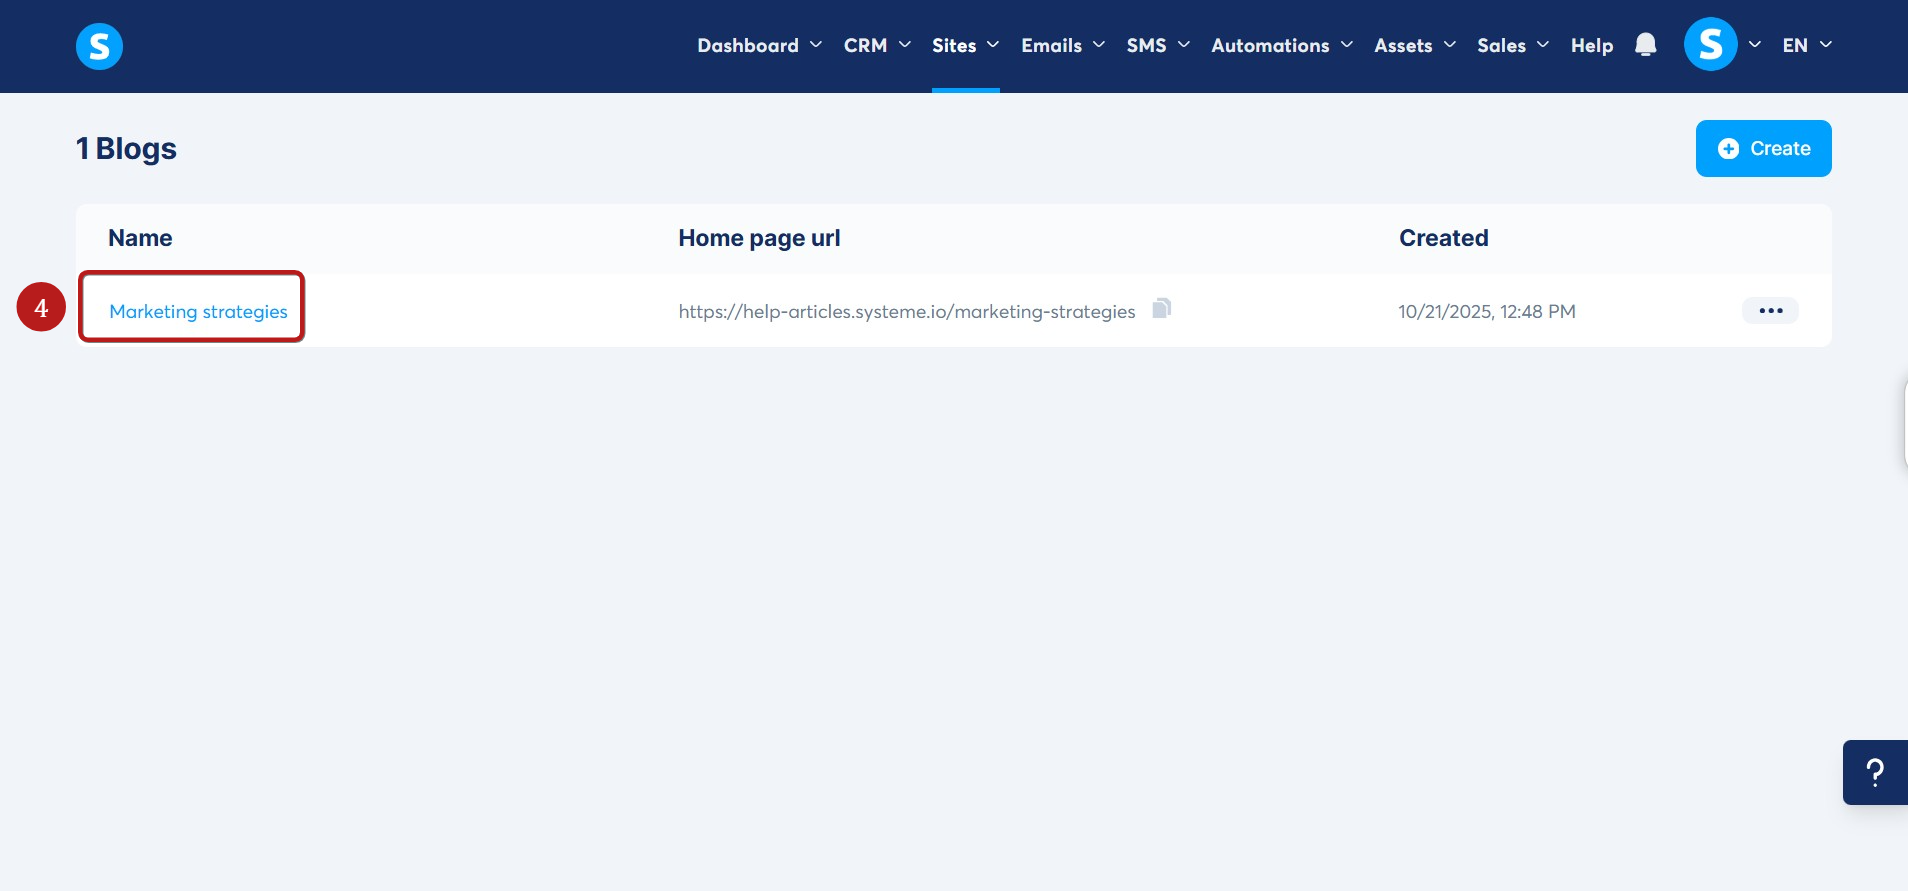
Once created, you can modify your blog by clicking on its title (4).
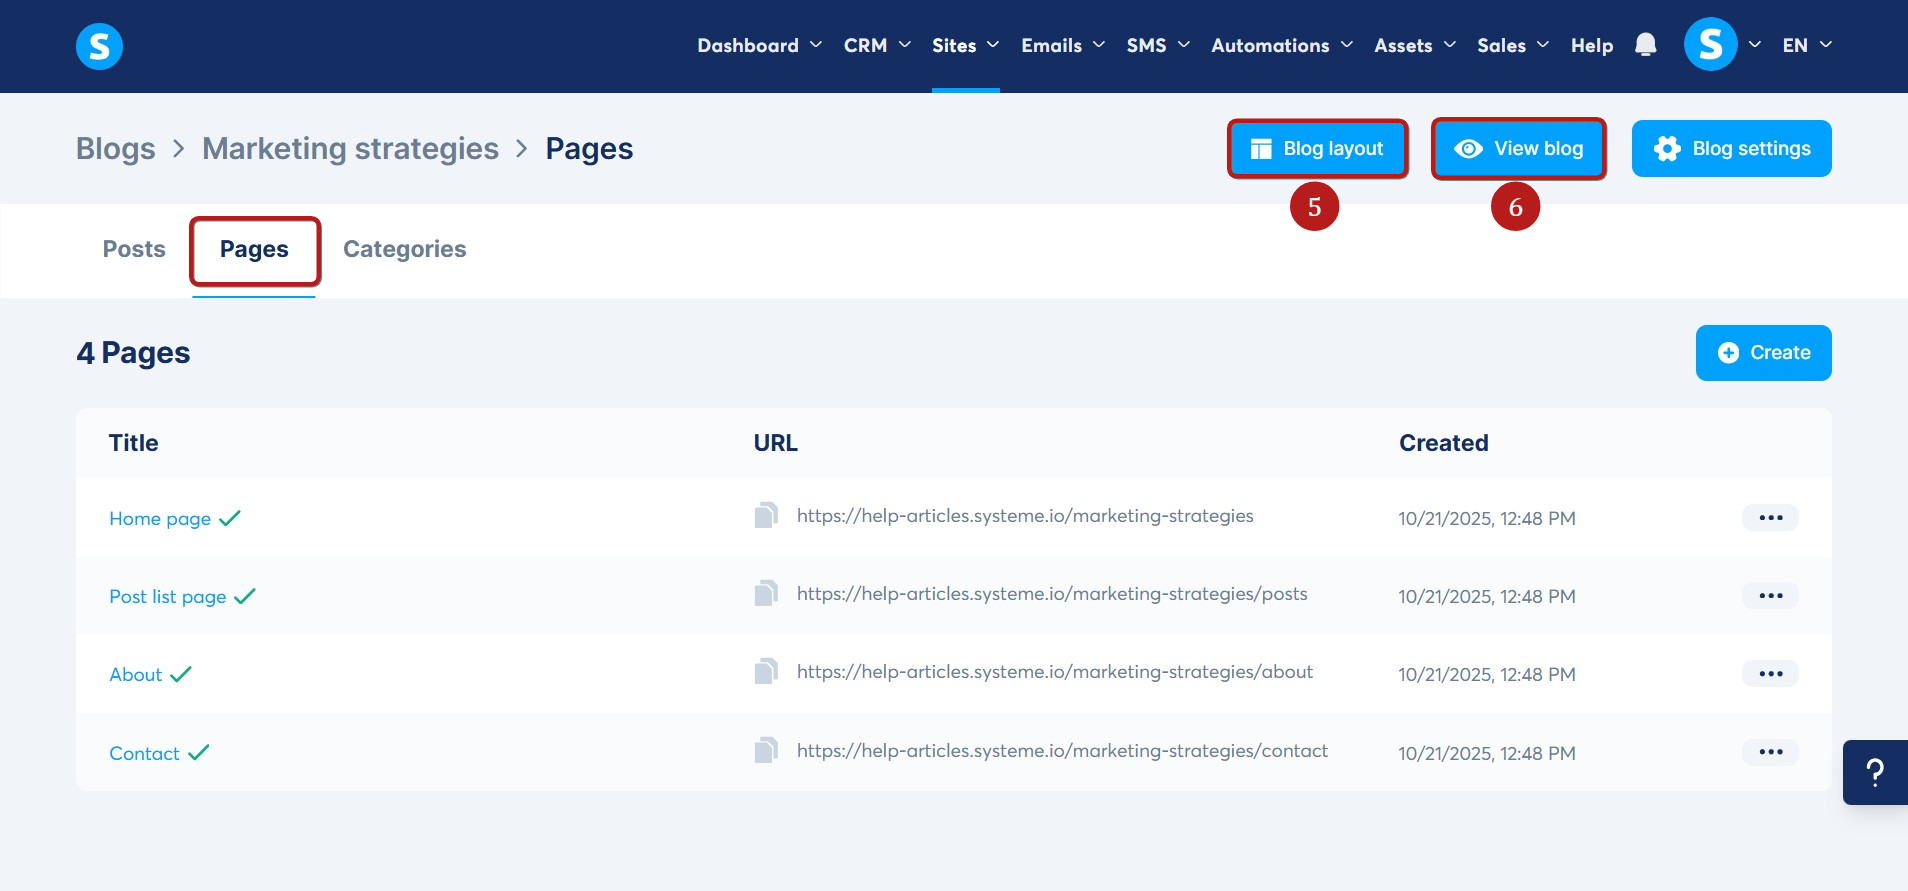
Click the Pages tab to view the different sections you can create and customize:
- To change the blog layout, click the Blog layout (5)
- To preview the blog, click on View blog (6)
- Click on Blog settings (7) to change your blog's name, domain, URL path, and language.
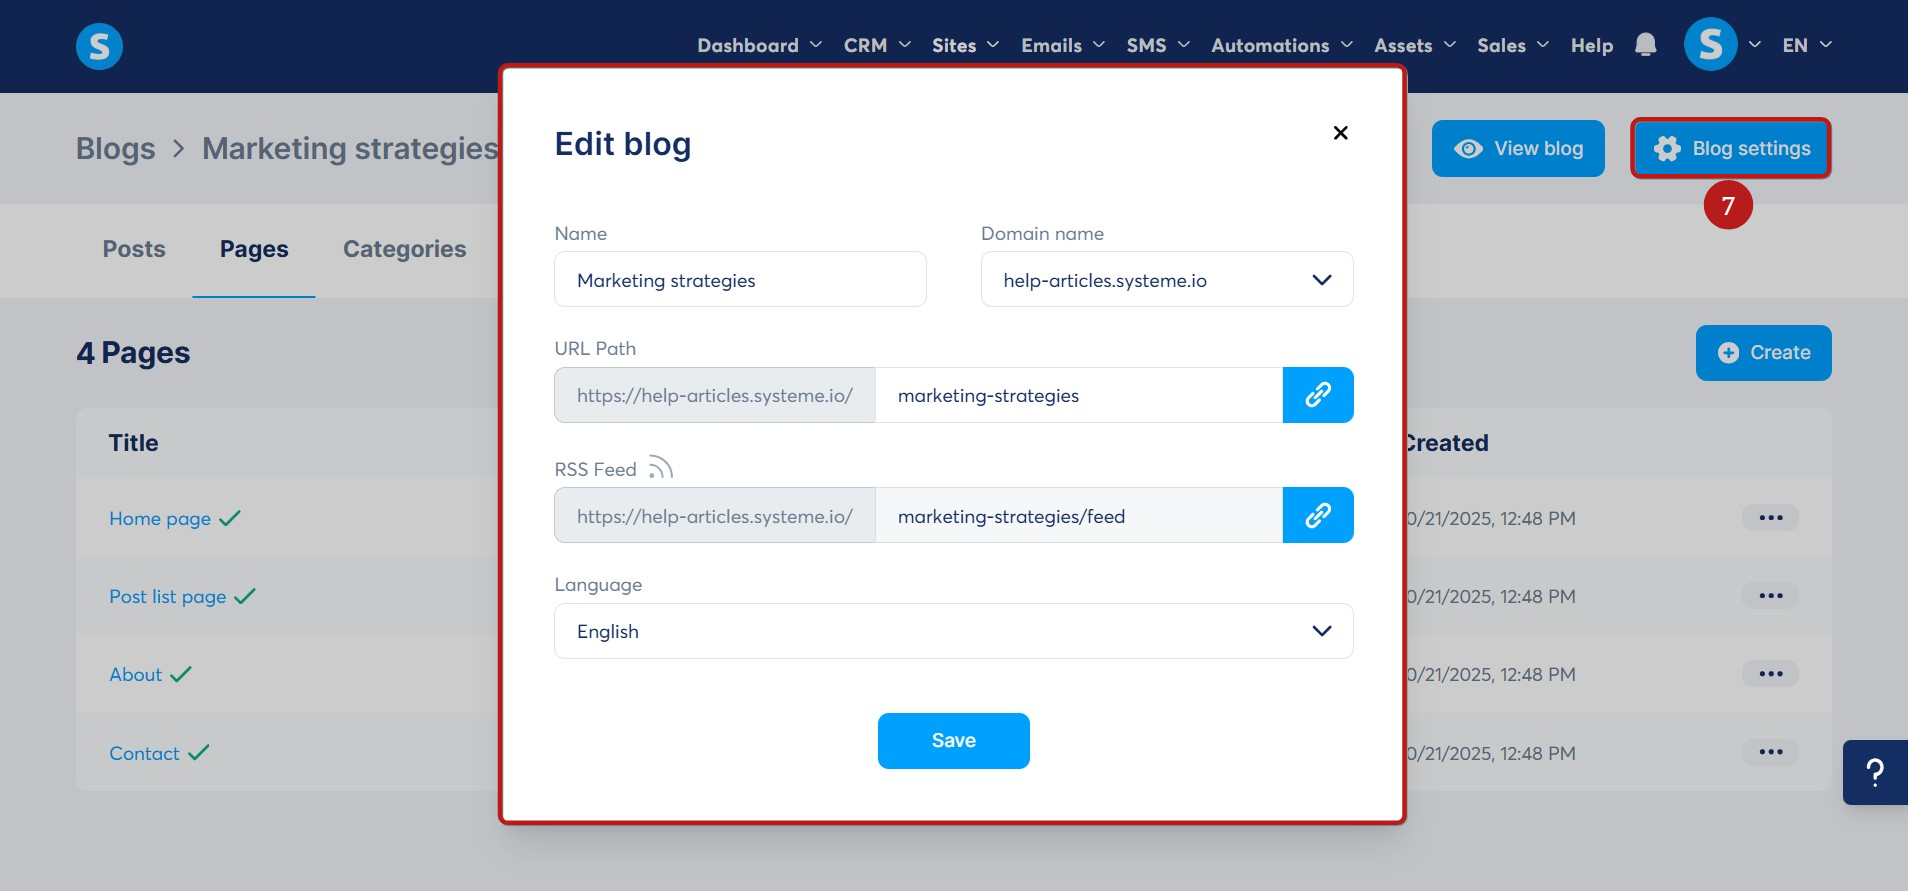
Note: When you create a blog, an RSS feed is automatically generated. It updates each time you publish a new post, and you can easily copy the feed URL from your blog settings.
- To view the content created by default in your blog, click on Posts, Pages, or Categories from the blog sub-menu.
- To create a new post, page, or category, click on + Create (8).
- To edit or delete an existing item, click on the three dots next to it, then select Edit (9) or Delete (10).
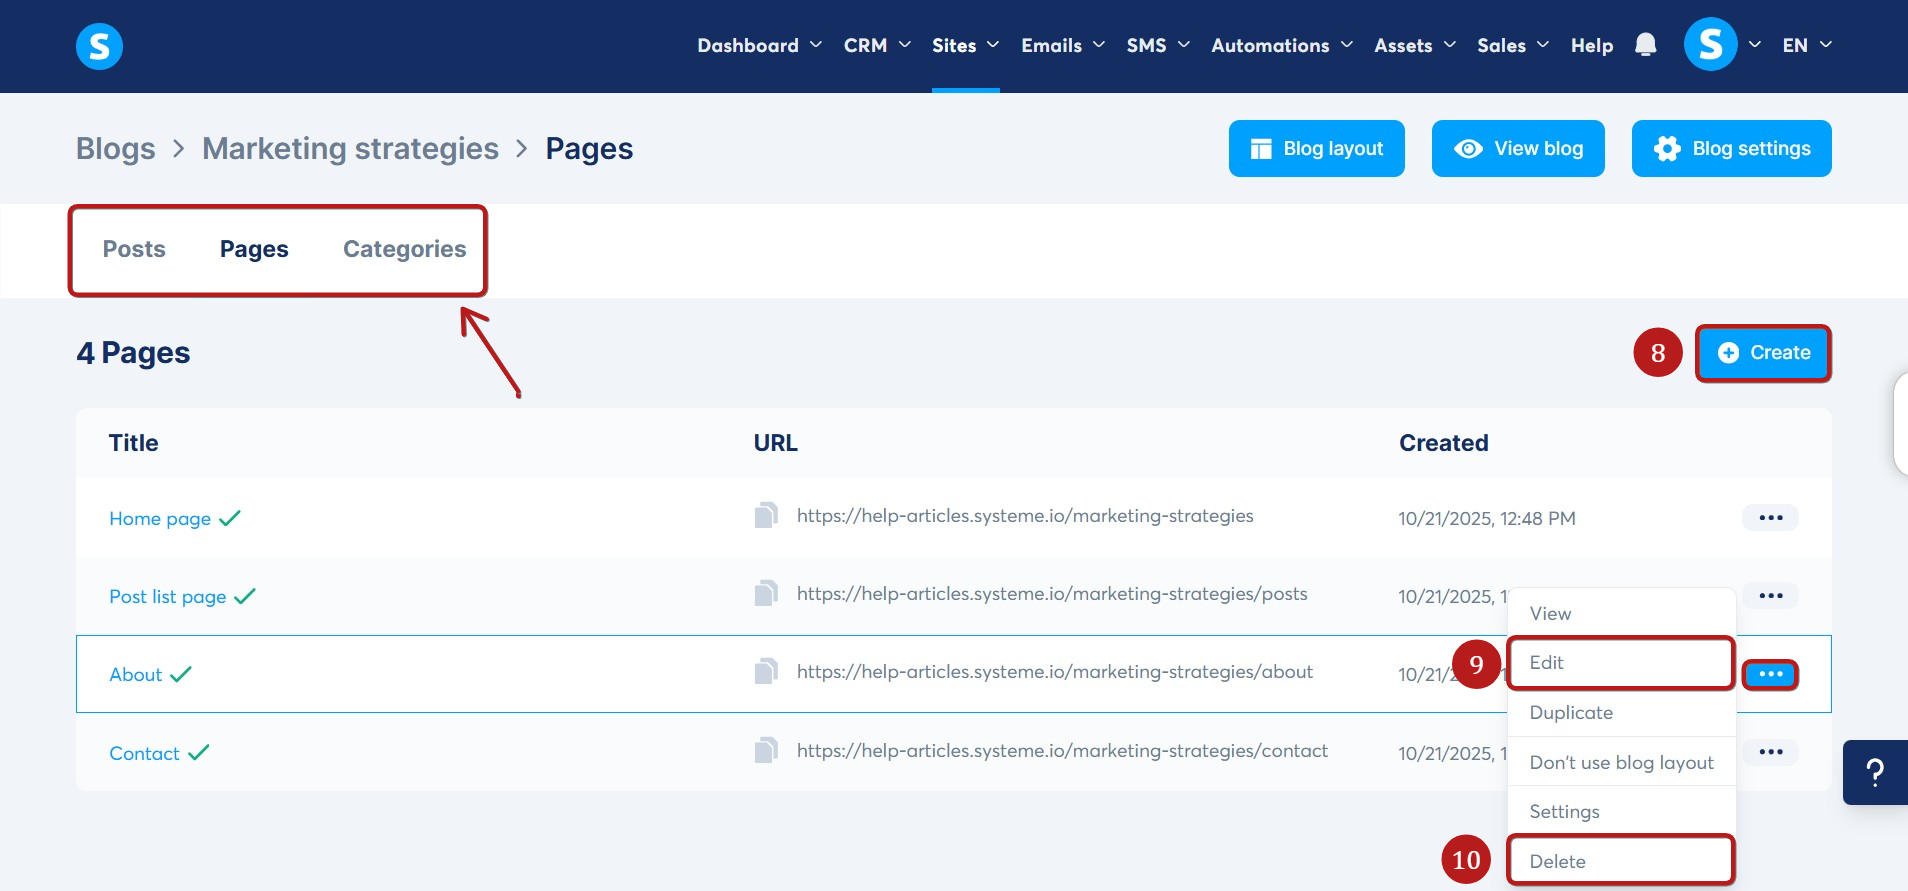
Note: The Home page and Post list page cannot be deleted because they are essential to your blog's structure.