How to use the latest blog post carousel element
This article explains how to use the Latest blog posts carousel element on your systeme.io blog's post list page.
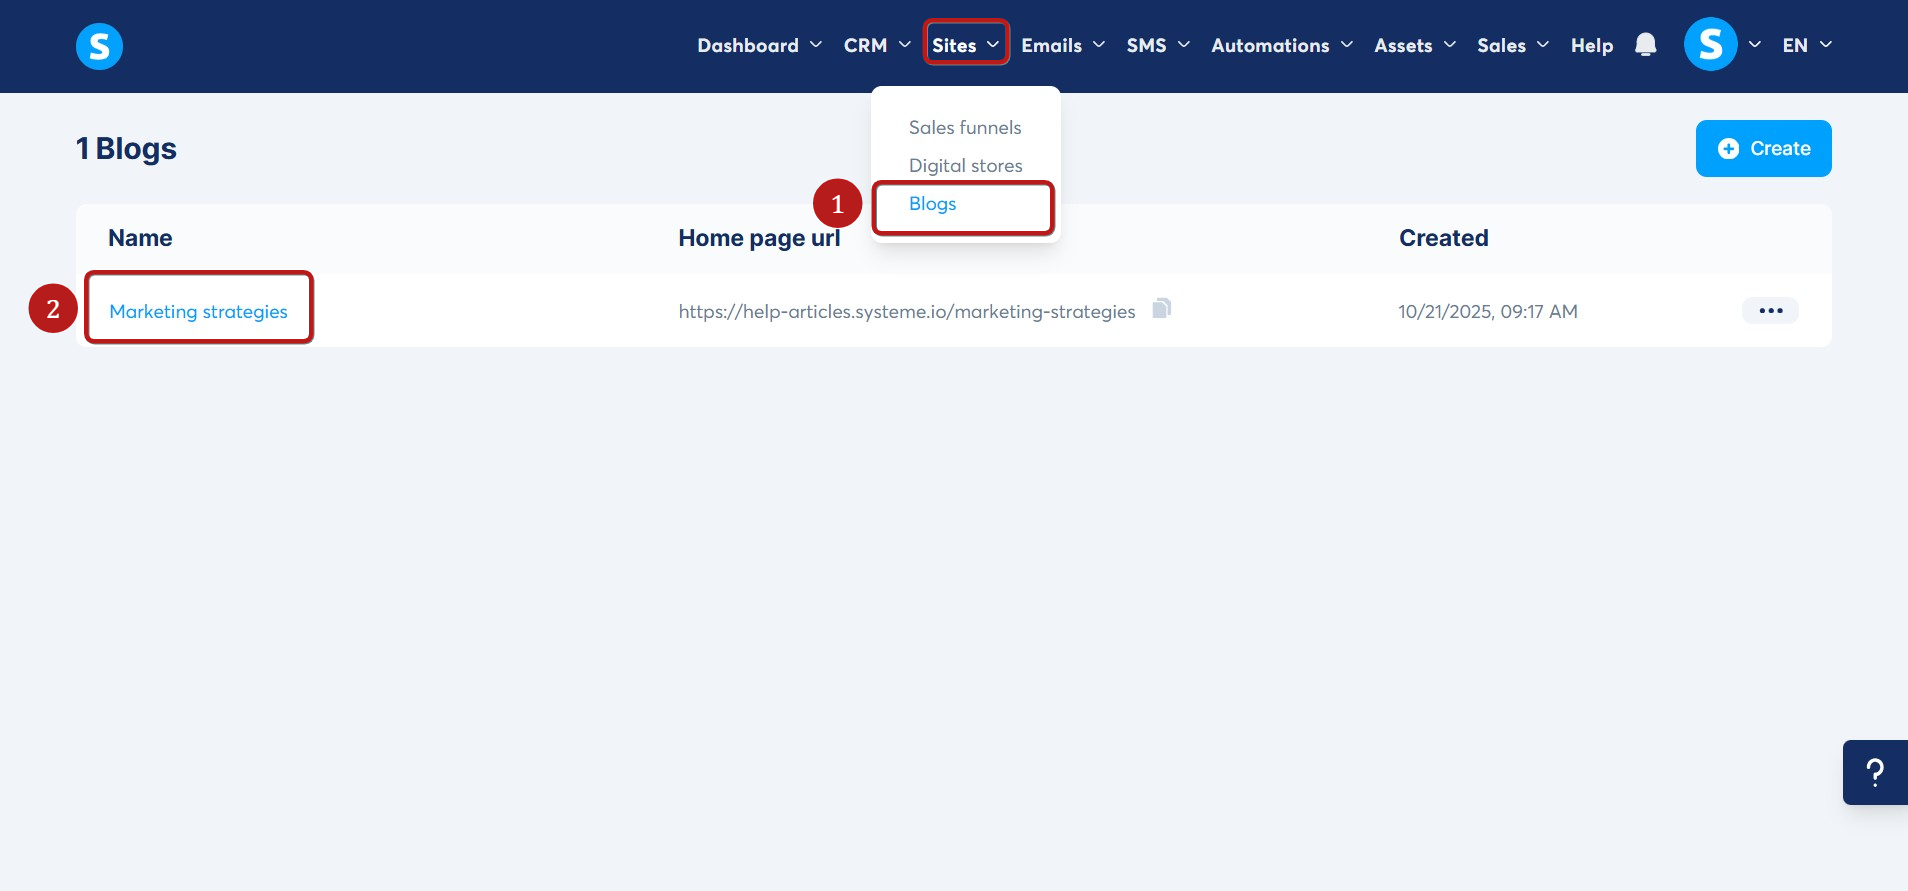
Navigate to the Sites tab, click on Blogs (1), and then click on your blog's Title (2).
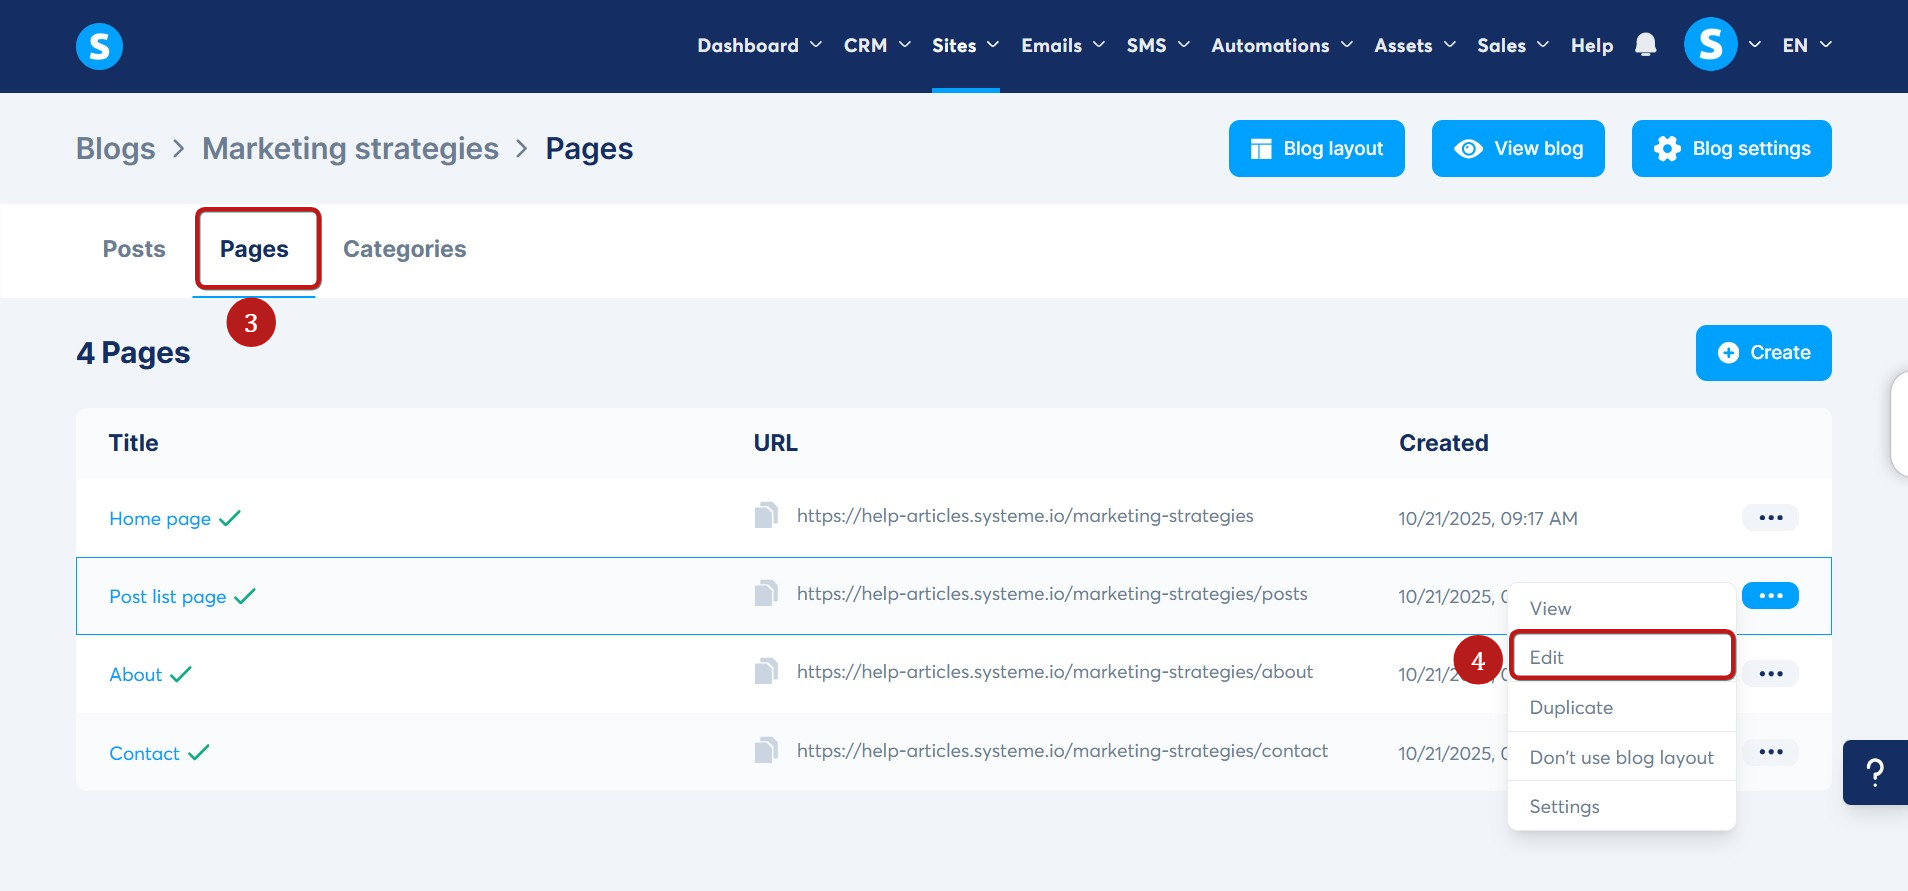
Inside the blog dashboard, go to the Pages section (3). Then, click the three dots next to the Post list page and select Edit (4)
In the editor, drag and drop the Latest blog posts carousel element onto the page. Your blog posts will automatically appear within the element.
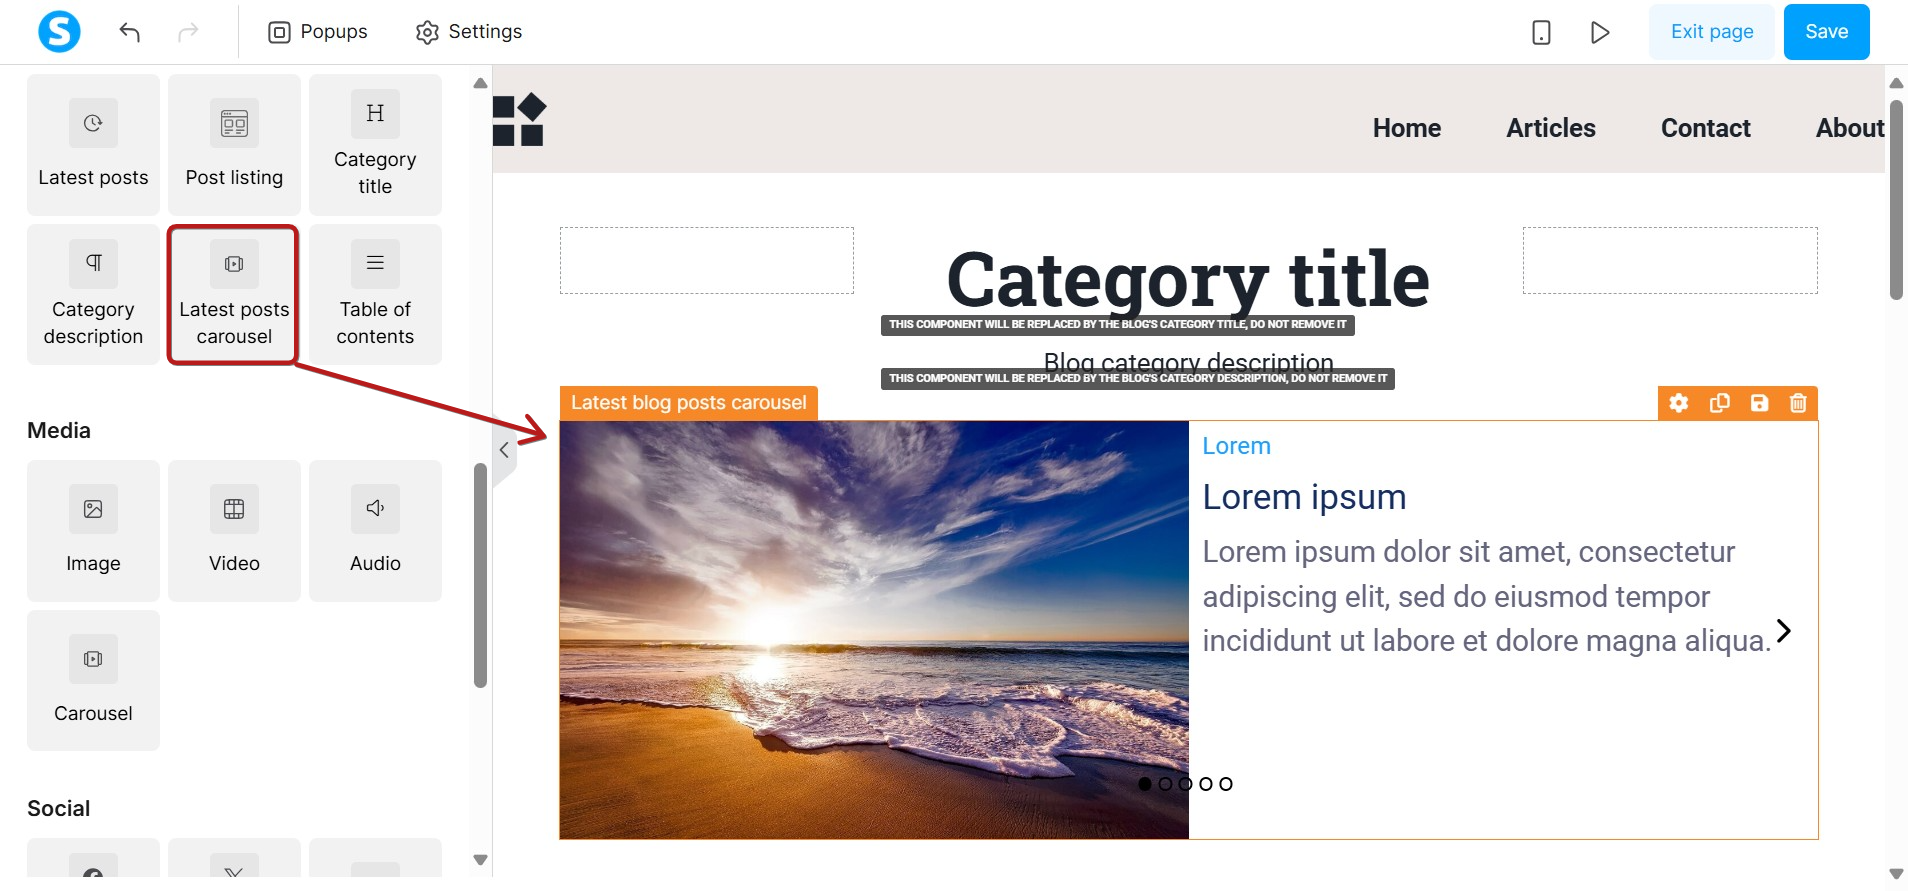
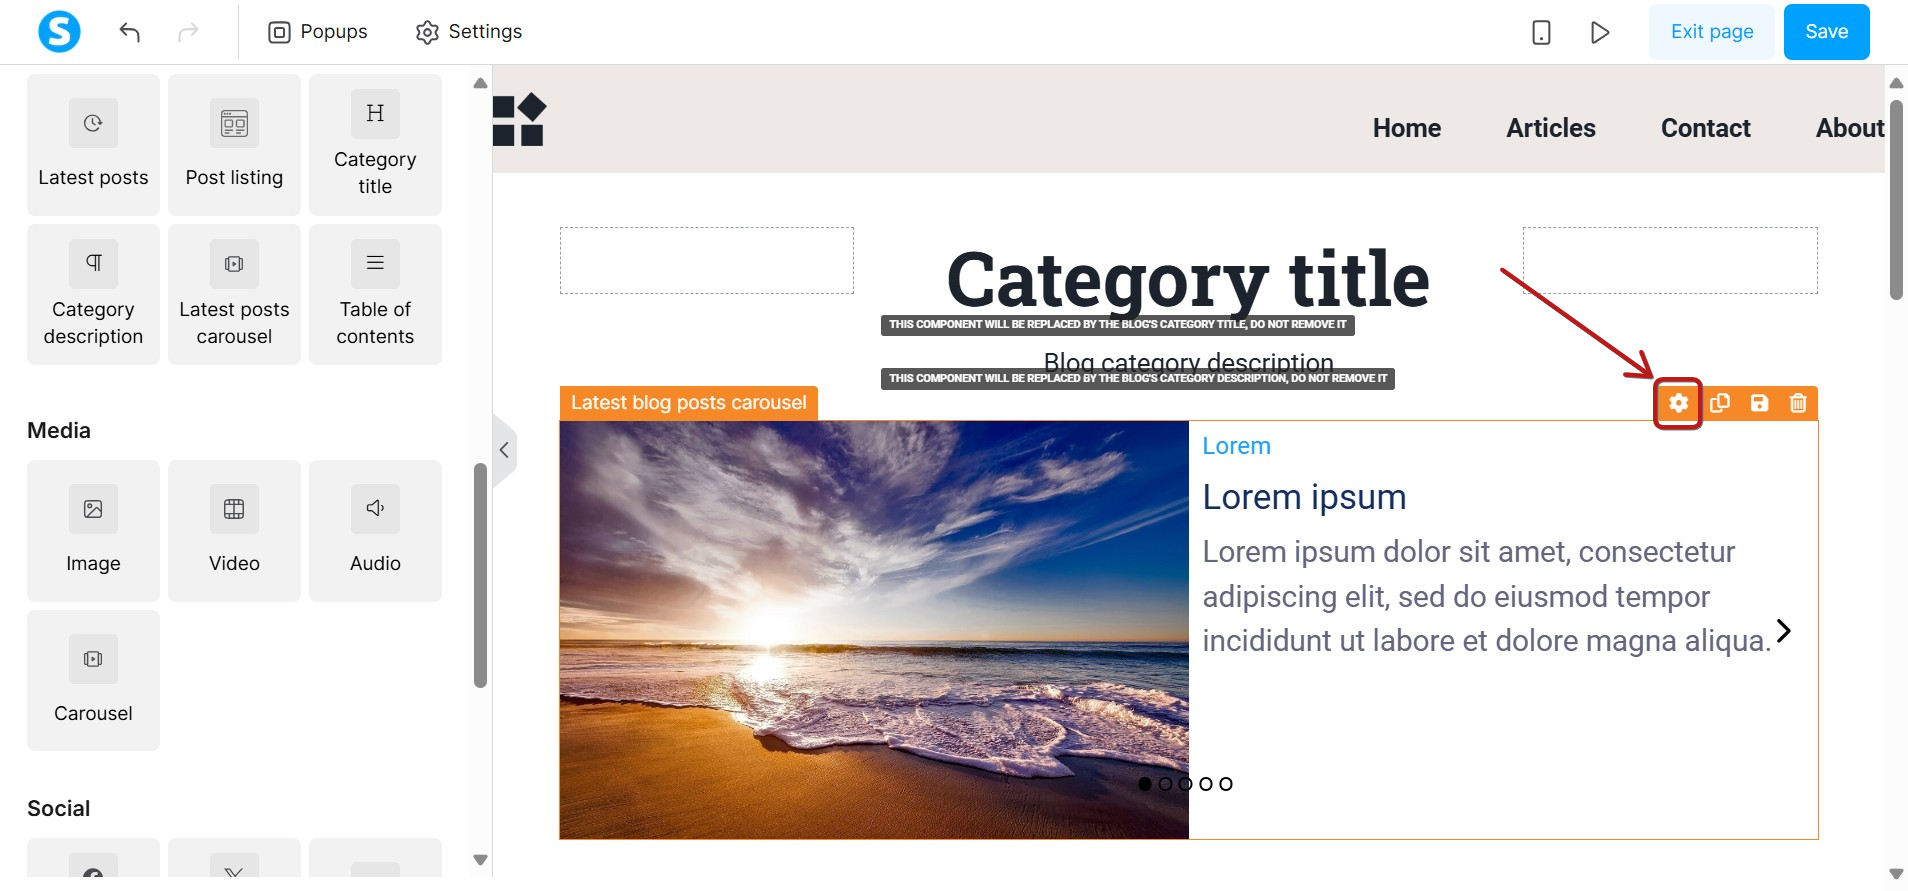
Click on the settings button of this element to access its parameters.
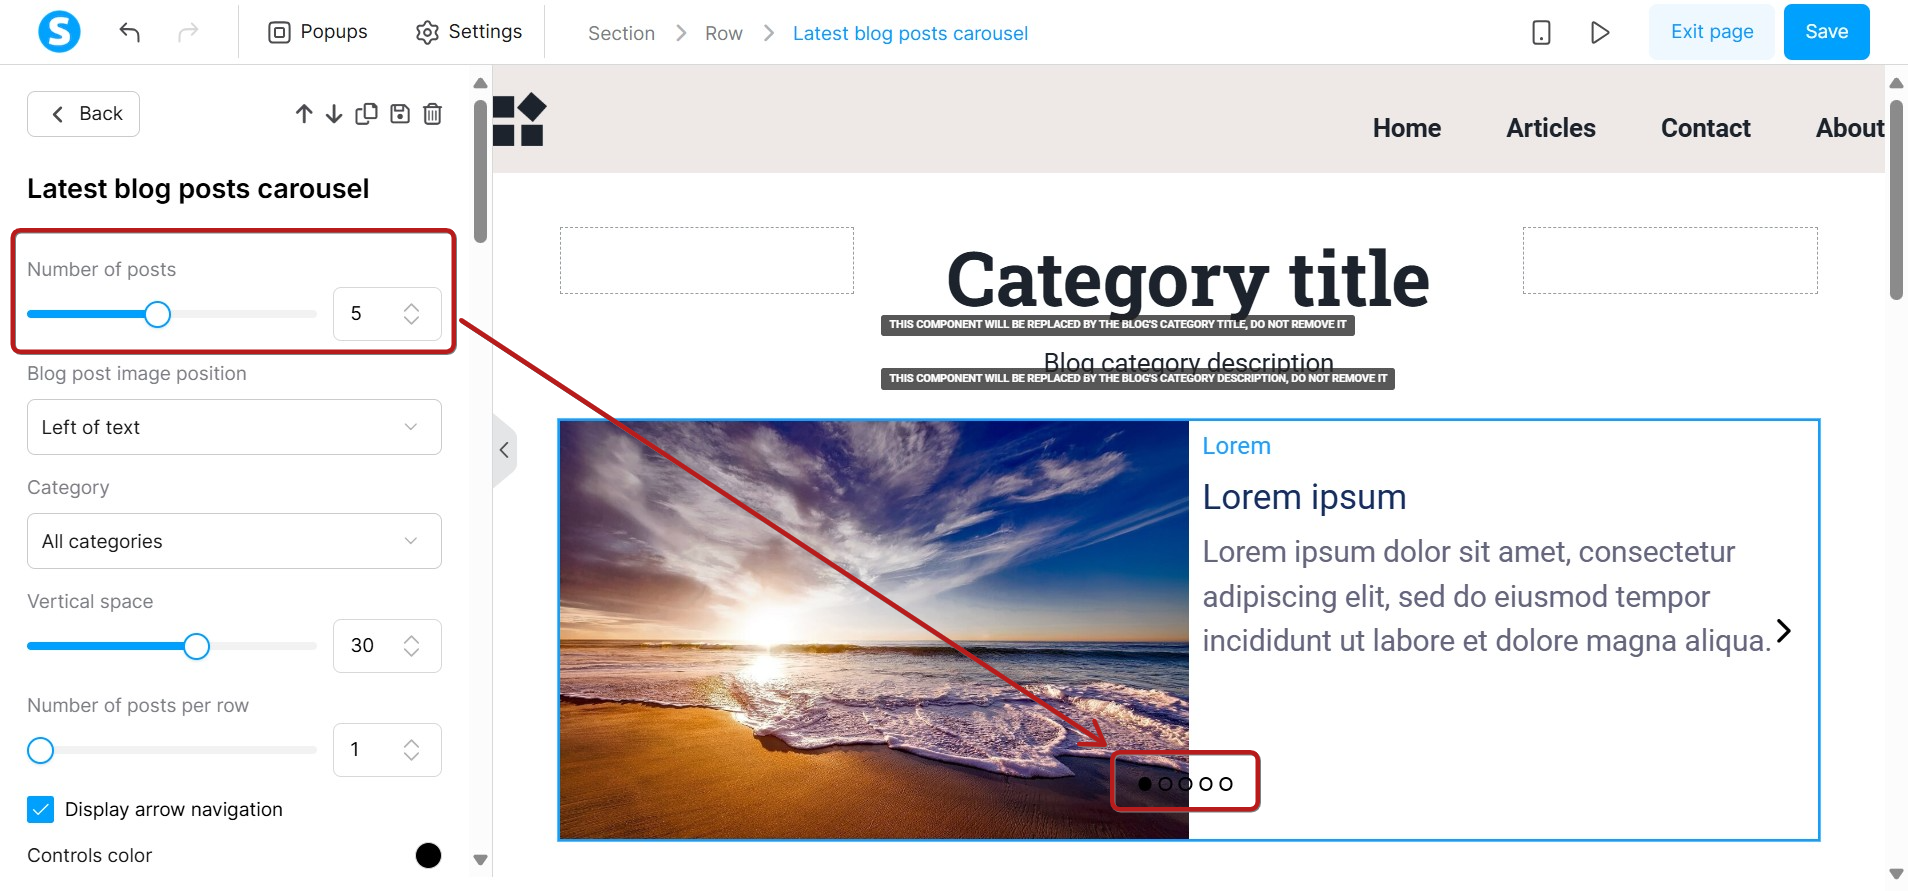
The key settings for this element include:
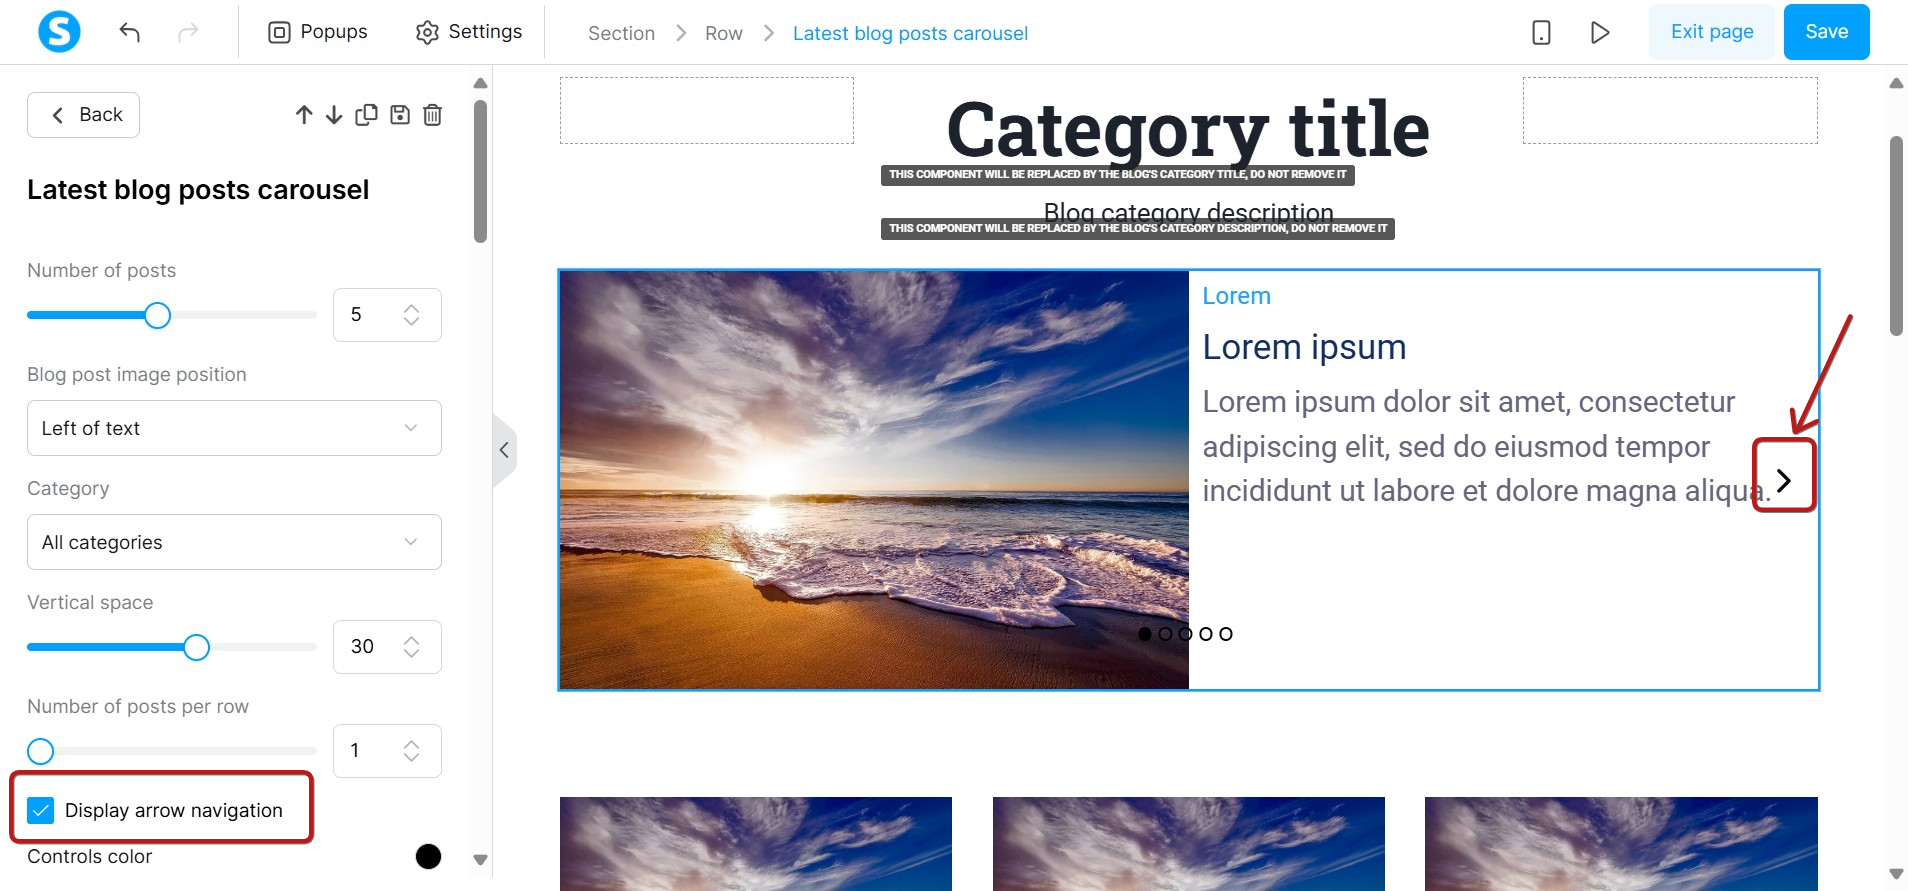
- Number of slides for the carousel: Insert a value that will be the number of posts that will be displayed on this carousel.
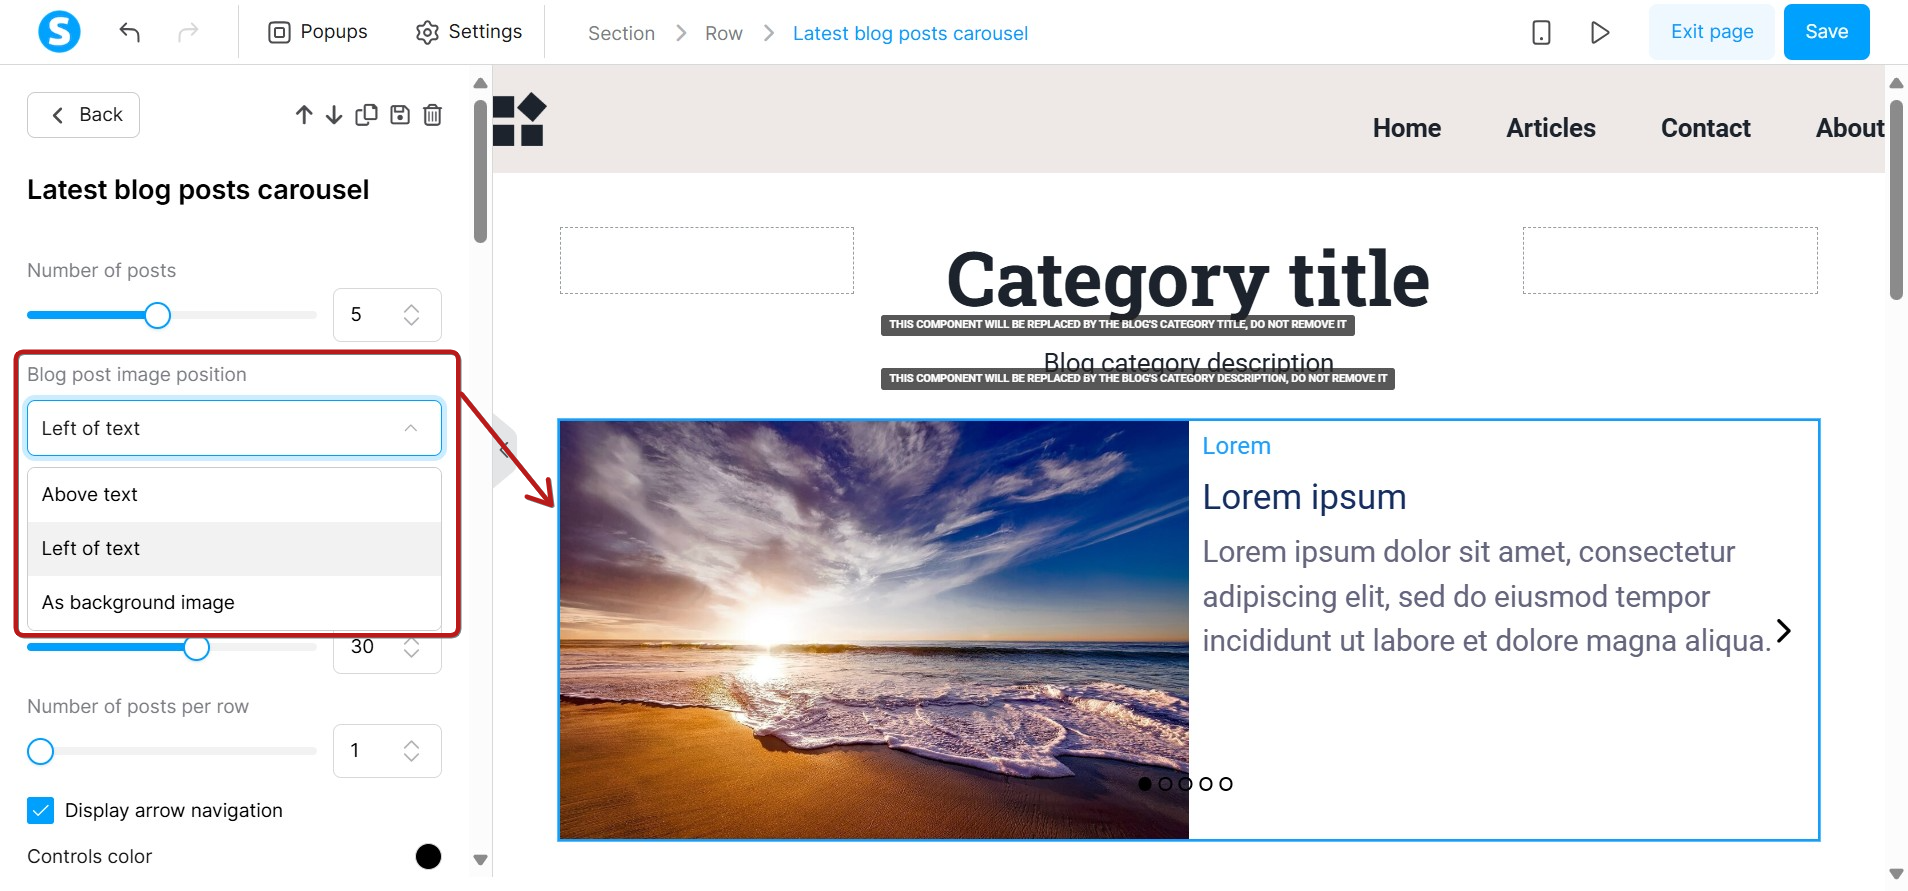
- Blog post image position: Choose the image placement: above text, left of text, or as background image.
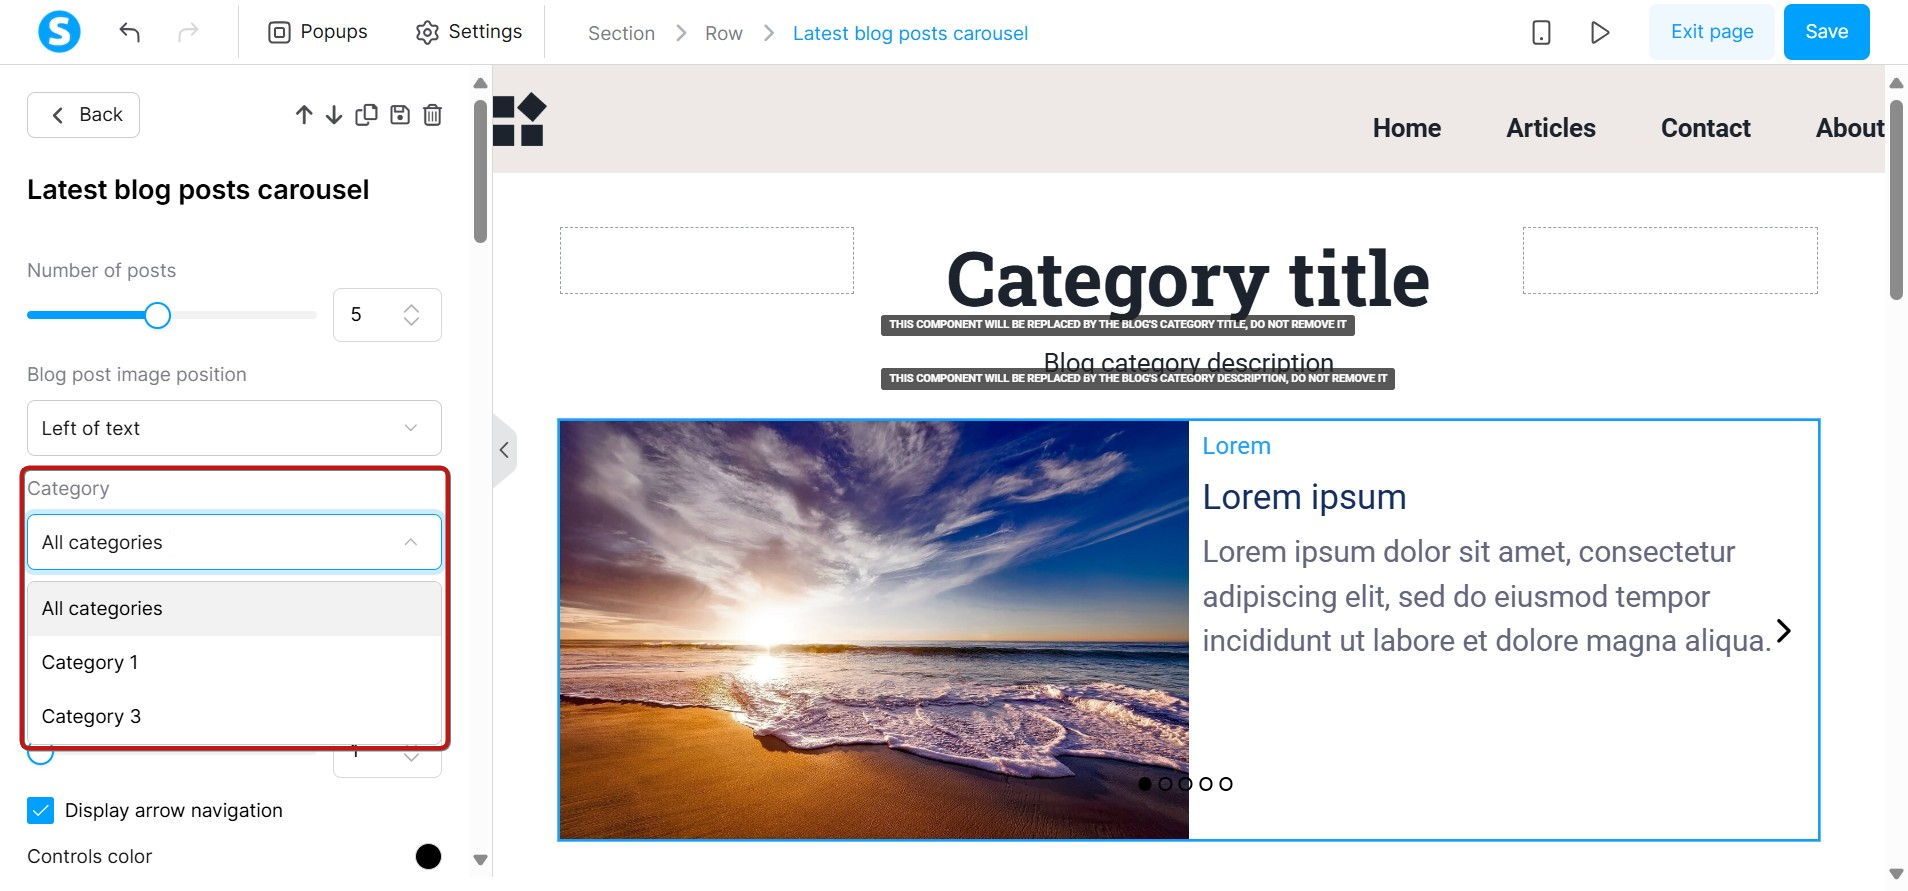
- Category: Select a specific category if you only want to display posts from that group.
- Number of posts per row: You can show more than one post per row.

- Display or not the arrow navigation: Check this box to show the arrow.
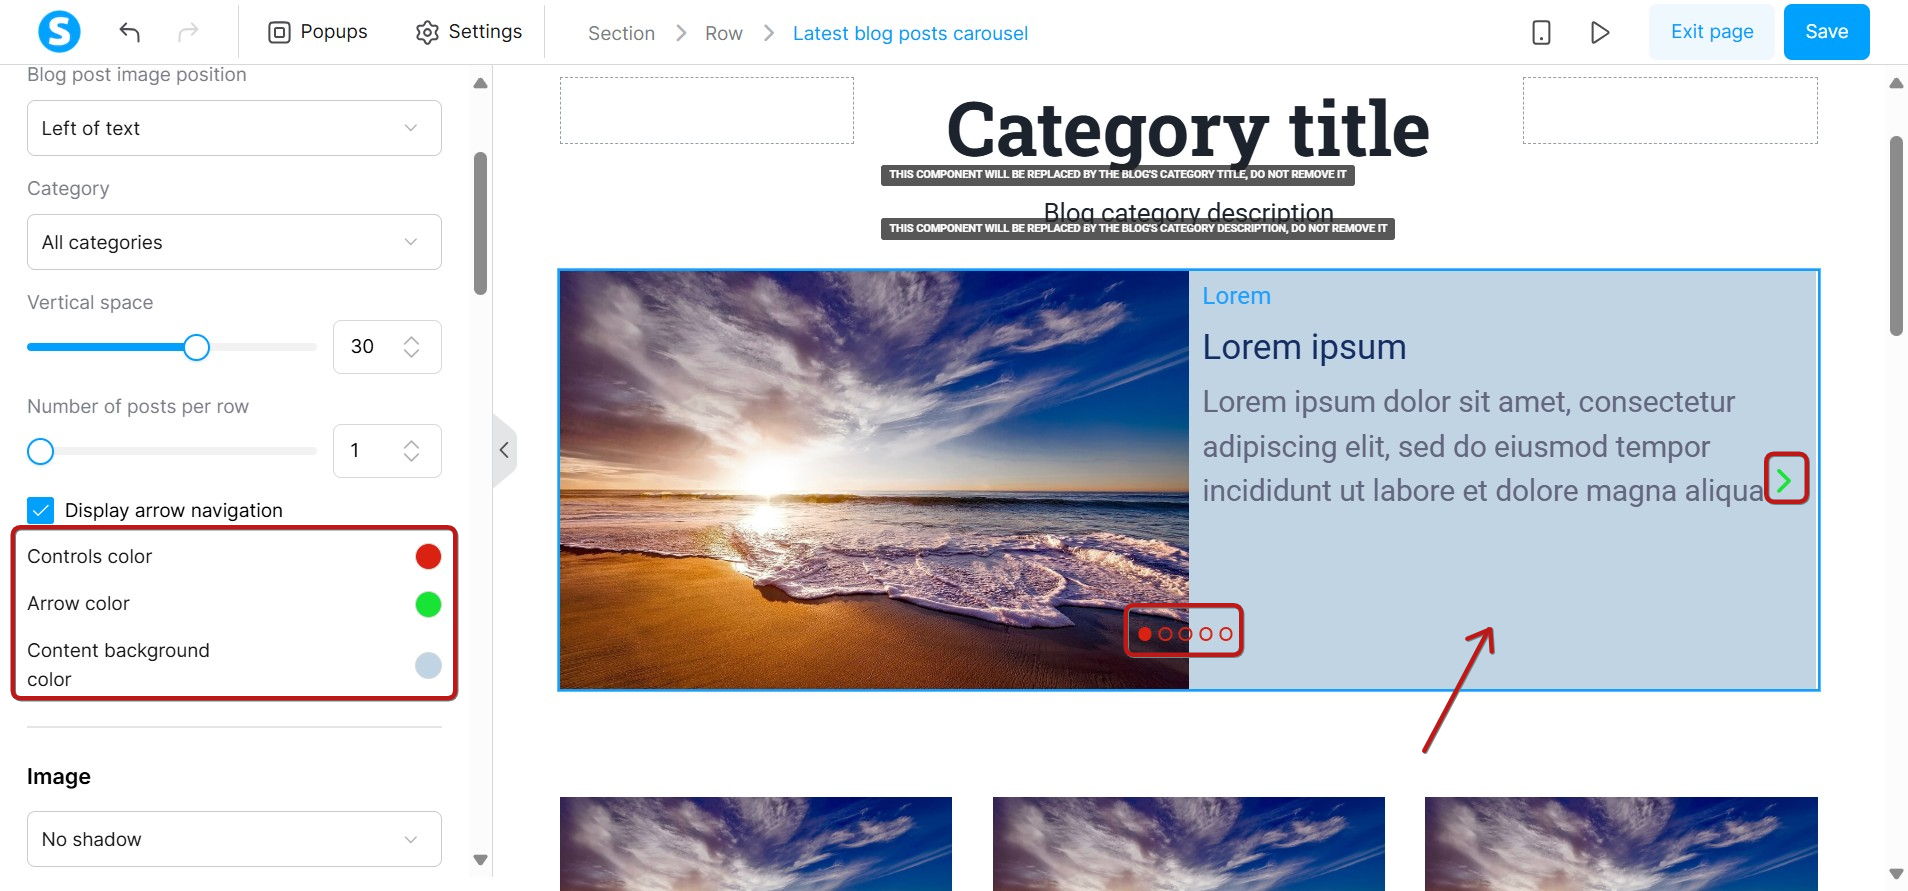
- Controls color: Change the color of the slide indicators.
- Arrow color: Change the color of the navigation arrows.
- Content background color: Change the background color of the content of the carousel.
You can also customize the carousel's visual appearance:
- Image settings: Add rounded corners or a shadow effect to post images, and adjust the margins around them.

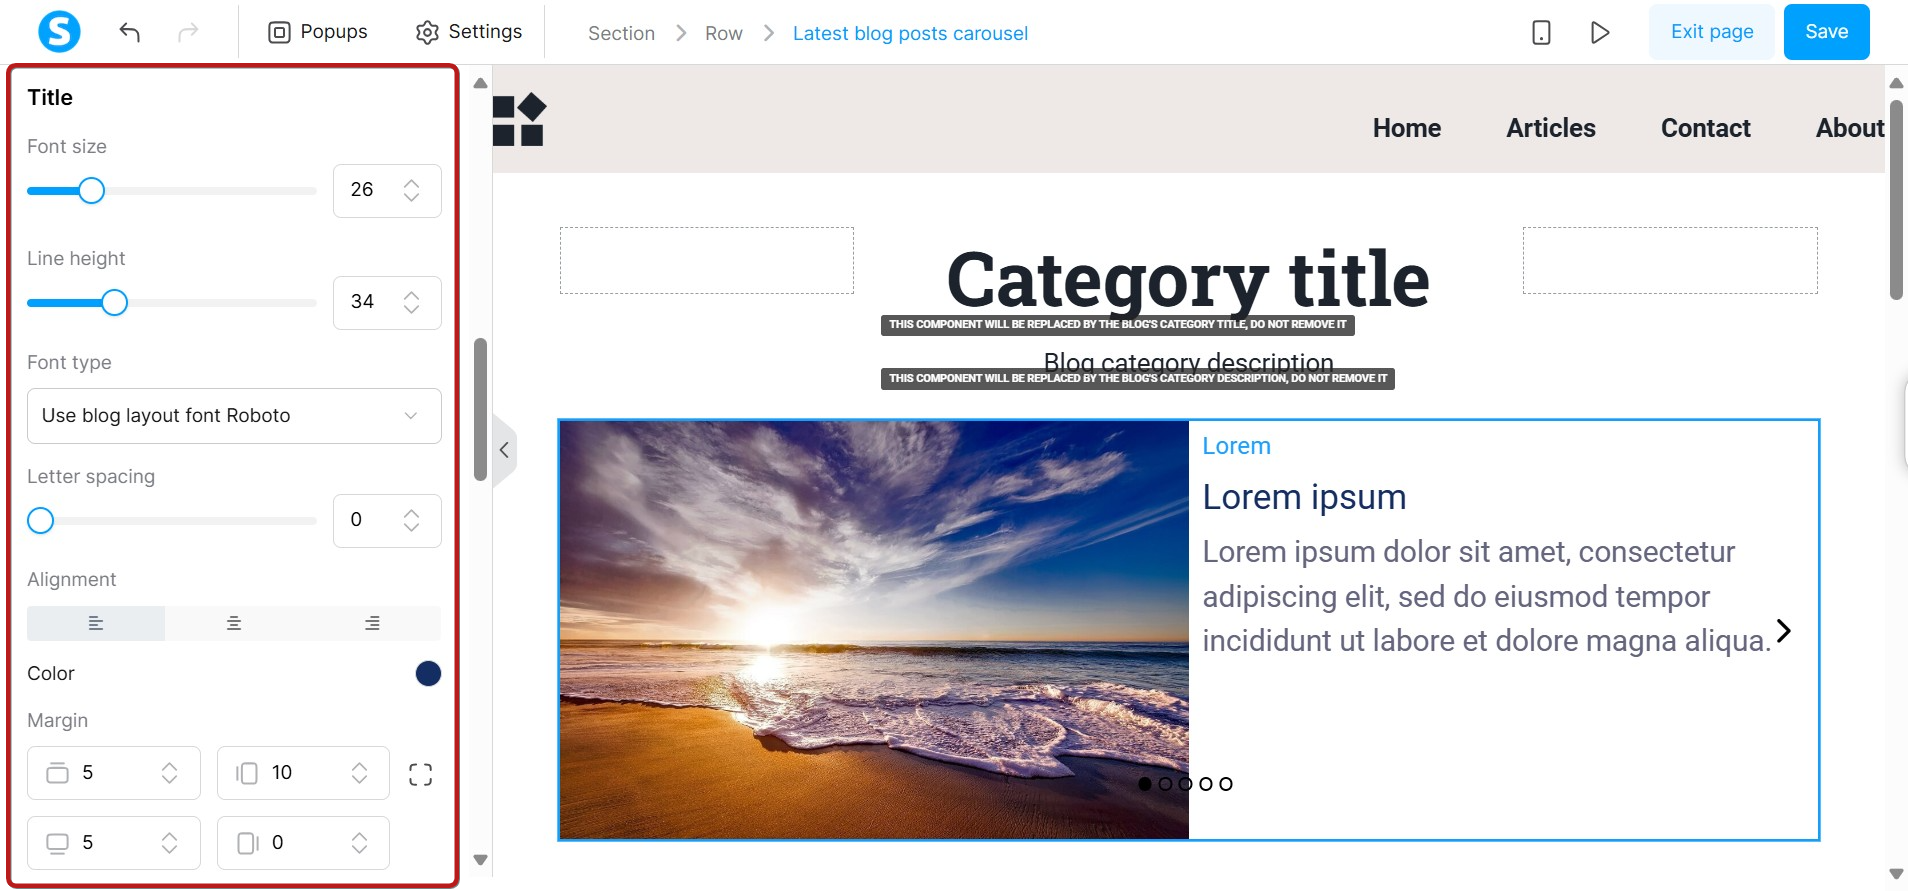
- Title and description: Modify font size, line height, color, and alignment to improve readability.

- Categories: Change the text color, font, and alignment of the post category labels.
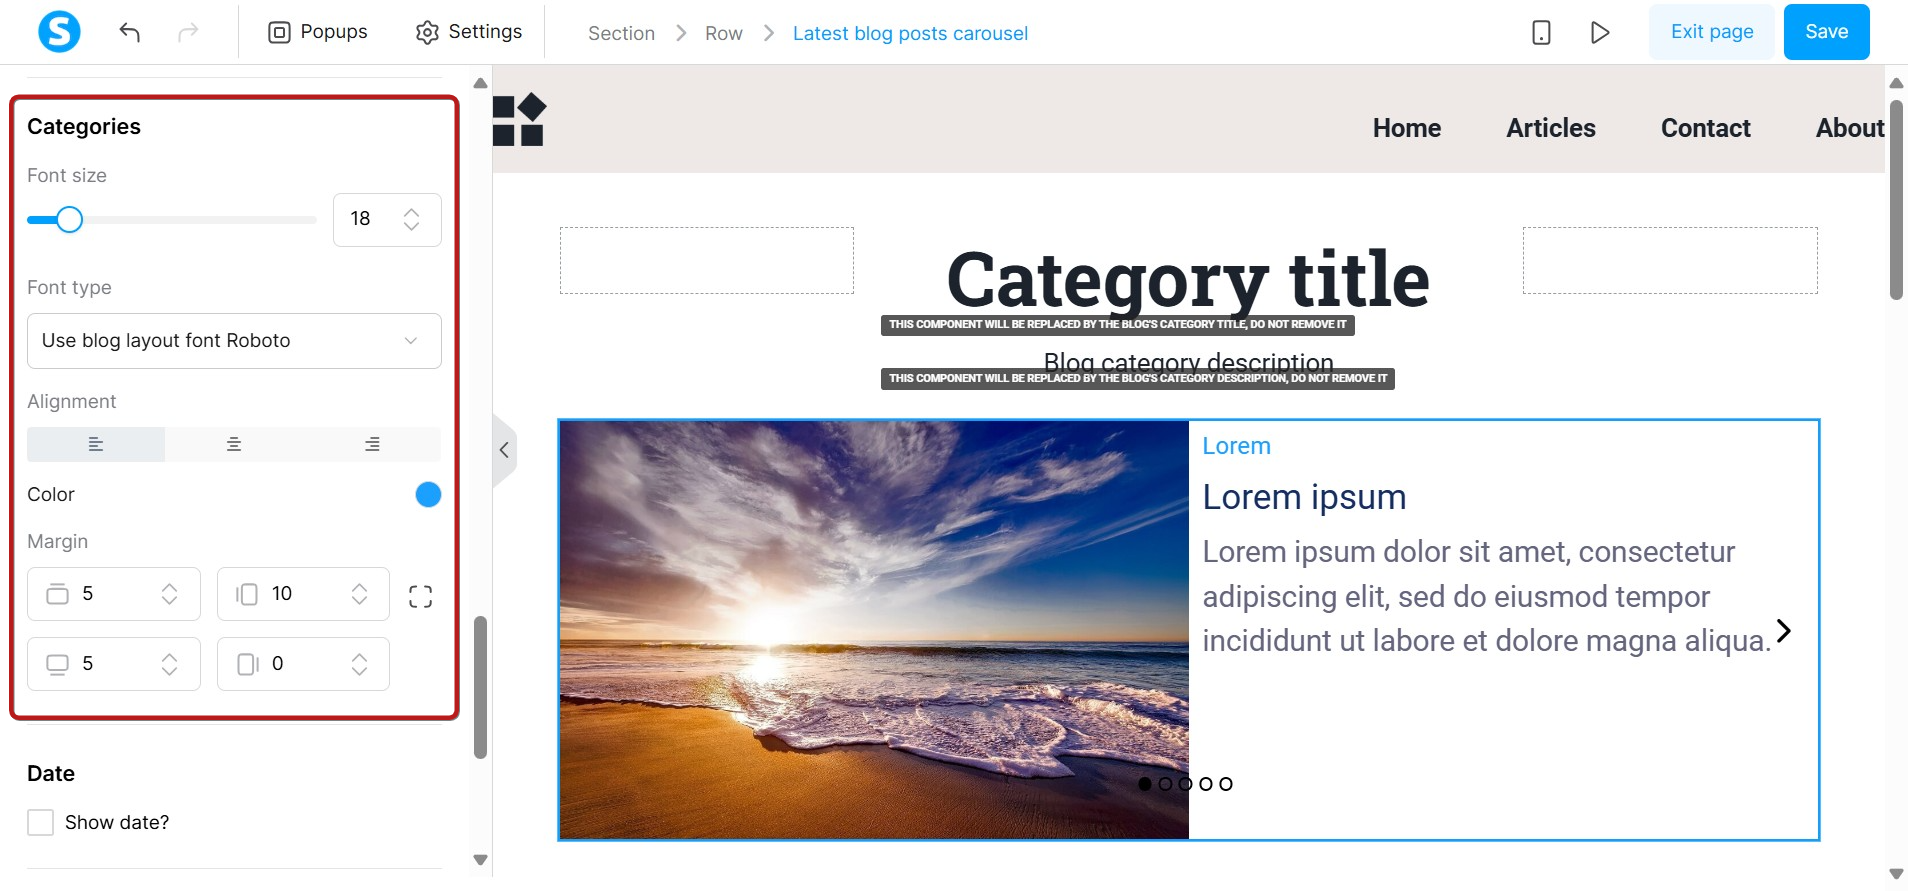
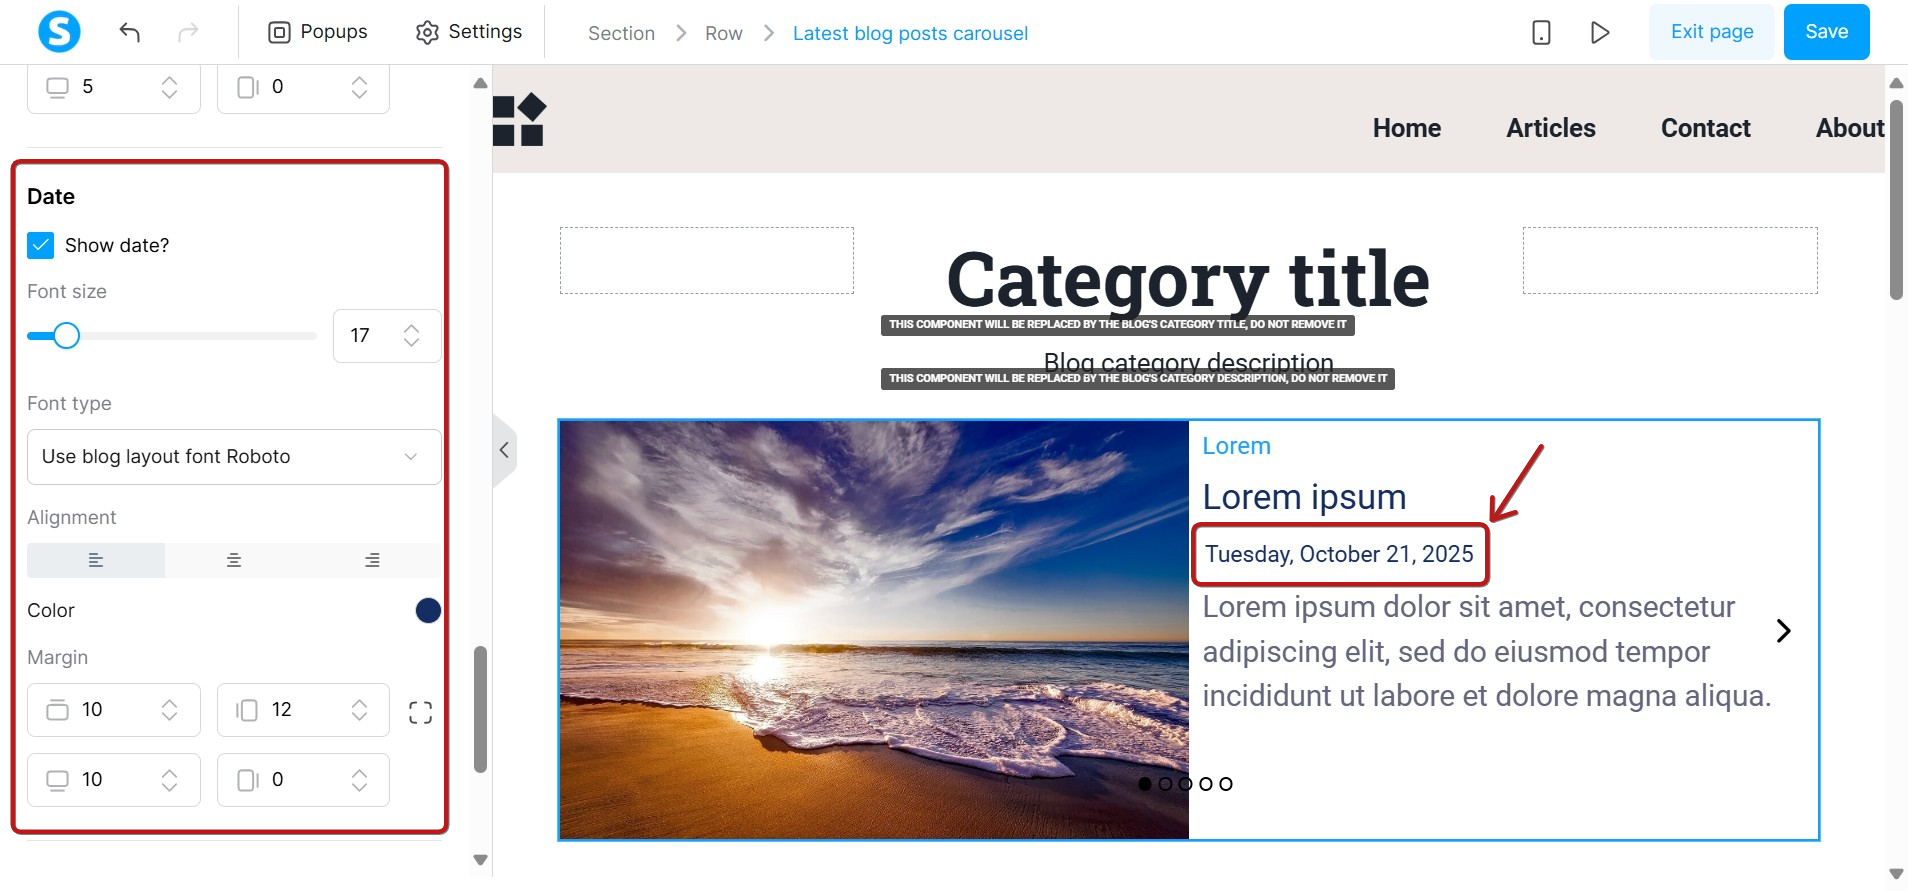
- Date display: Choose whether to show or hide the date, and adjust its font size, color, alignment, and margins.
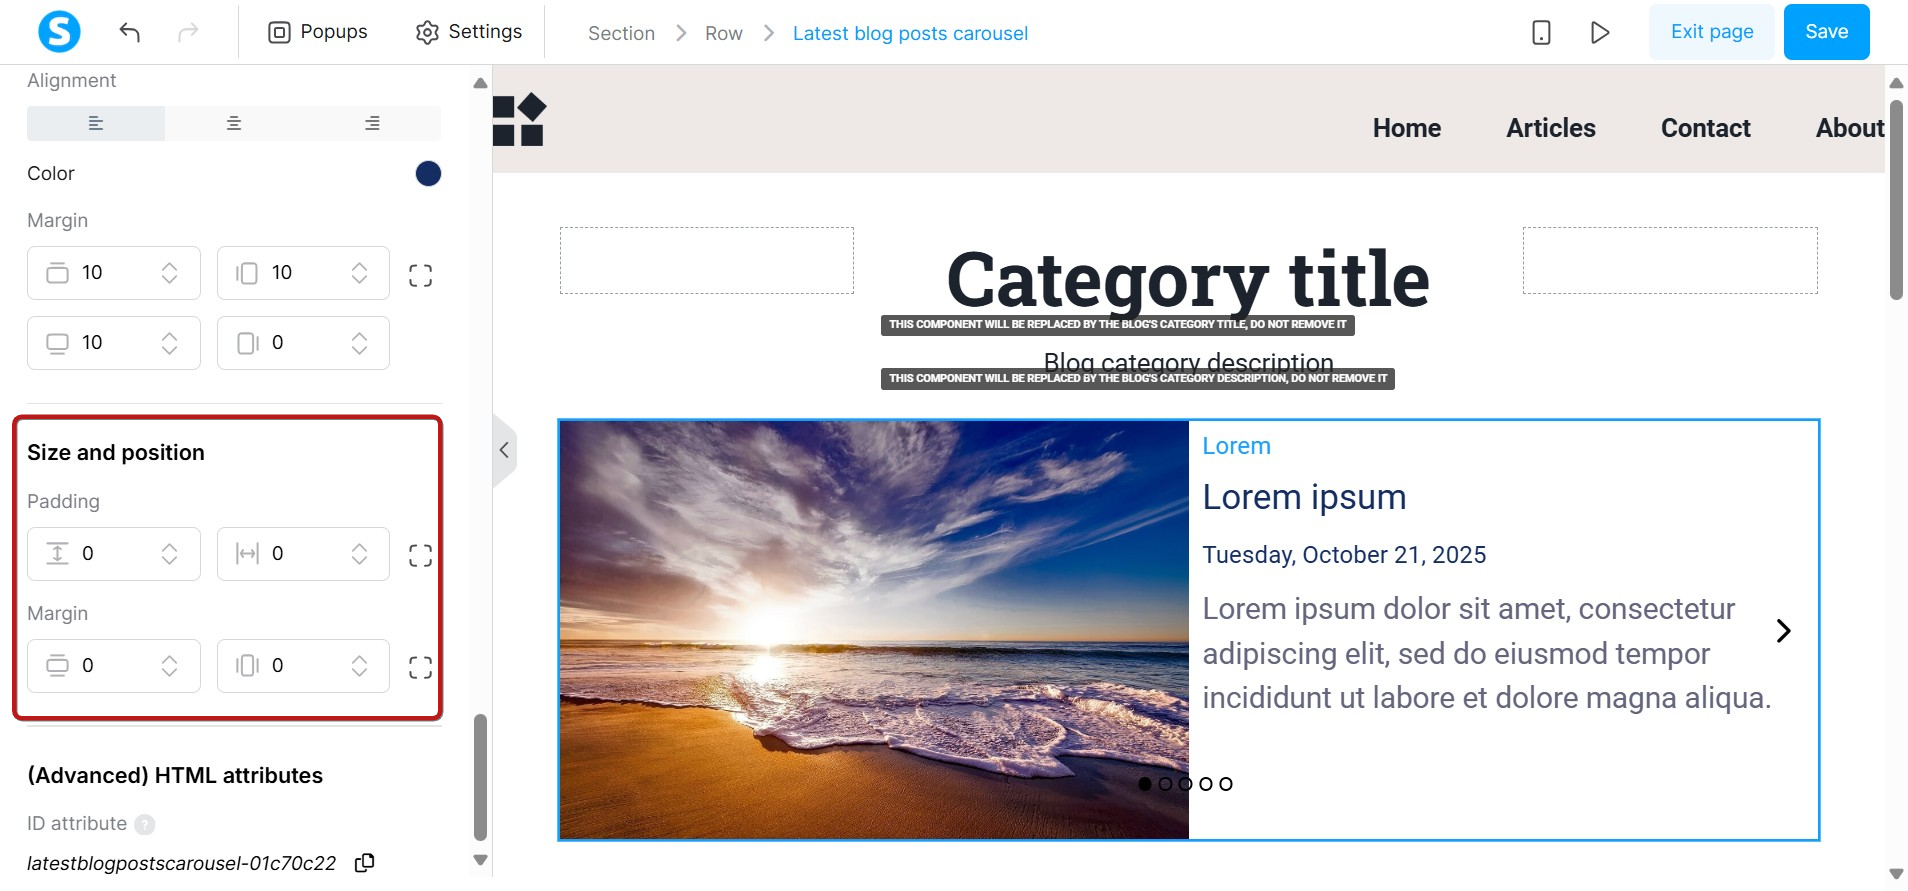
- Size and position: Adjust padding and margins to control the spacing around the element.